

Usually, I hate when the stores are decorating way too soon – for example when the Christmas decorations are put up in September. Please stop it!
This time, however it is sort of appropriate since I have gotten a lot of ‘presents’ – meaning that I have spent a lot of money and have received the things I paid for. Anyway, Let’s get to it!
Shopping list
Laser tube and power supply (I actually got this as the last item – don’t get this before you are ready with everything else!)
Water cooling system
The laser is water cooled which is always a nice thing – water and high voltage… What could possibly go wrong!?
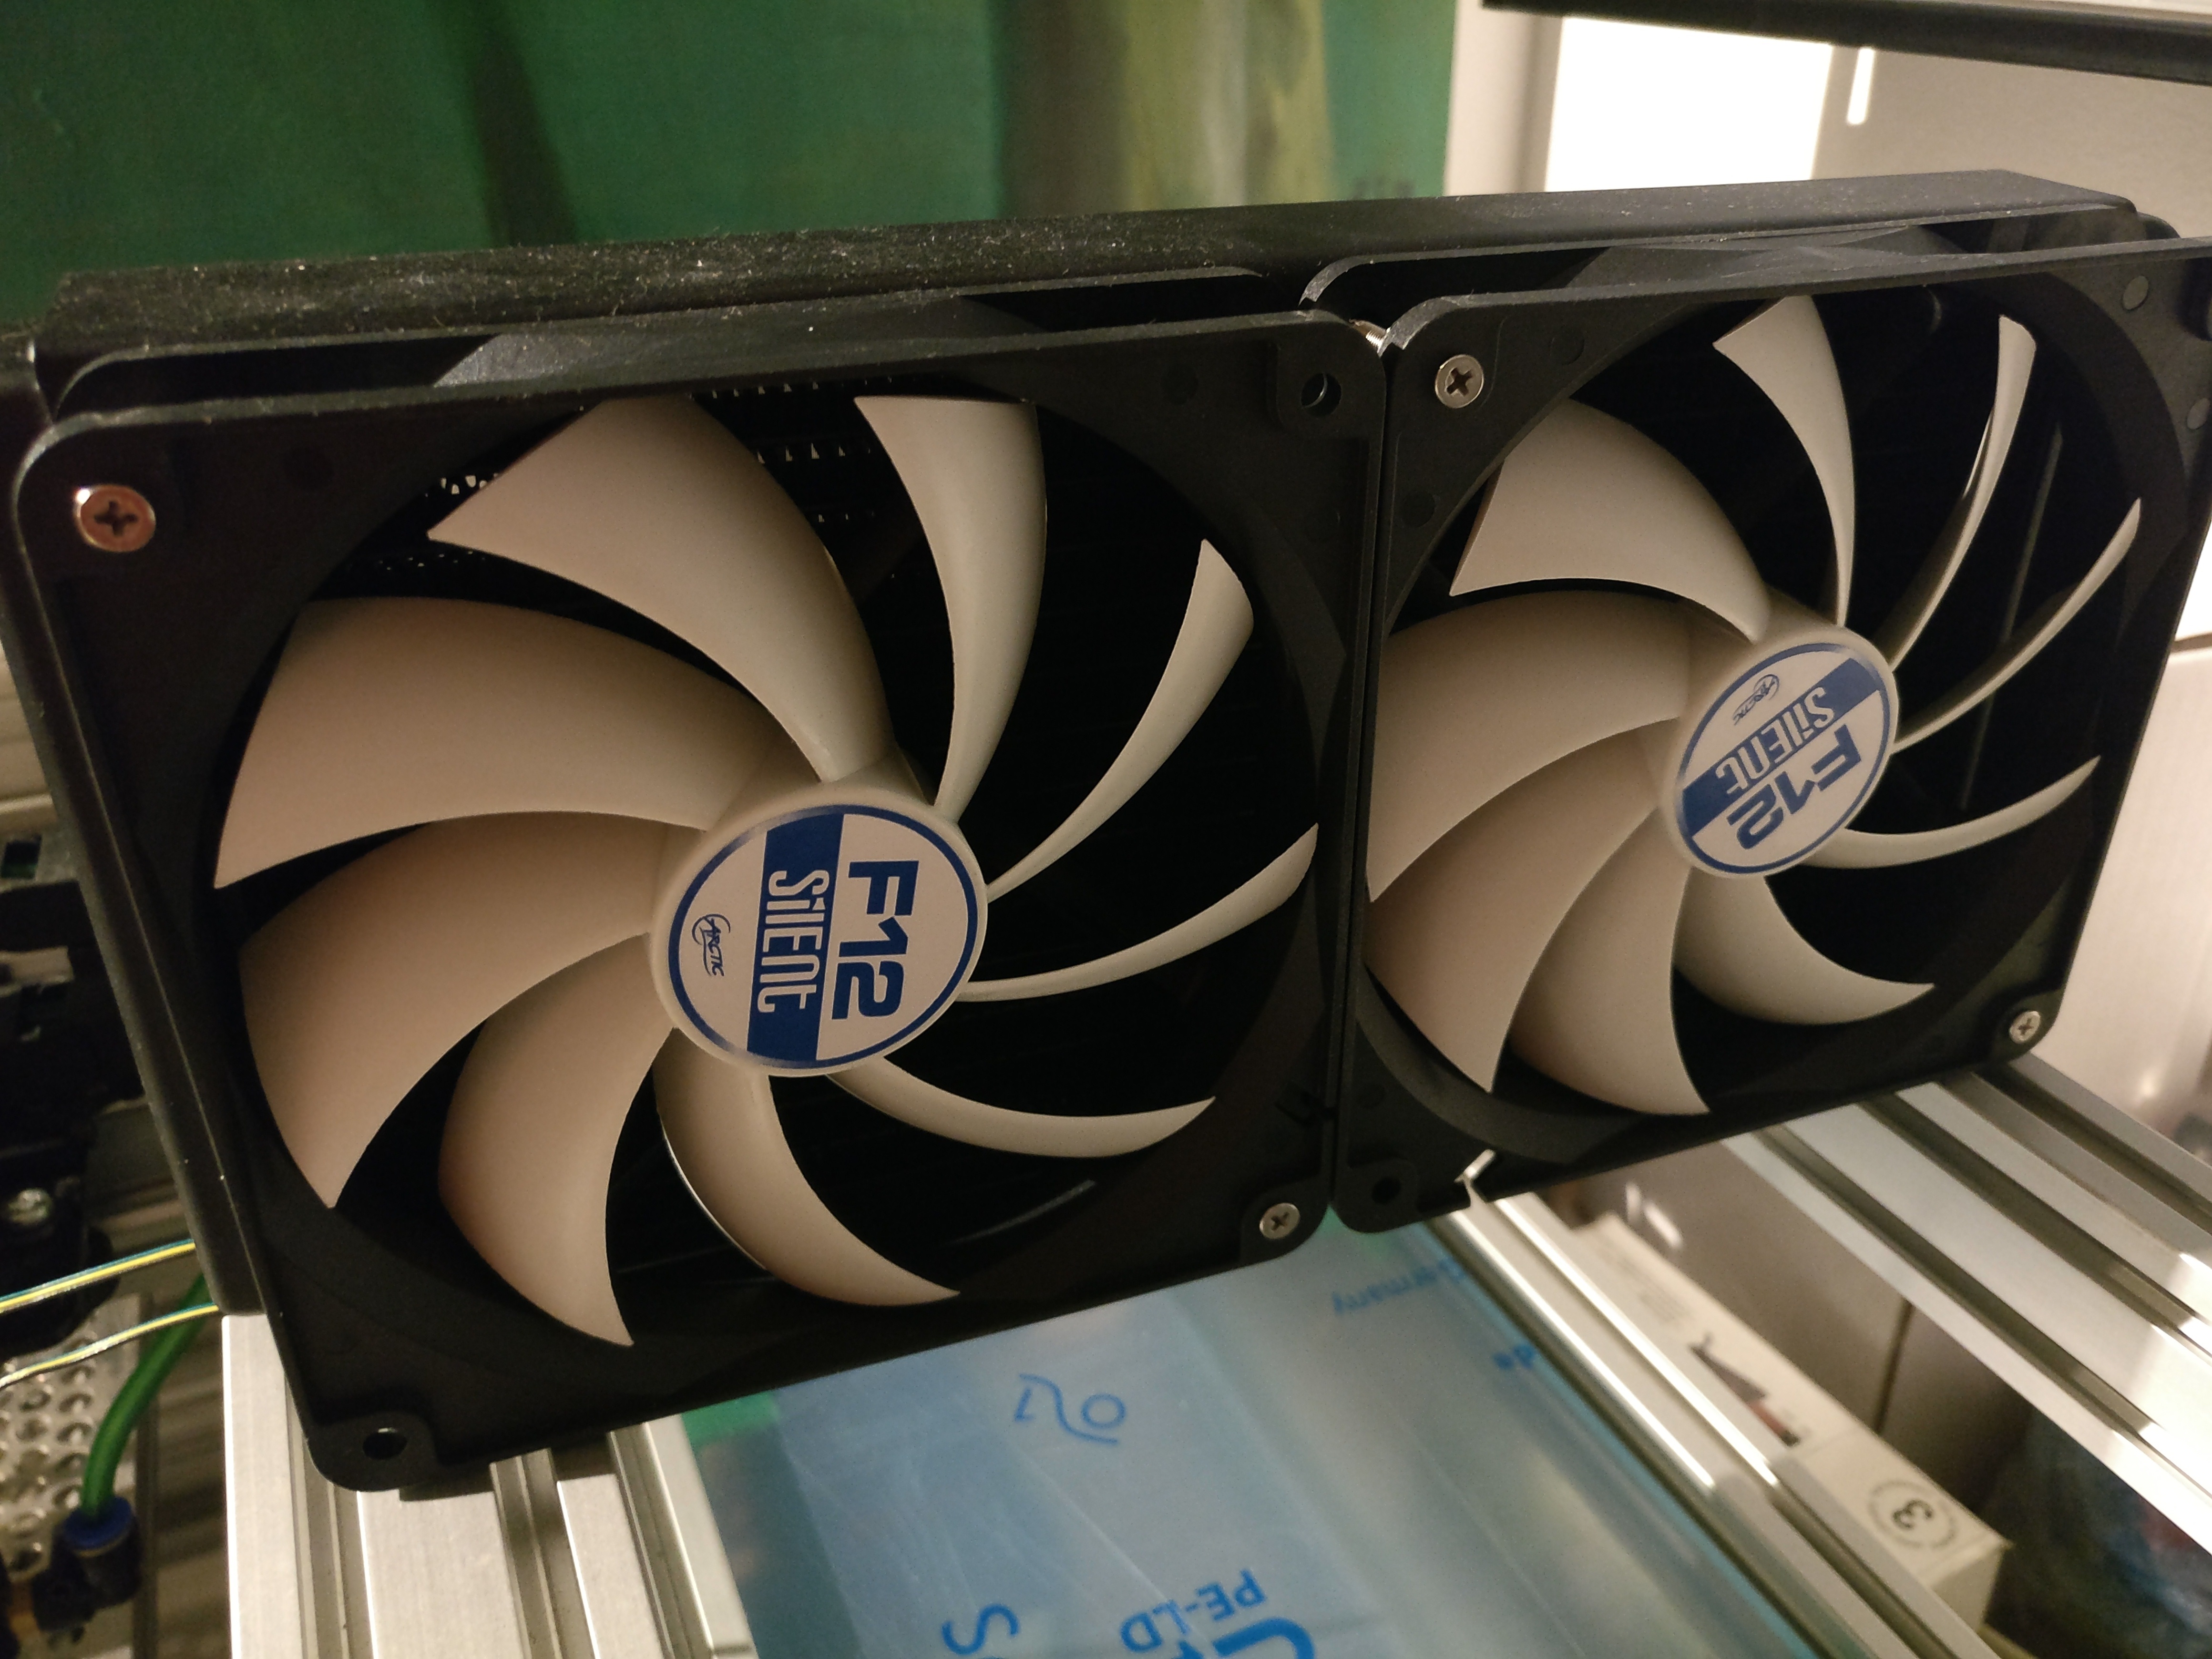
Radiator and fans. Of course, they mount together and they look sharp! The fans rotate fairly slow so they are almost silent. Very nice! The rest of the system will provide plenty of noise, I promise!
Water cooling tubing
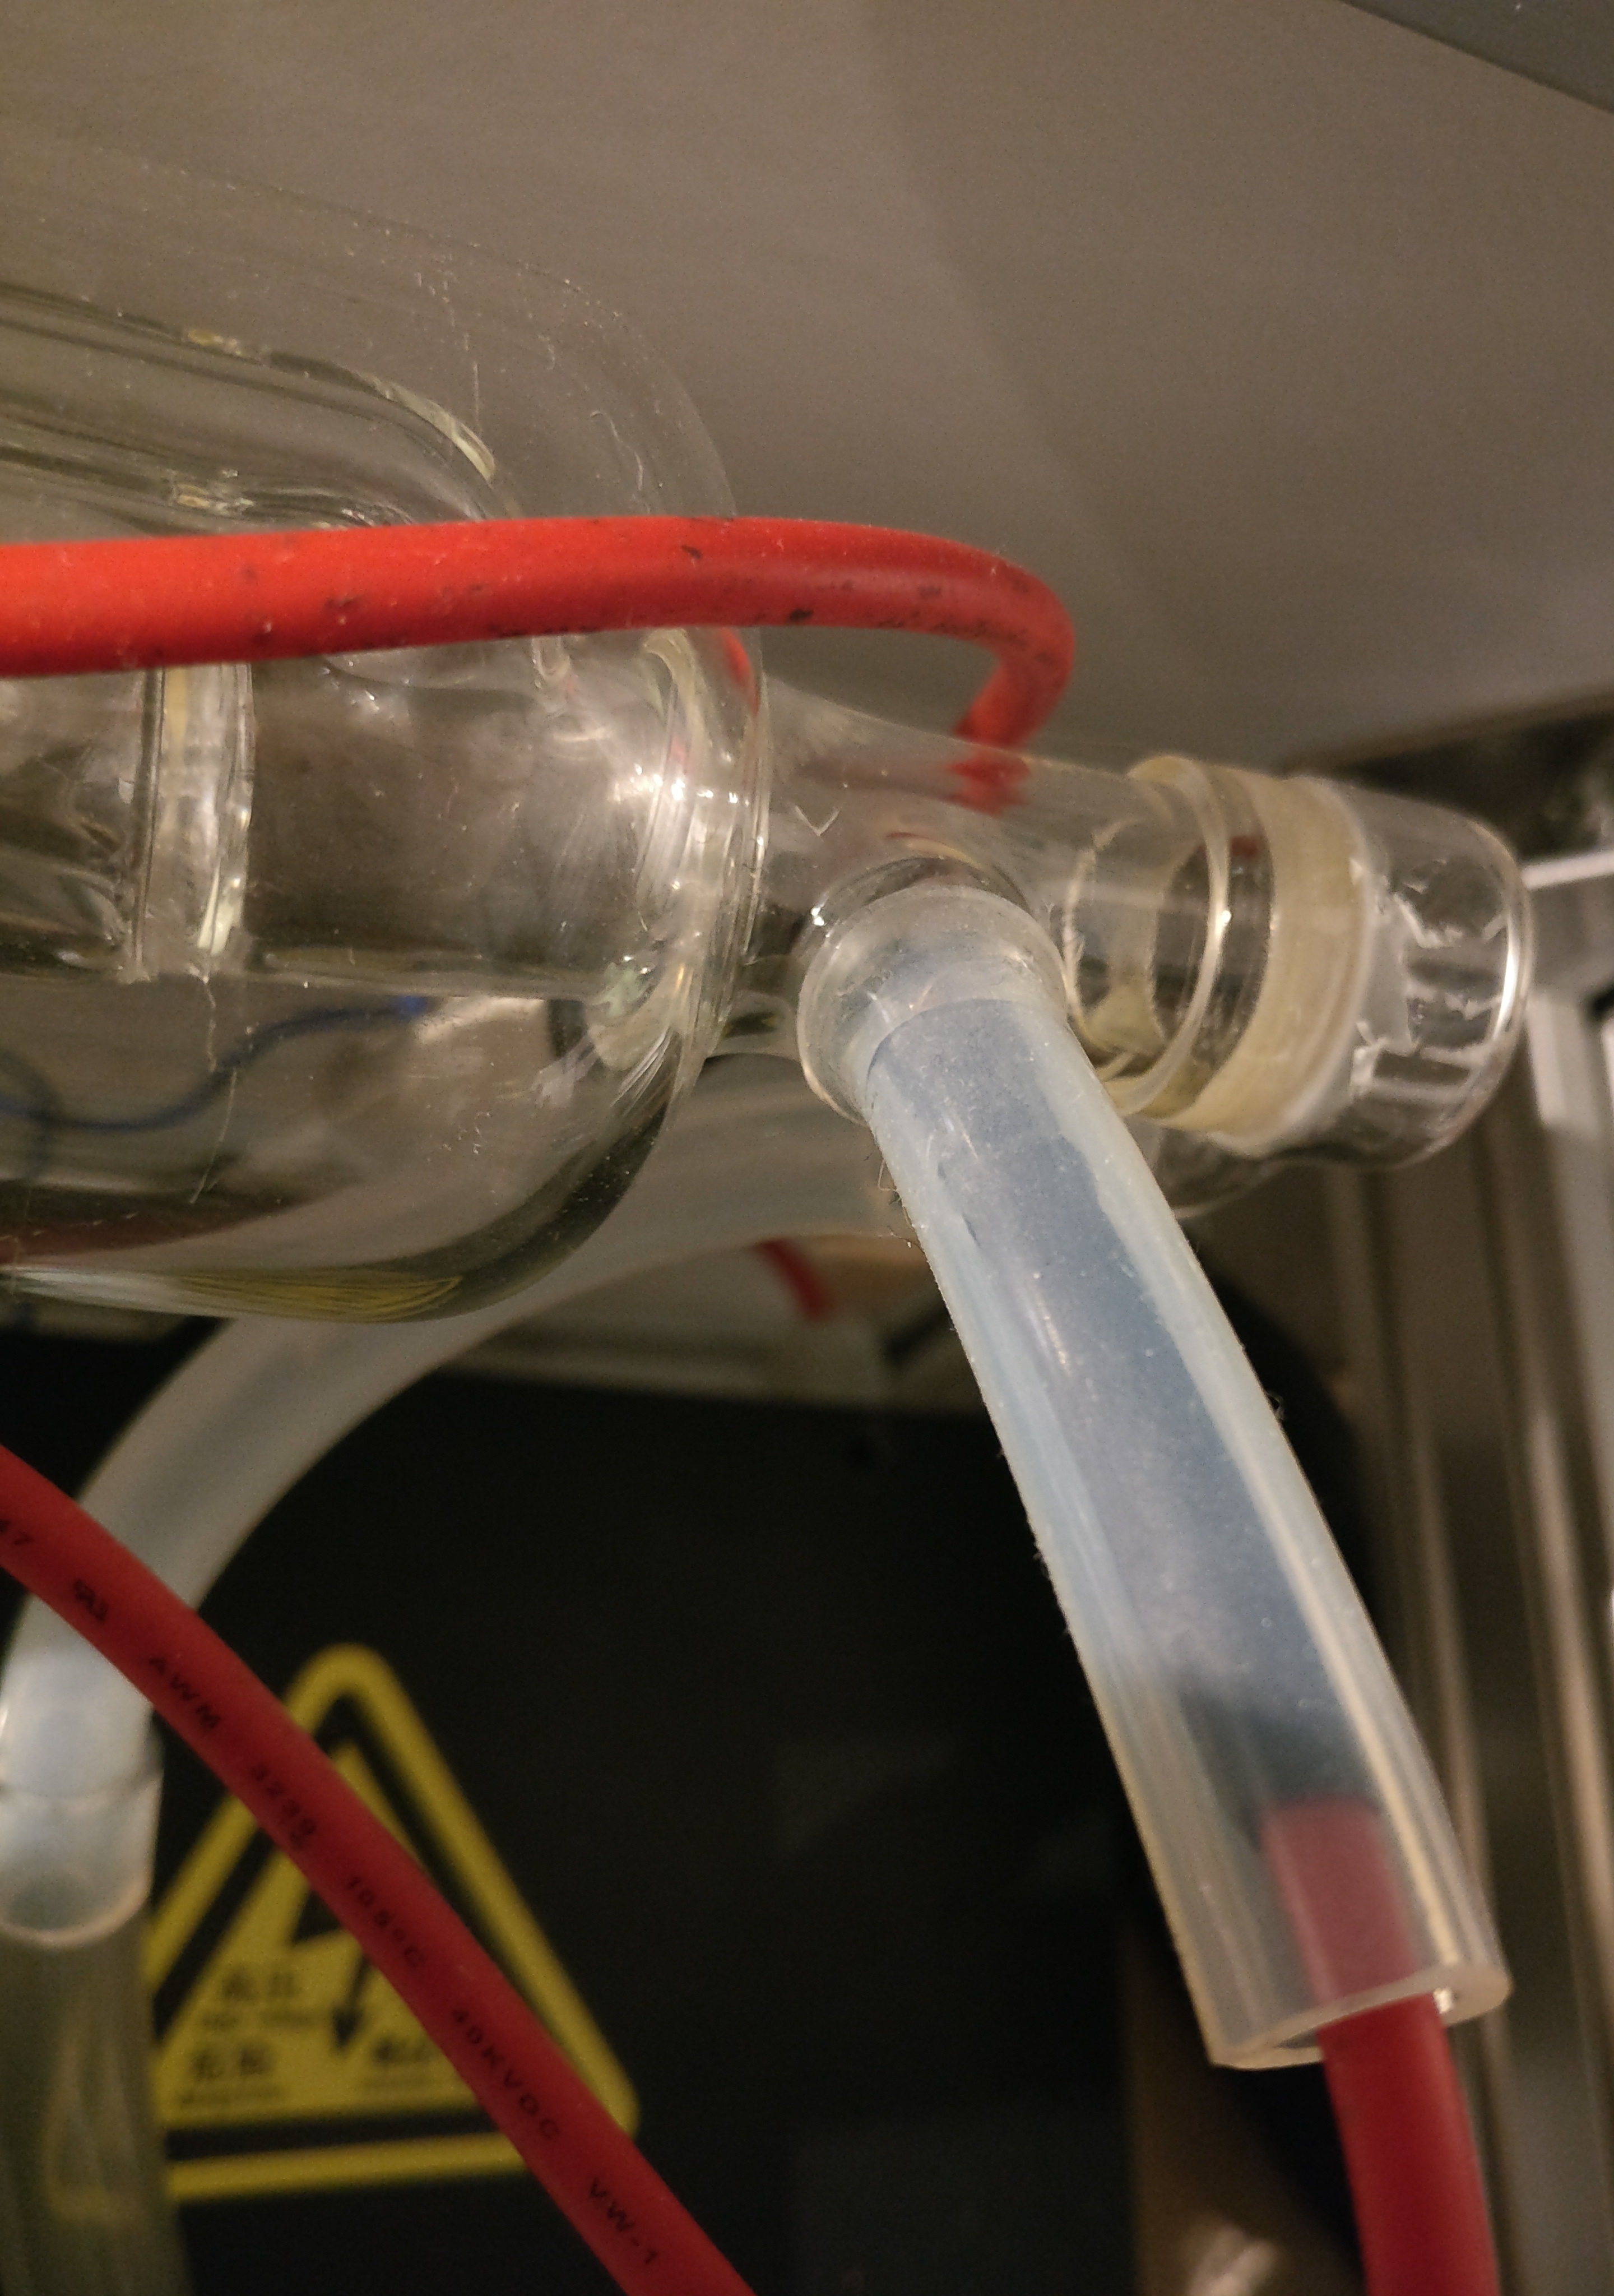
I spent a fair bit of time trying to find out the dimensions of the glass connector on the laser tube. Without luck. In the end, I ordered a 10mm (inner diameter) because that would match all the fittings for the rest of the cooling system…

And I was wrong. The glass connector is more like 7 or 8mm. Luckily I have some Teflon tubing which happens to be VERY sticky – hey that’s a nice feature right now!
I’ve simply connected a small piece of the Teflon tube to the laser tube and managed to get a good seal inside the 10mm tube. I have about 12 mm overlap and I can see that the seal is good.
Pump and fittings
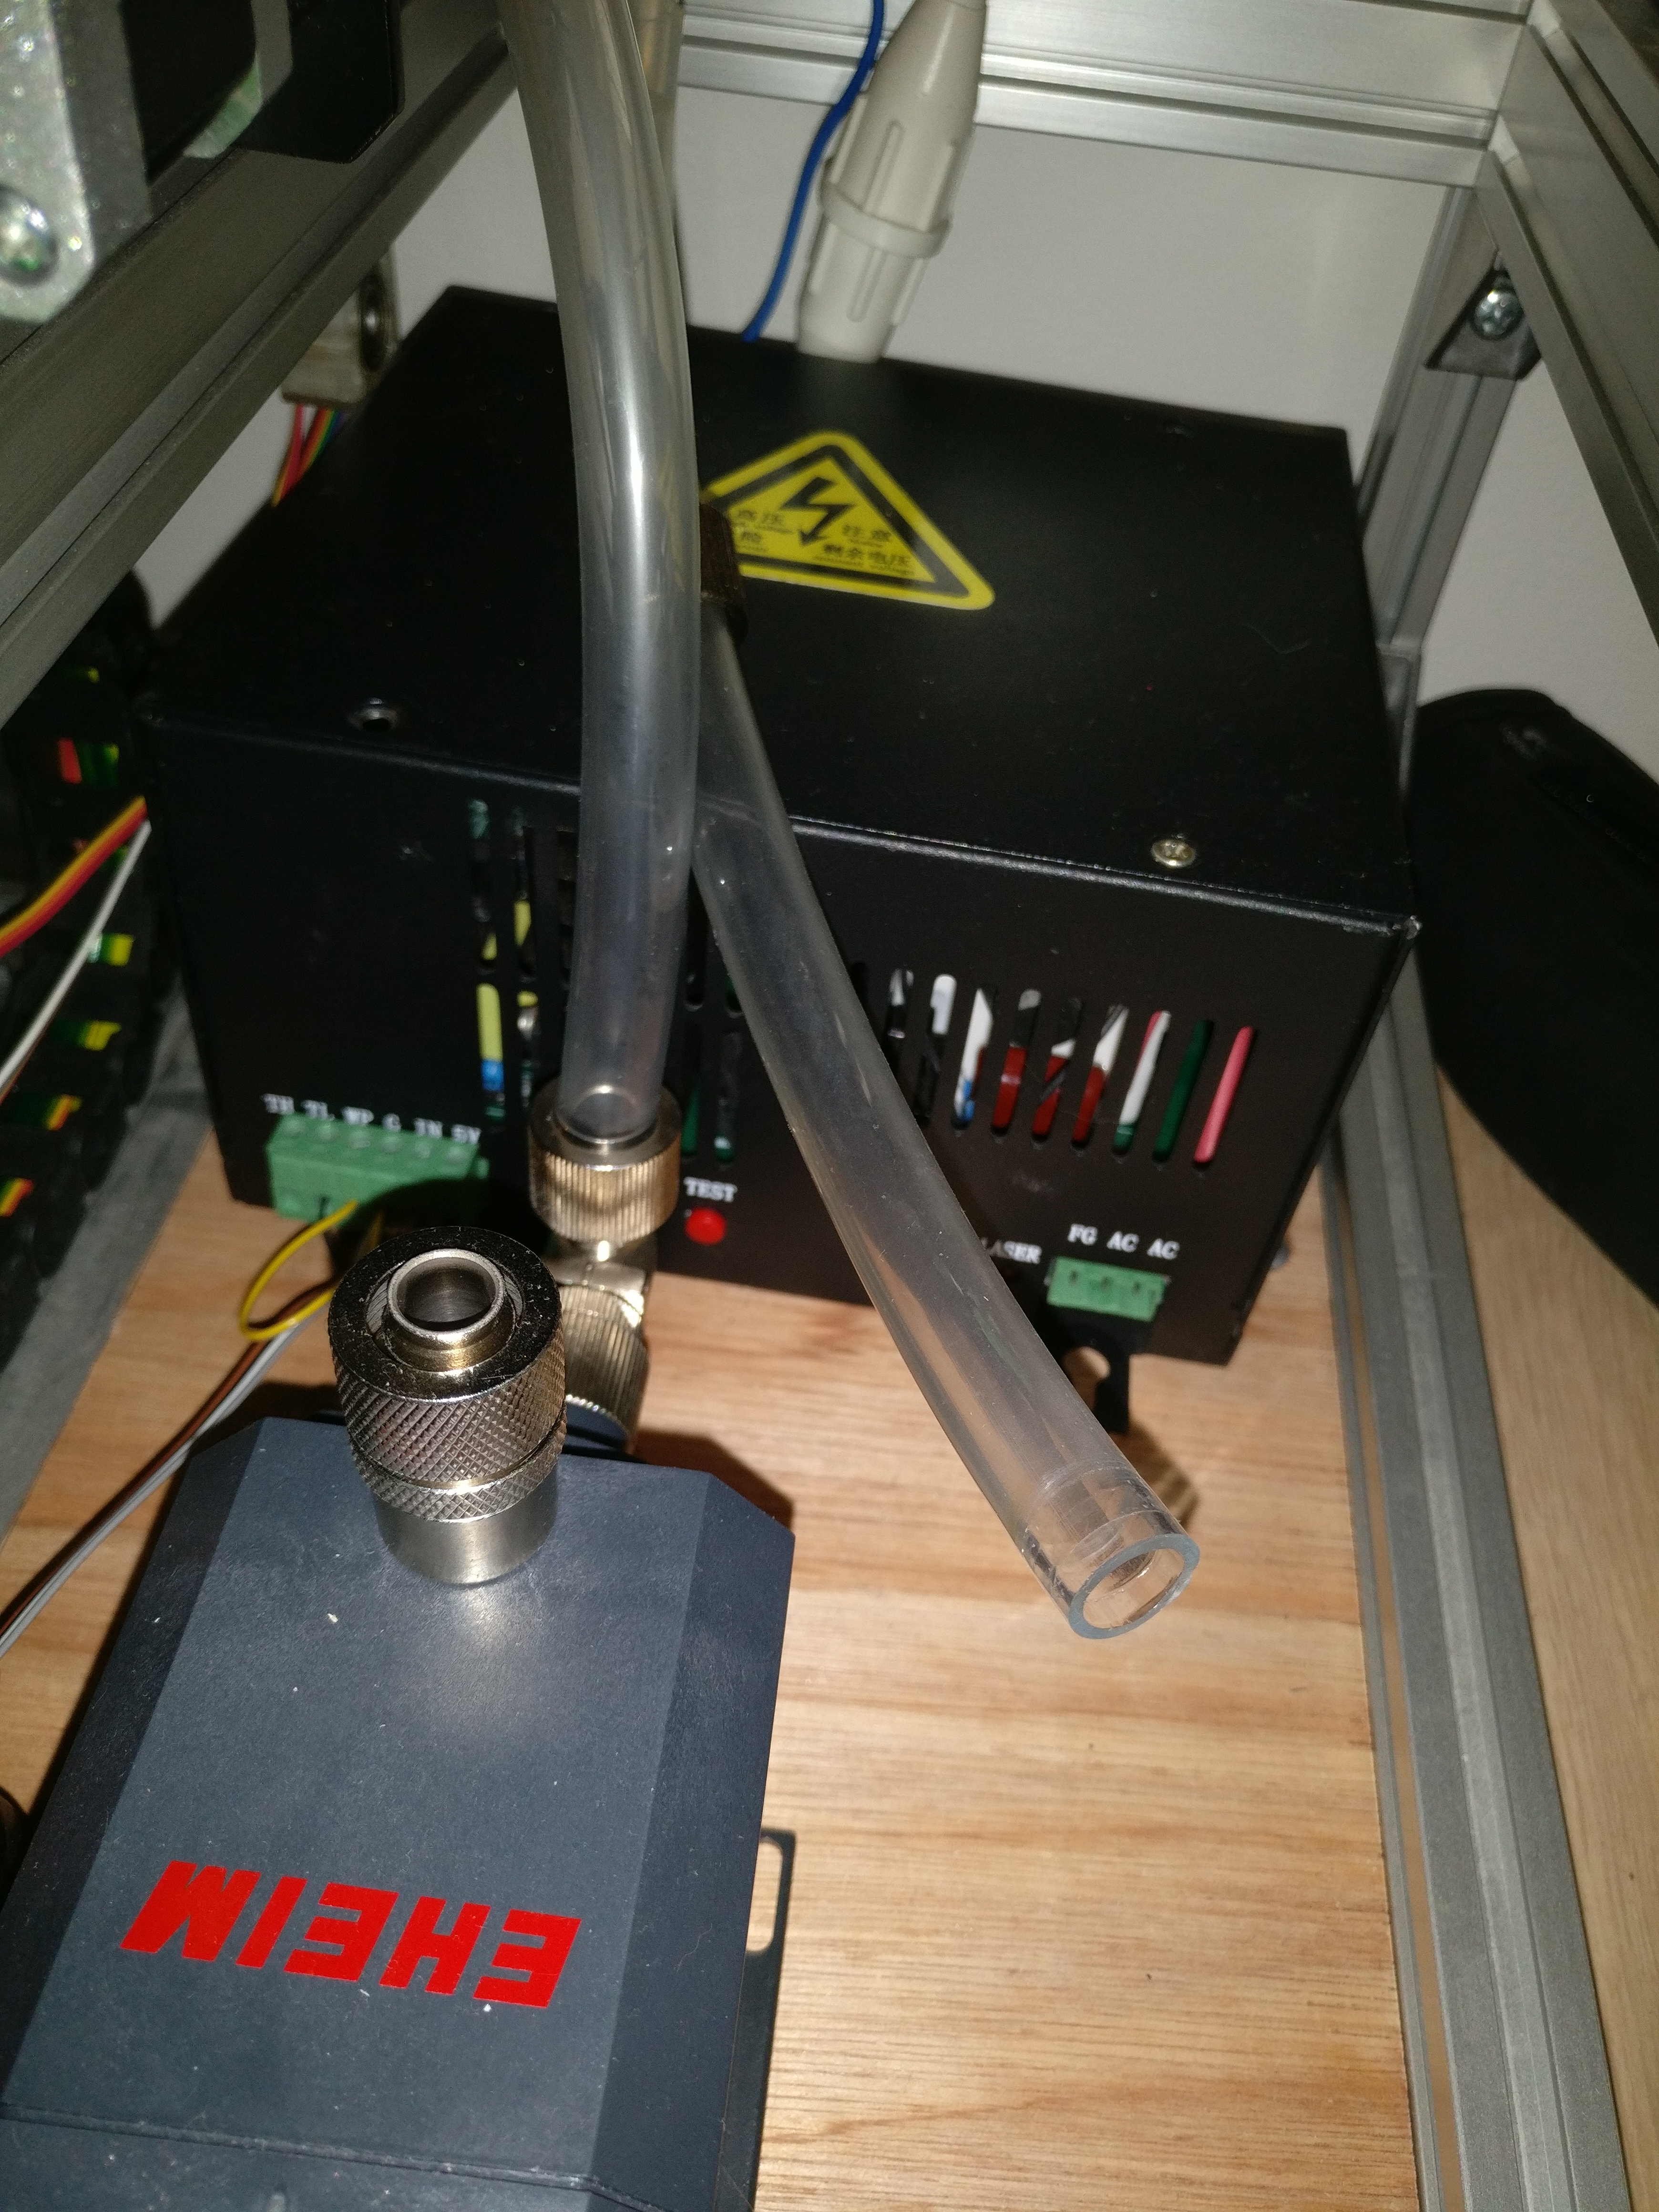
I know it’s not the best picture but in my haste to get the tube up and running I forgot to take pictures. The pump, fittings, and tubing are bought from Coolerkit.dk which provide water cooling solutions for computers. They’re not really that cheap but on the other hand, I could get the pieces I needed in a few days (opposed to the eBay shipping time of about 2 weeks!)
In the background, the laser power supply is located. It will be held in place by two screws.
Laser tube
I won’t go much into details about the mounting procedure – it’s pretty straight forward. Mount the brackets on the tube and install the whole thing inside the enclosure.
What is important, though, is the height of the assembly. the height of the laser tube has to match the height of the 3rd mirror, the one on the X-gantry. If they do not match, you will have a hard time getting the laser to fire properly into the lens and hit anything on the cutting plane.

If you have view something like this you are doing good 🙂
getting the connection to the tube done is a bit harder than anticipated.
following this guide (http://www.instructables.com/id/Replacing-a-CO2-laser-tube/) wrapped the connection stub in wire, soldered, wrapped the connection wire and soldered again – covered with a piece of tubing to further insulate the connection from sparking through to the chassis. I’ve done this on both ends of the tube.
This connection is a bit fragile! I broke the anode connection while moving around with the tube so be careful when doing this!
Mirror mounts
As you can see in the picture above I have made my own mirror mounts. I’m not completely sure this is a good idea yet because the mirrors will heat up at some point. well, to a certain point that is.
I’ve modeled the mirror mount based on pictures of other mounts. using 2 springs and 5 screws I have the same adjustment options as the real ones. The screw on the top is holding the mirror in place. I tried using hot-glue at first but as I mentioned – the mirrors heat up. that quickly resulted in the mirrors getting loose and getting in a strange angle. That’s not something you want to happen when a high power laser is hitting it!
Water reservoir
This is a funny one. When I fired the laser at first I was so eager to try it I just filled a container with tap water and ran the system with that. Of course, that’s no good – you have to use distilled water.. de-ionized? Clean water that is!
Also, I really wanted to have the reservoir INSIDE the cutter because.. self-contained, that would be nice, right? (again – water and high voltage, what could possibly go wrong!?)
Firstly I have modified the 3d-file for the bottom-plate mount to have a small end-bracket. This way the reservoir won’t move off the brackets.
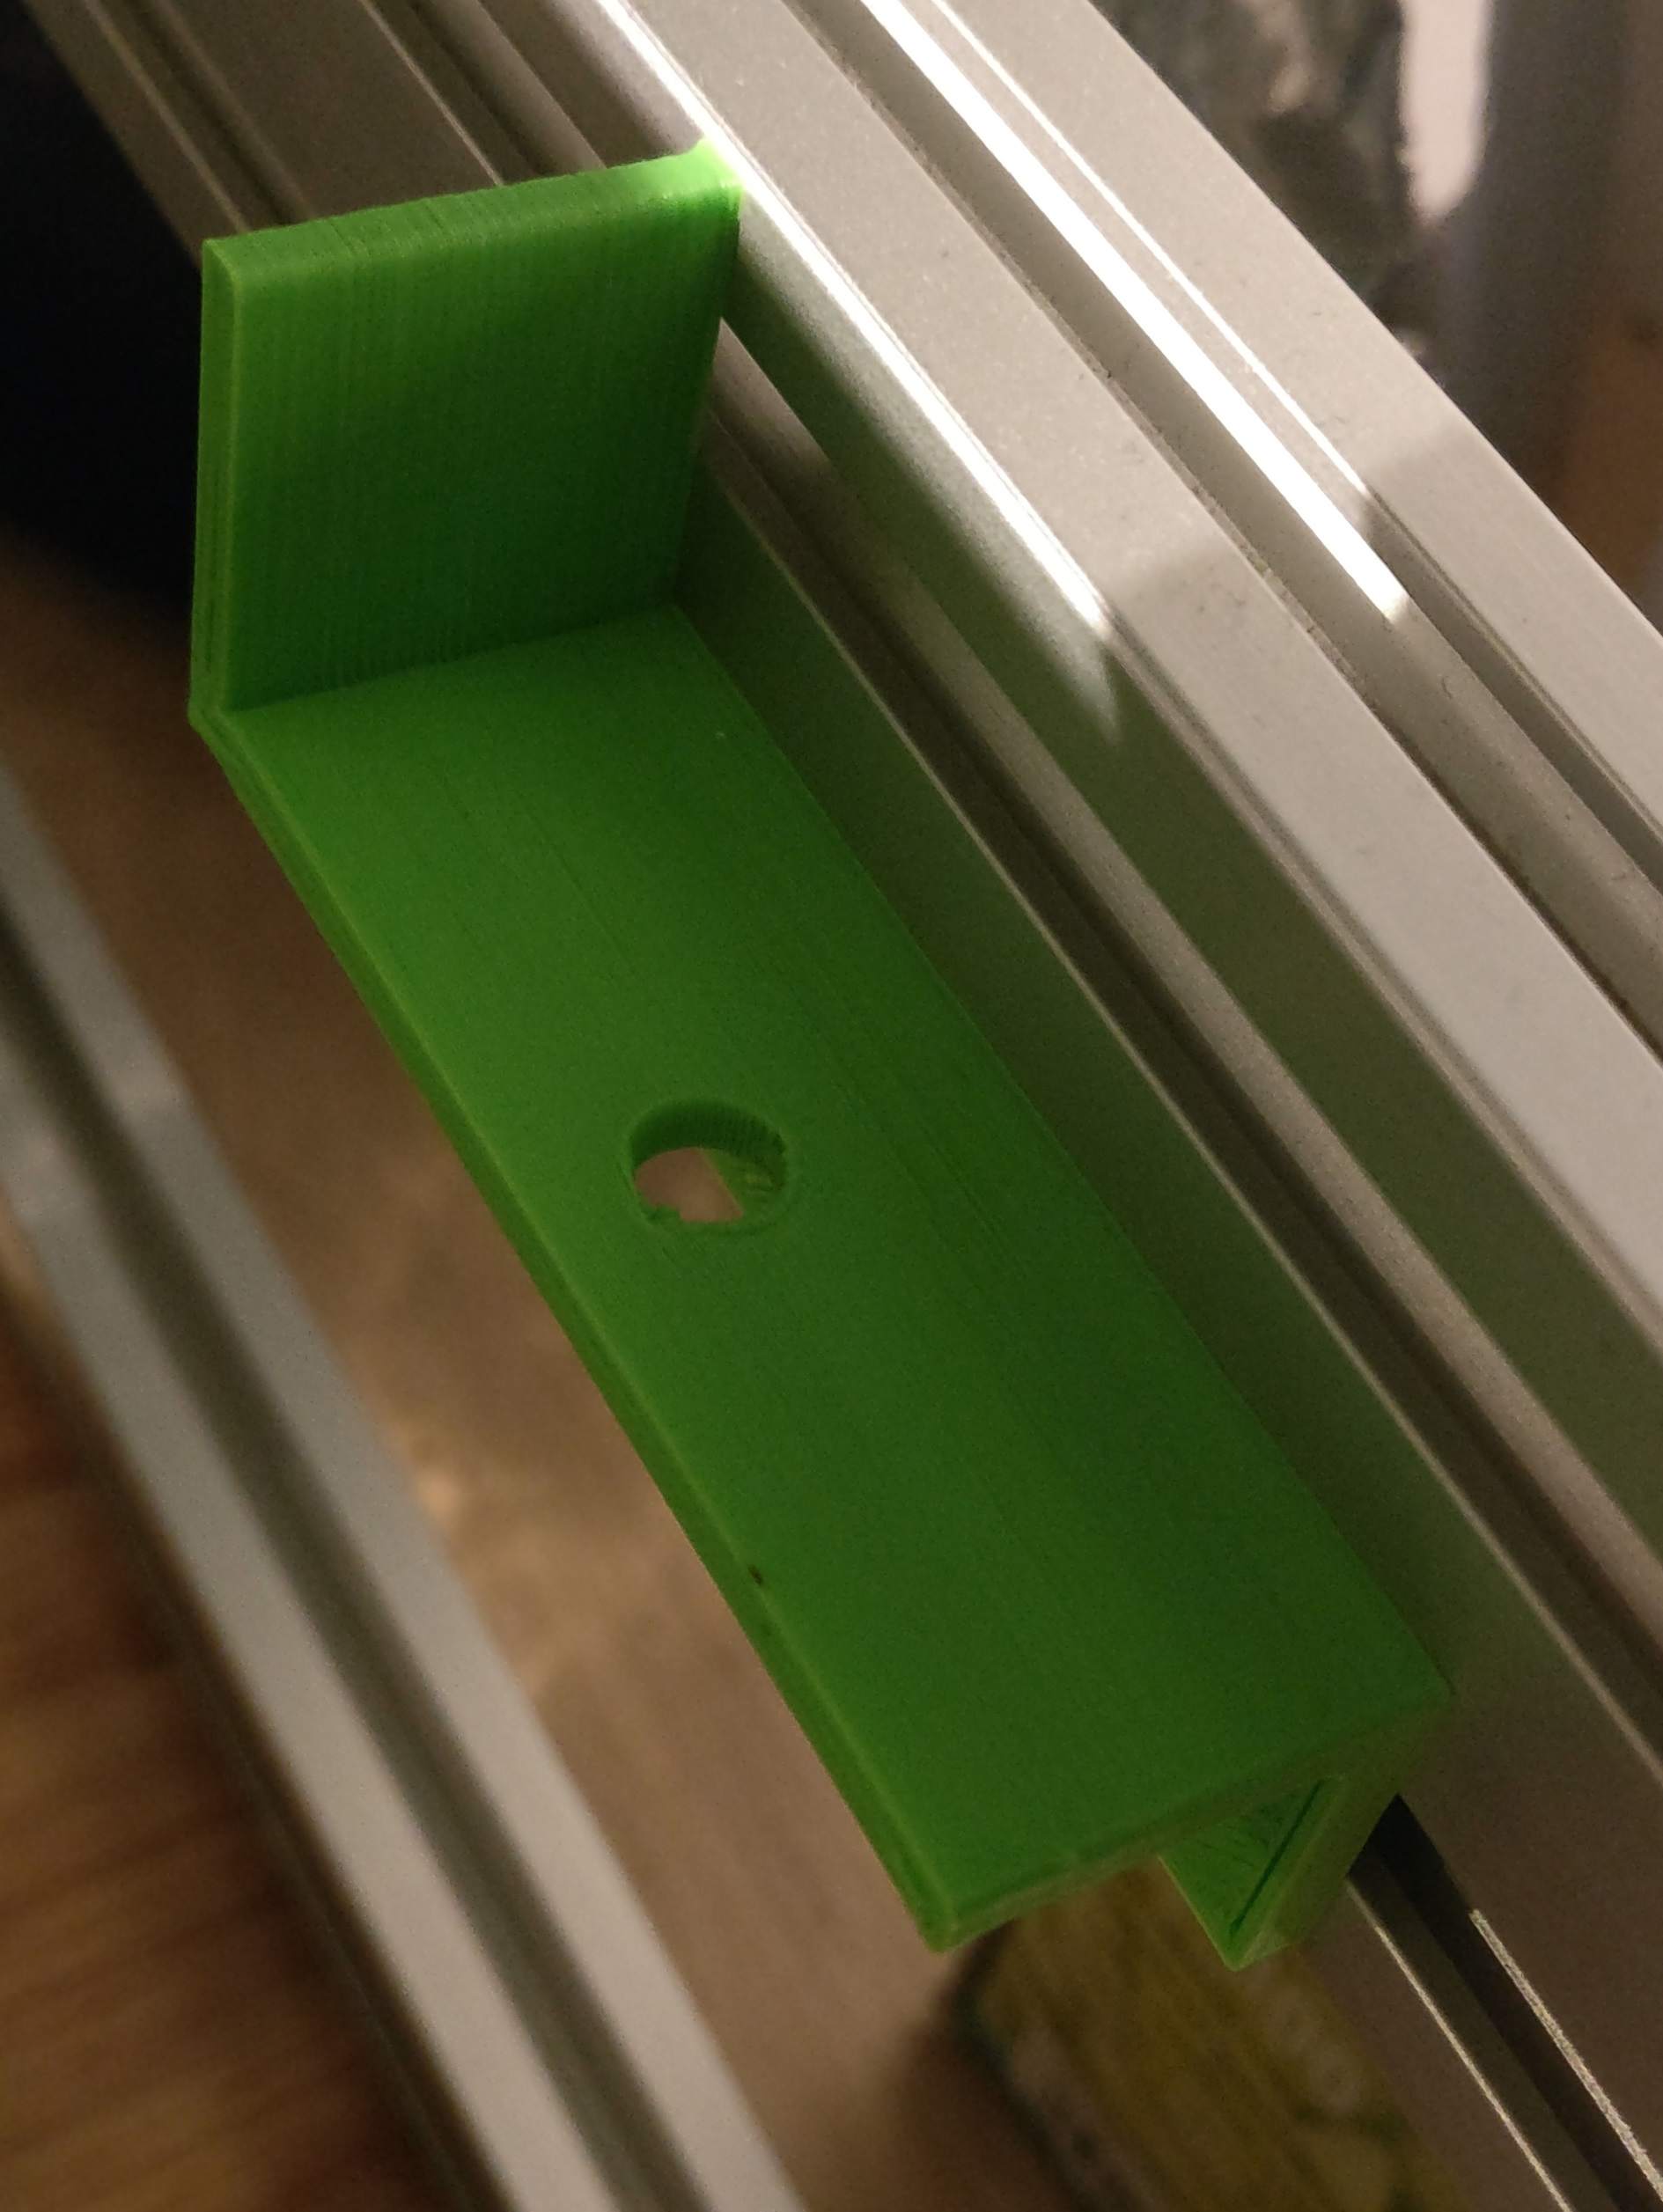
Cue the 3d printer. 4 of those, please! and could you mirror 2 of them? that would be grand!
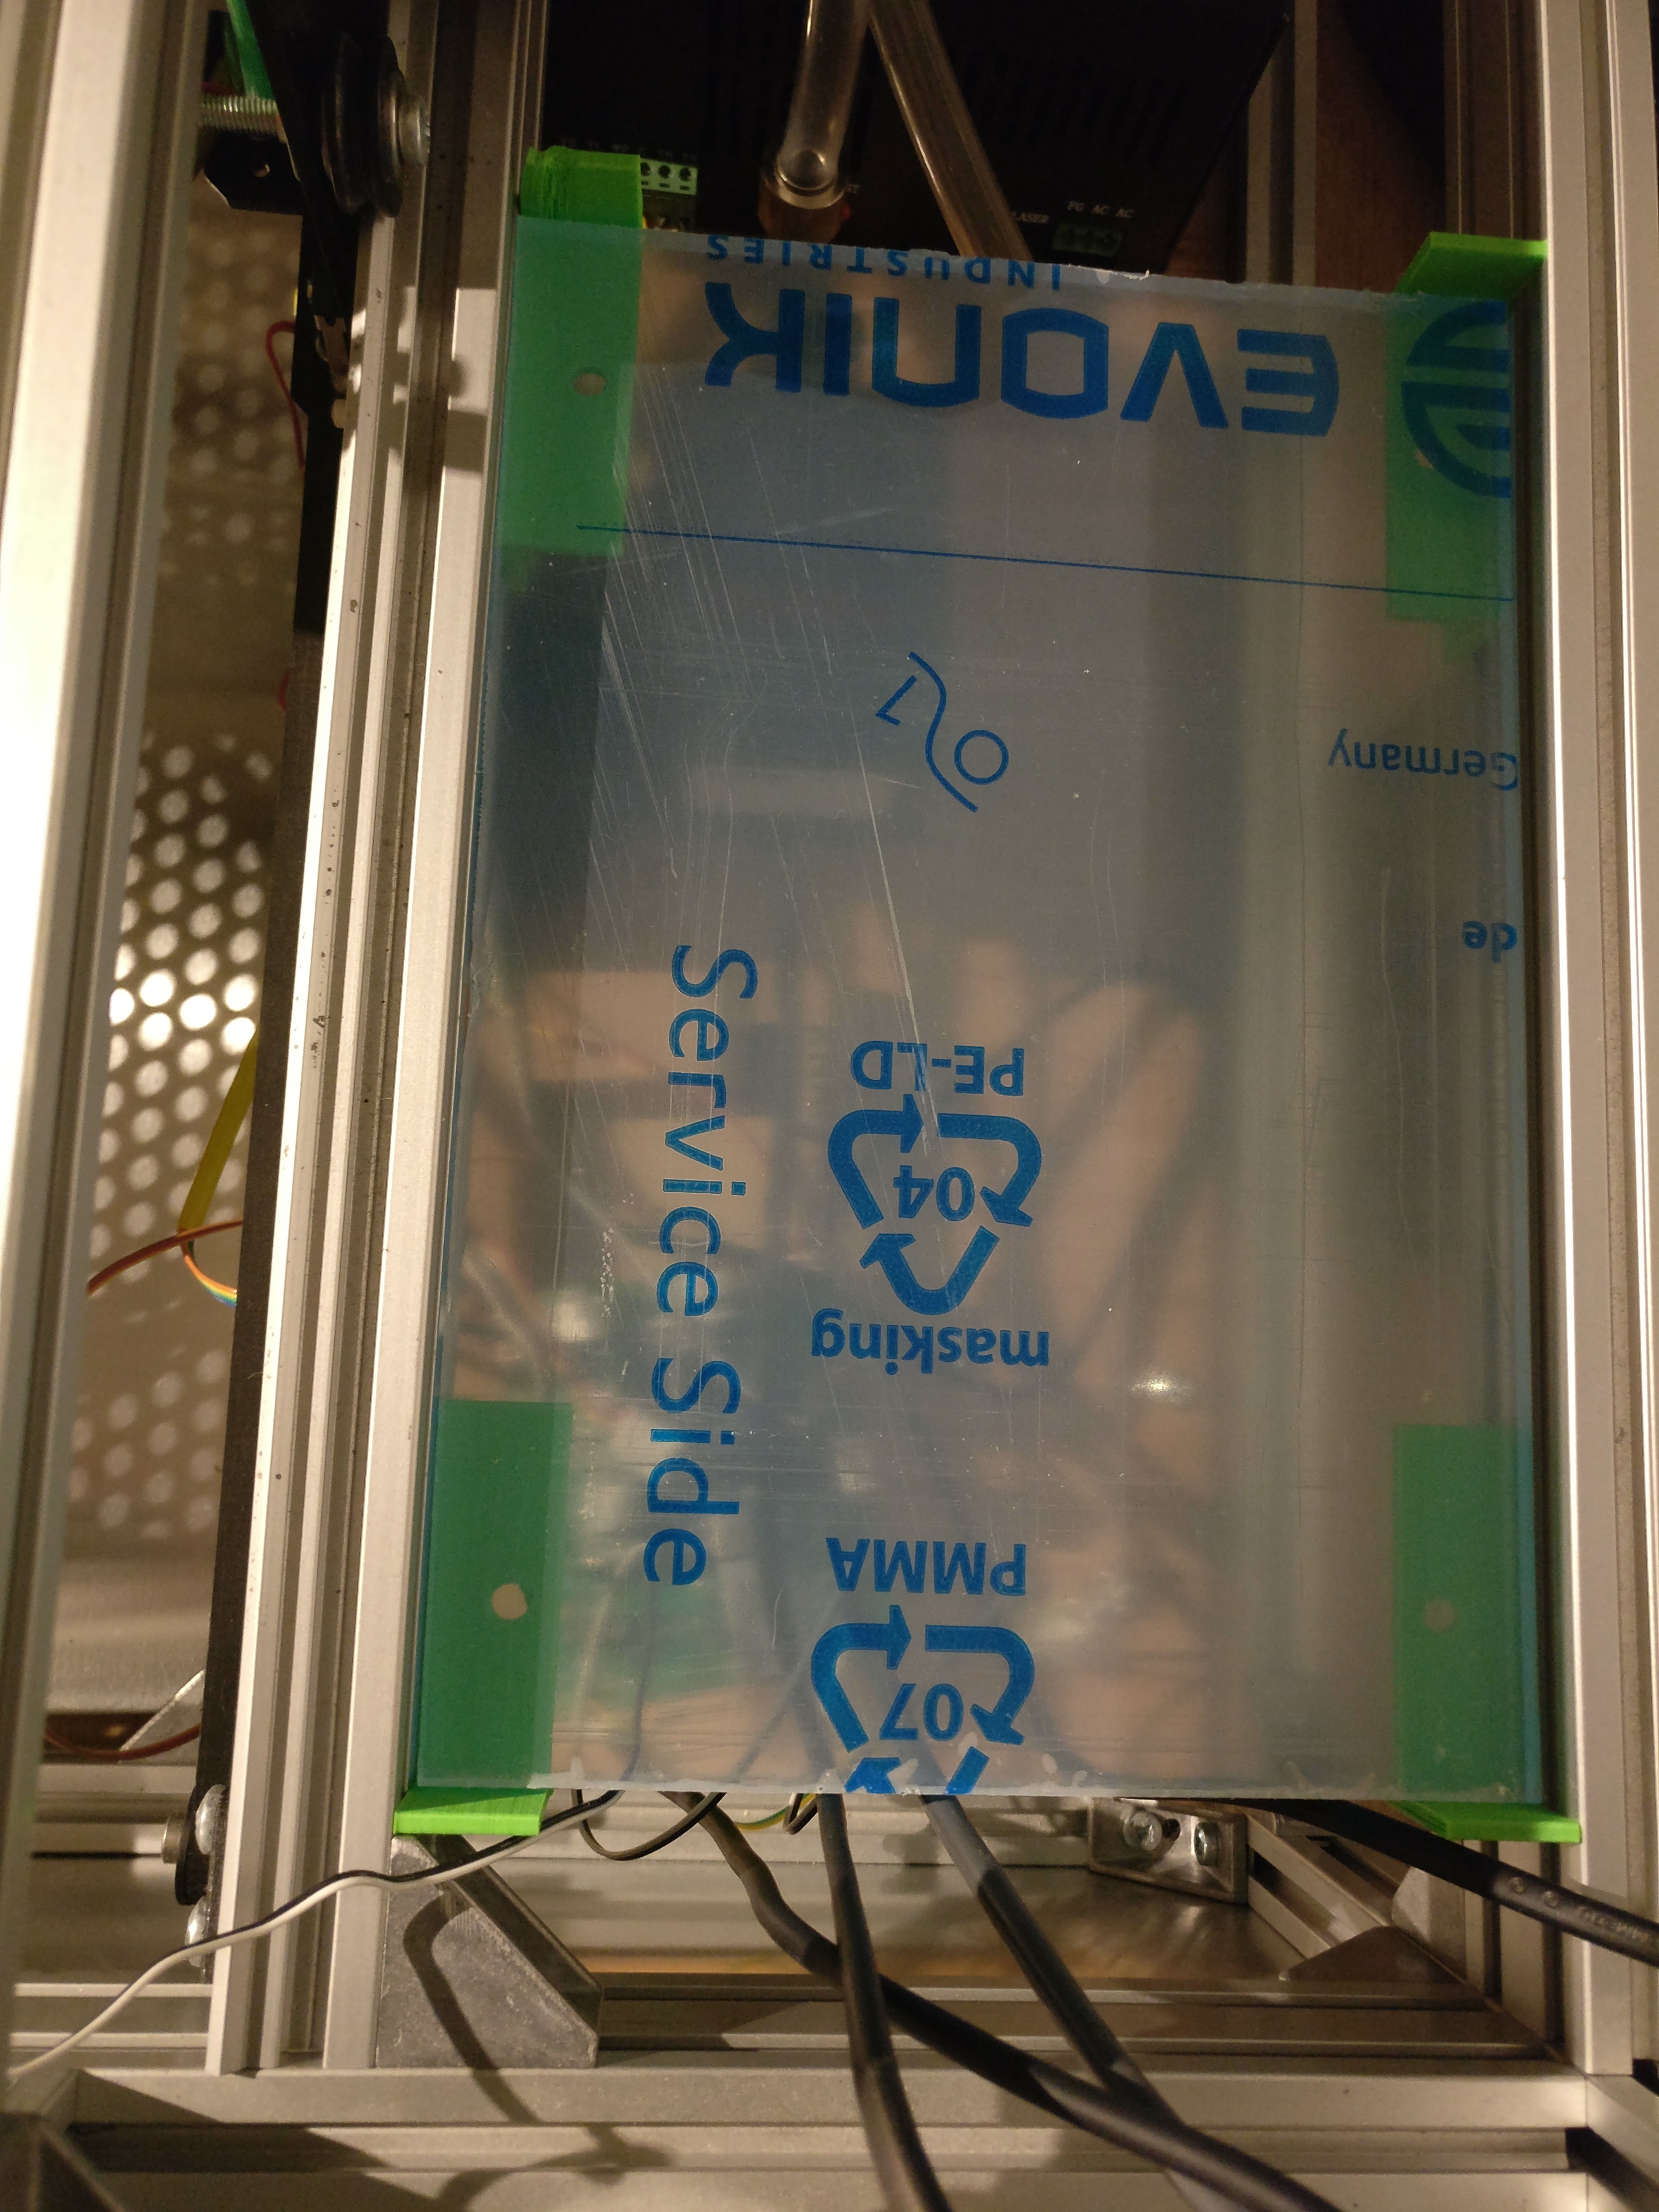
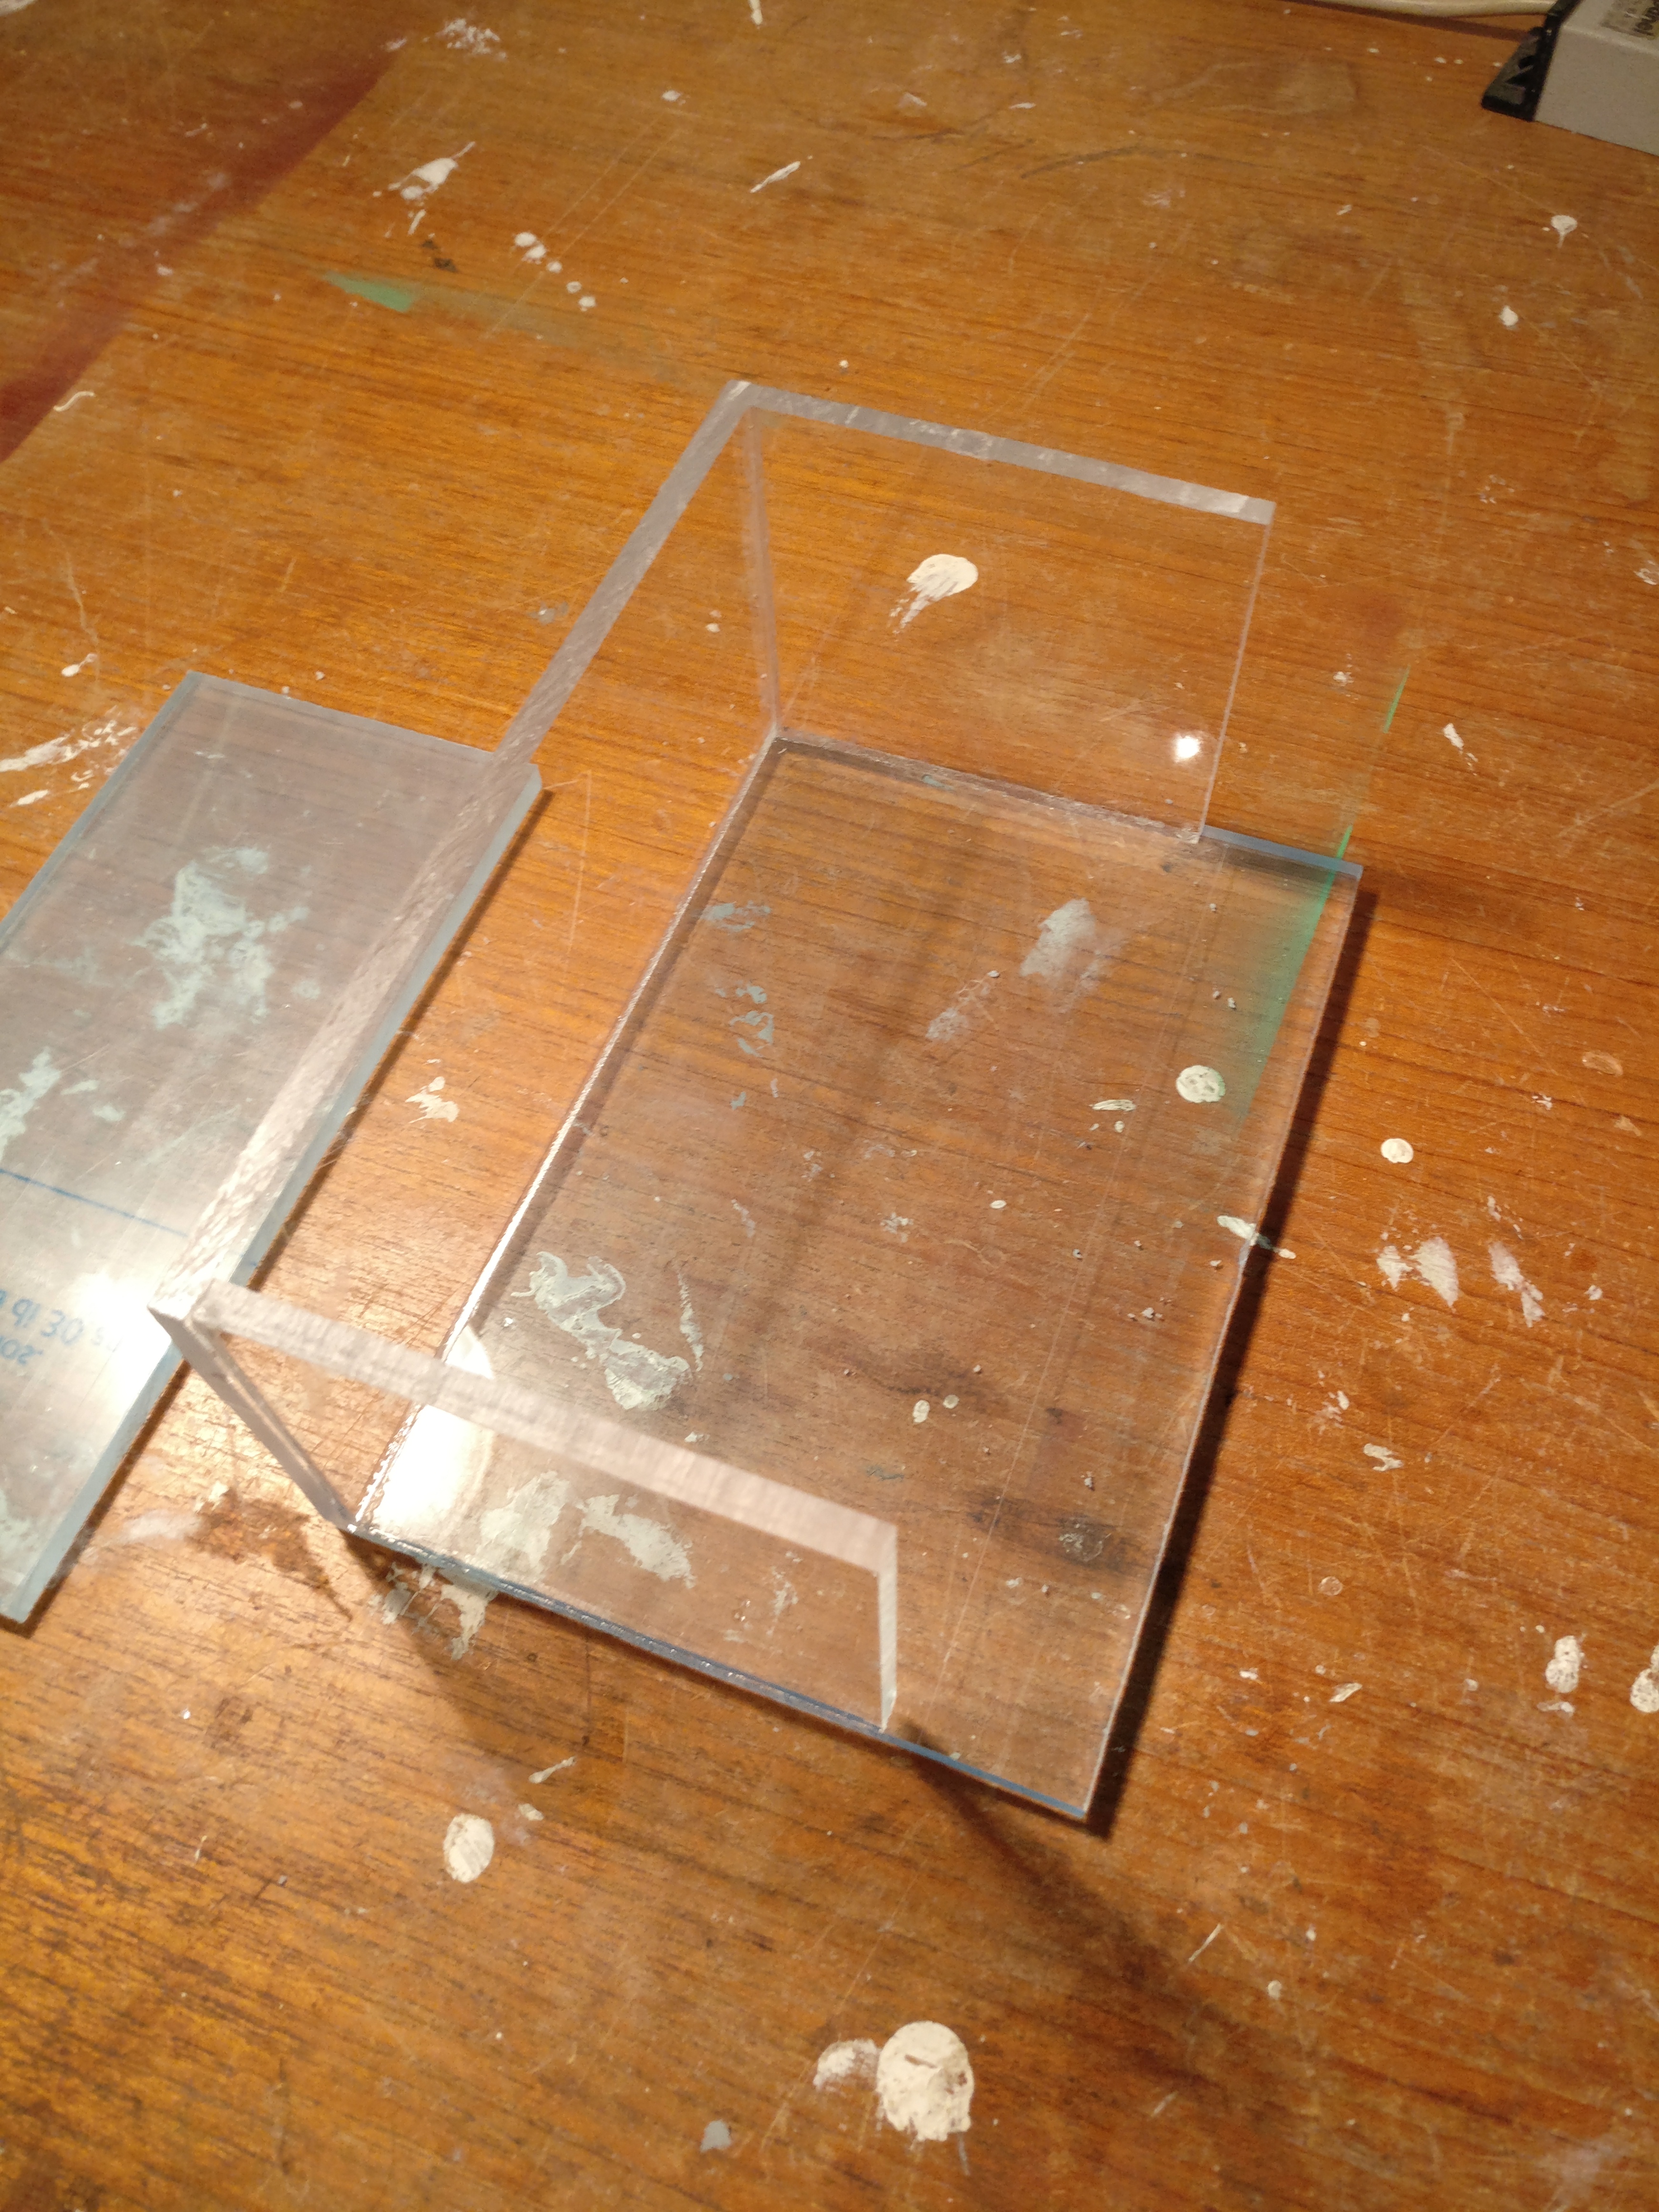
Meanwhile, I can cut out a piece of acrylic to fit the brackets and to serve as the bottom of the reservoir. looking good!
Making the reservoir
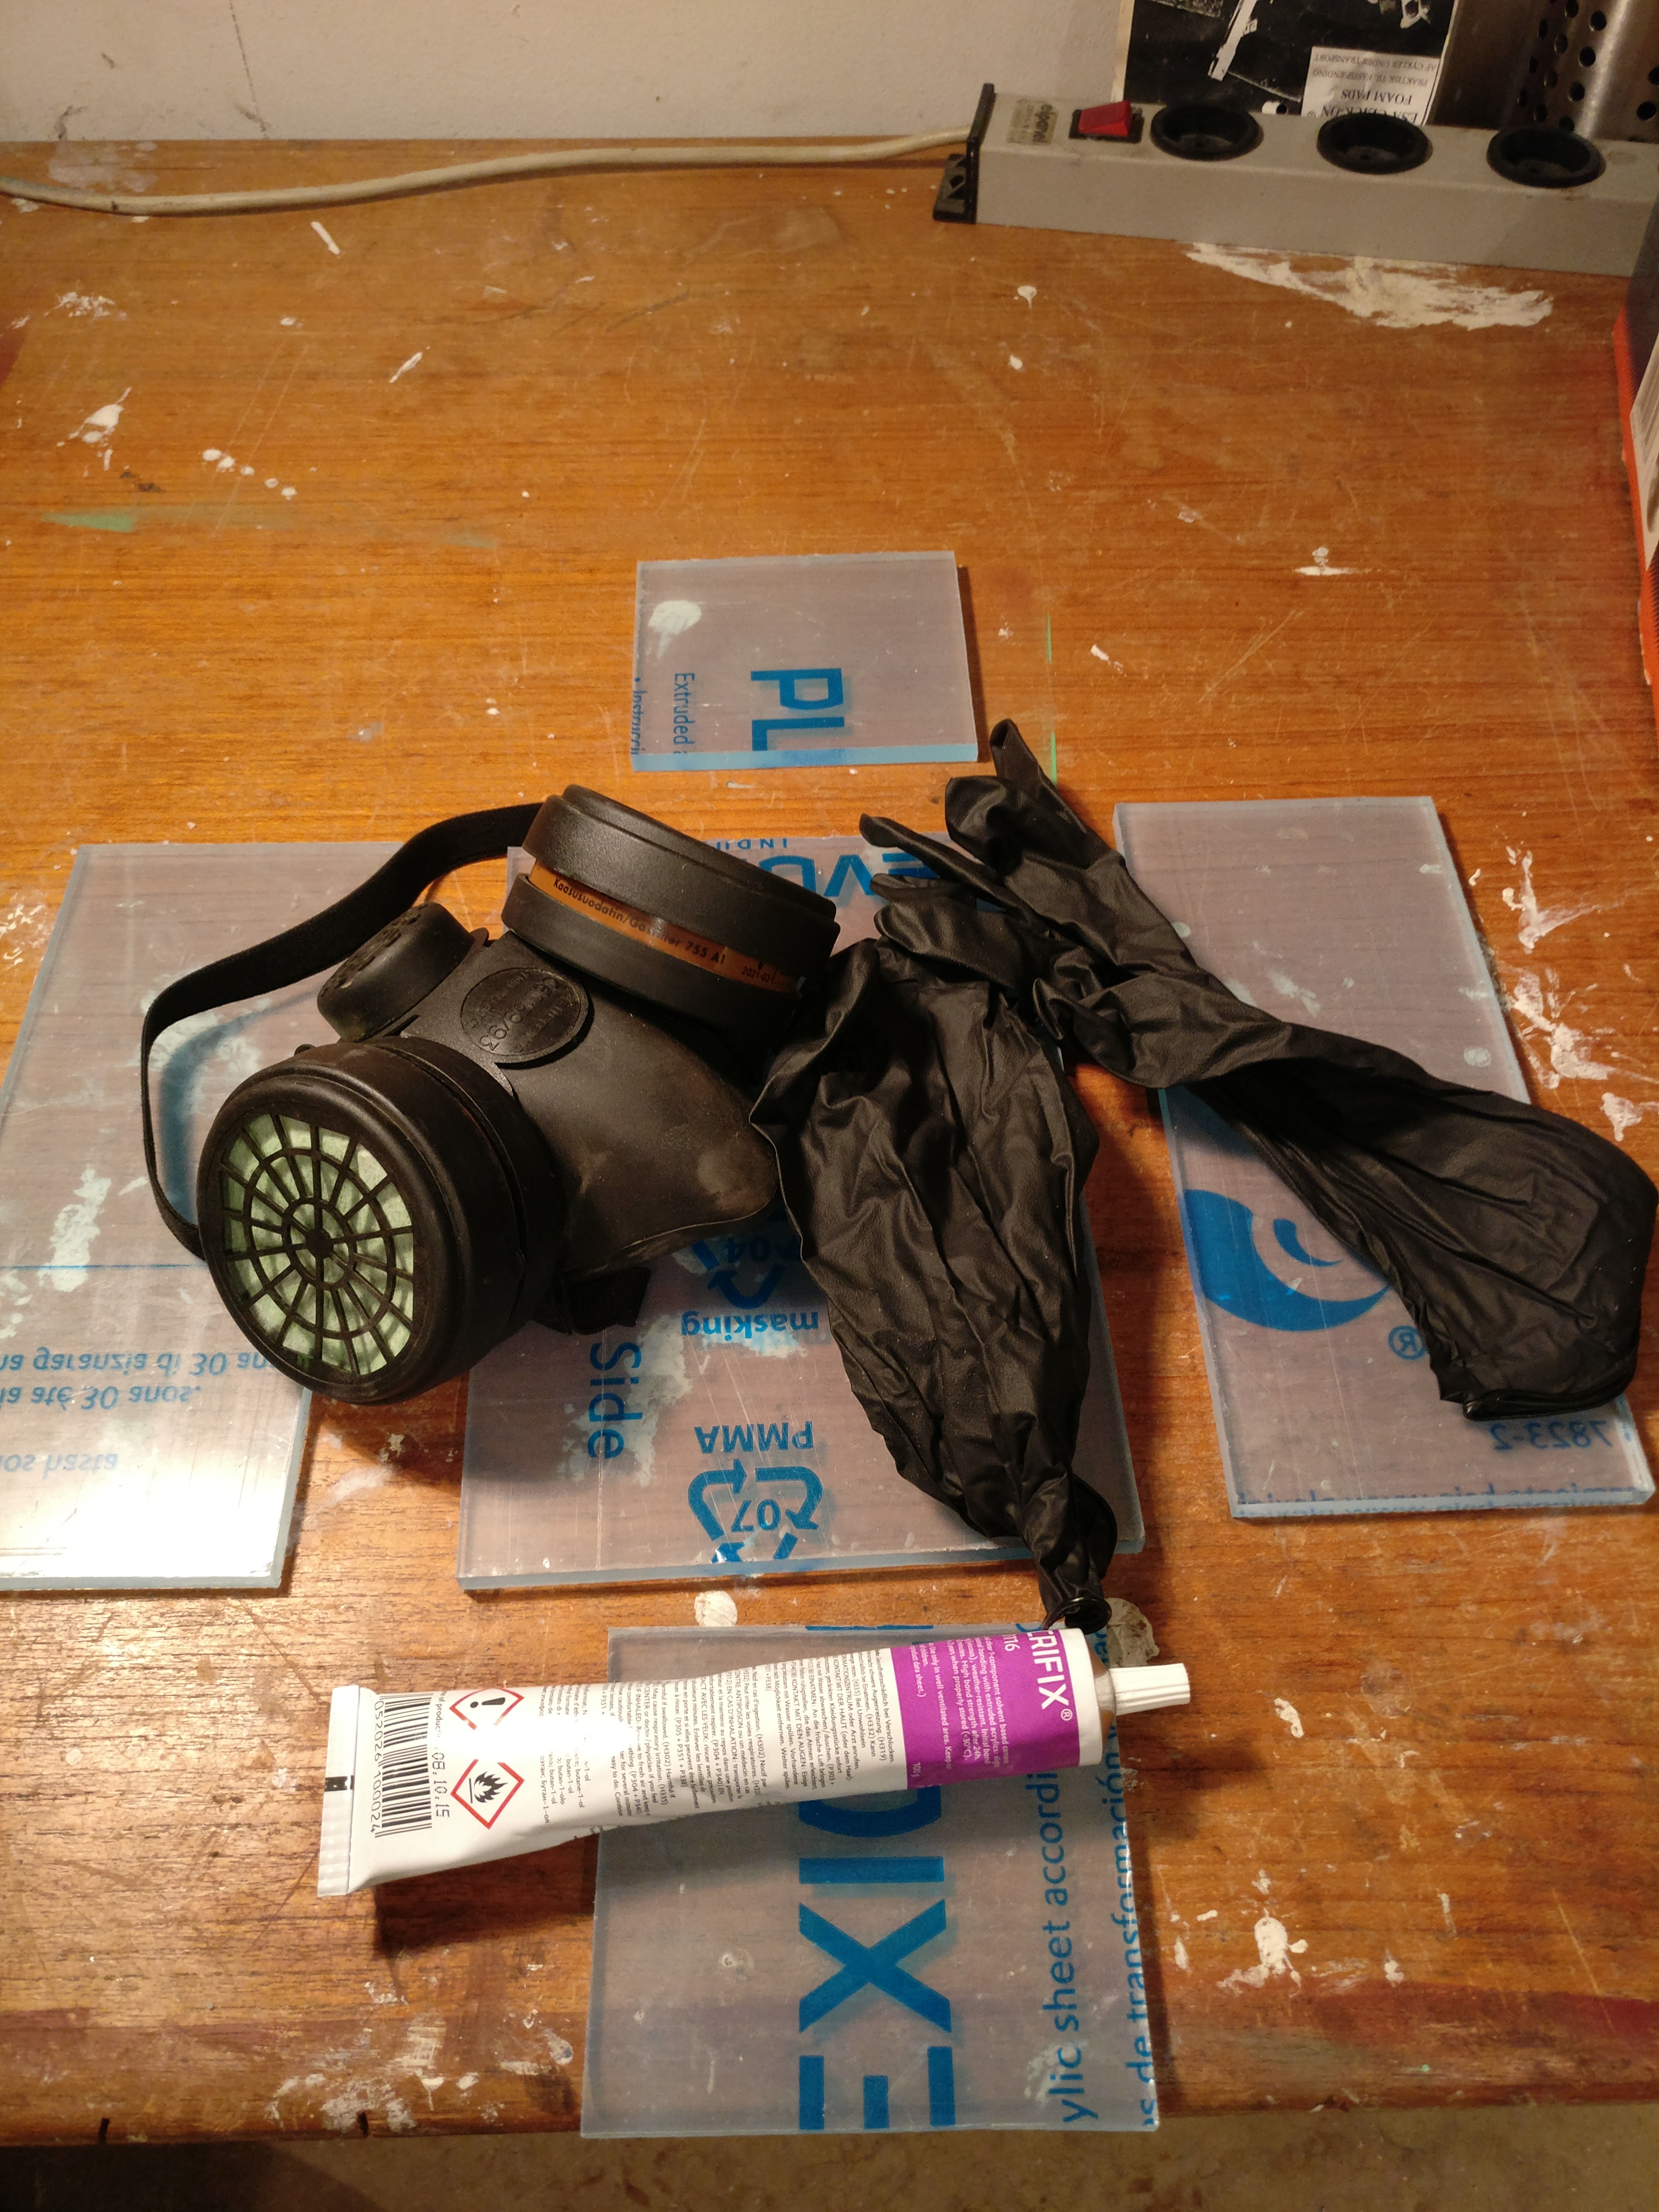
First – find out how you want it. I was looking to screw the whole thing together so I got some 8mm acrylic. The place I got this told me that I should glue it in place instead. They even sold me some (expensive) special acrylic glue that is quite crazy. wear a mask and use gloves. that’s something different from hot-glue.
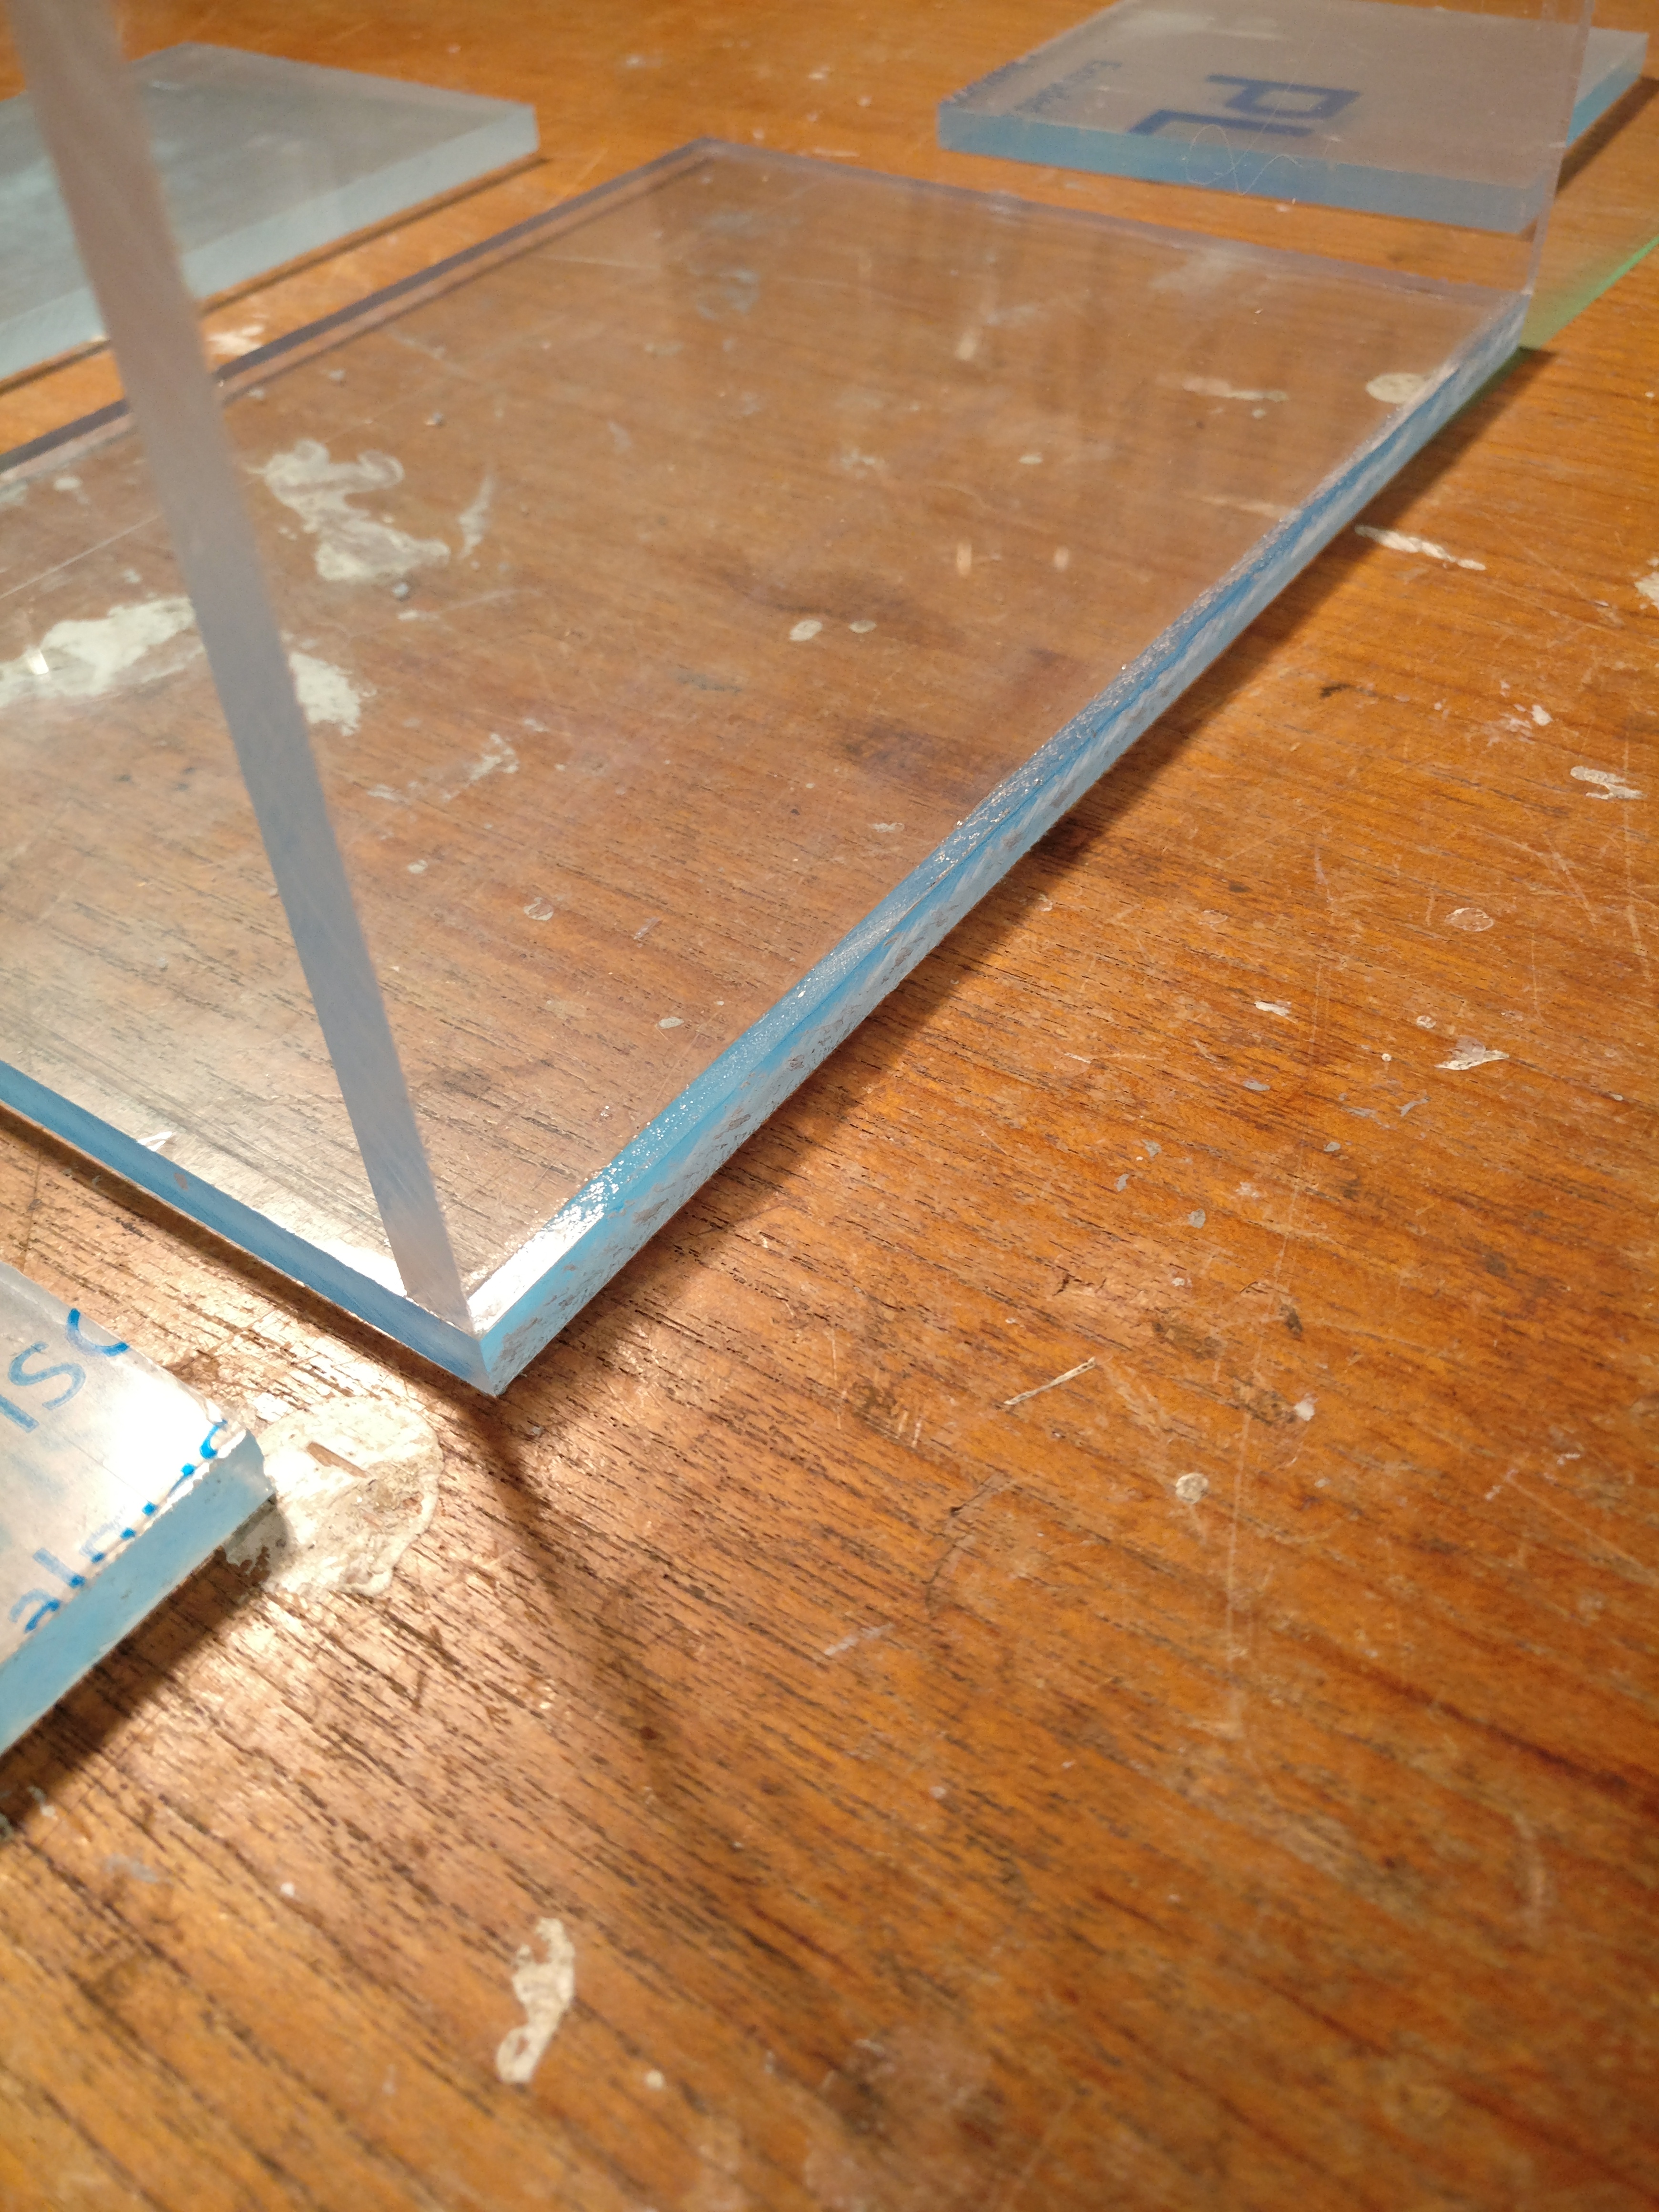
 Oh – I have to tell you. Cutting acrylic is not as easy as it may look. getting exactly the right angle is hard. also, if you are using a jigsaw you might end up with a lot of small bumps in your cut. Also if you move too fast the acrylic is melting and will resolidify in the cut you’ve just made. However, Progress was made and I tried a couple of different saws. Cooling down the jigsaw blade with compressed air helped speed up the process.
Okay, now you have all the pieces you need? time for some gluing action! I will warn you, though. The glue is really viscous (it is very thin) so when I put the tube upside down it just started pouring out.
The glue works by dissolving the top of the acrylic so the bond will get really good. That also means that if you get glue somewhere you don’t want it you have about 3 seconds to remove it before the outline can be seen. Maybe even less. Ask me how I know this 😉

Of course, you also need to remove the protecting film so be really careful with your acrylic now!
There’s not really much to say right now. Take your time. The glue sets initially in about 2-3 minutes so you have time for small adjustments. Also, use more glue than needed. In the end, I had to fix a few leaks in my reservoir.
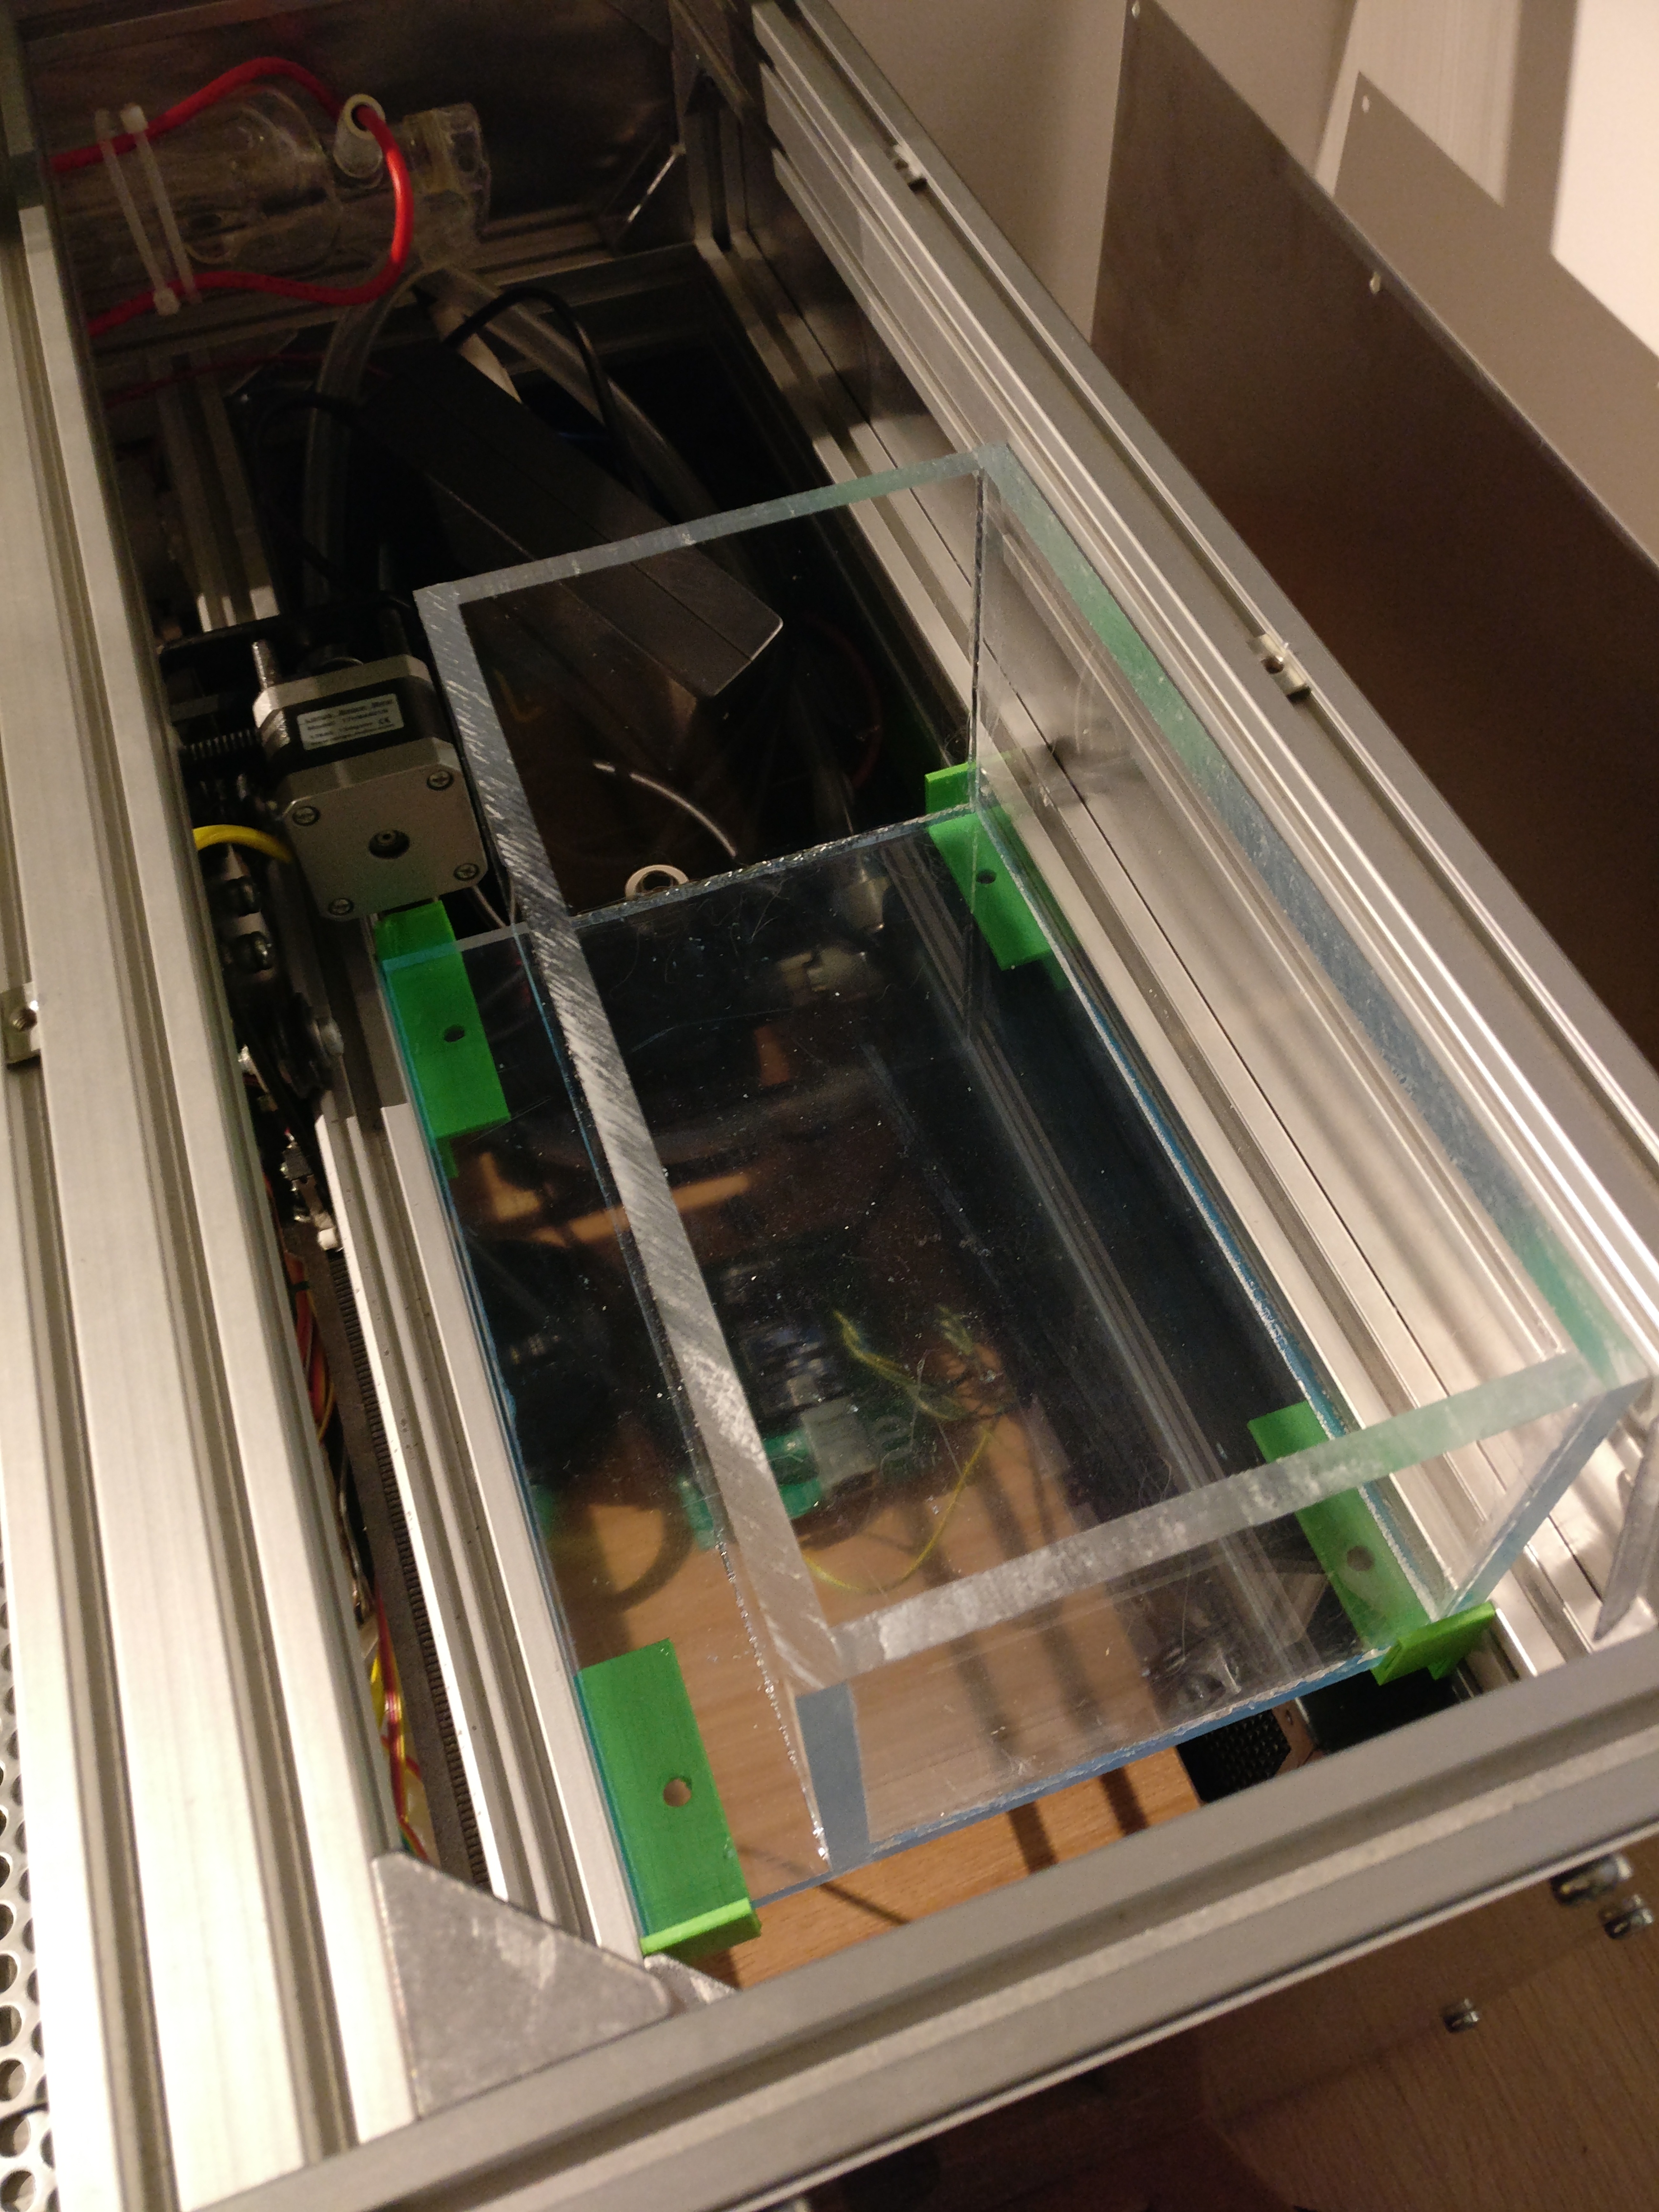
The reservoir installed in the cutter. It’s still missing the top but for a fitting test, this will do. Notice how the motor can just get past the side of the acrylic. Optimizing the size here!. The reservoir will hold just above 3 liters which maybe is enough? I haven’t been running the machine long enough so I won’t know.
The flow is the following: Reservoir -> Radiator -> Laser -> Pump -> Reservoir.
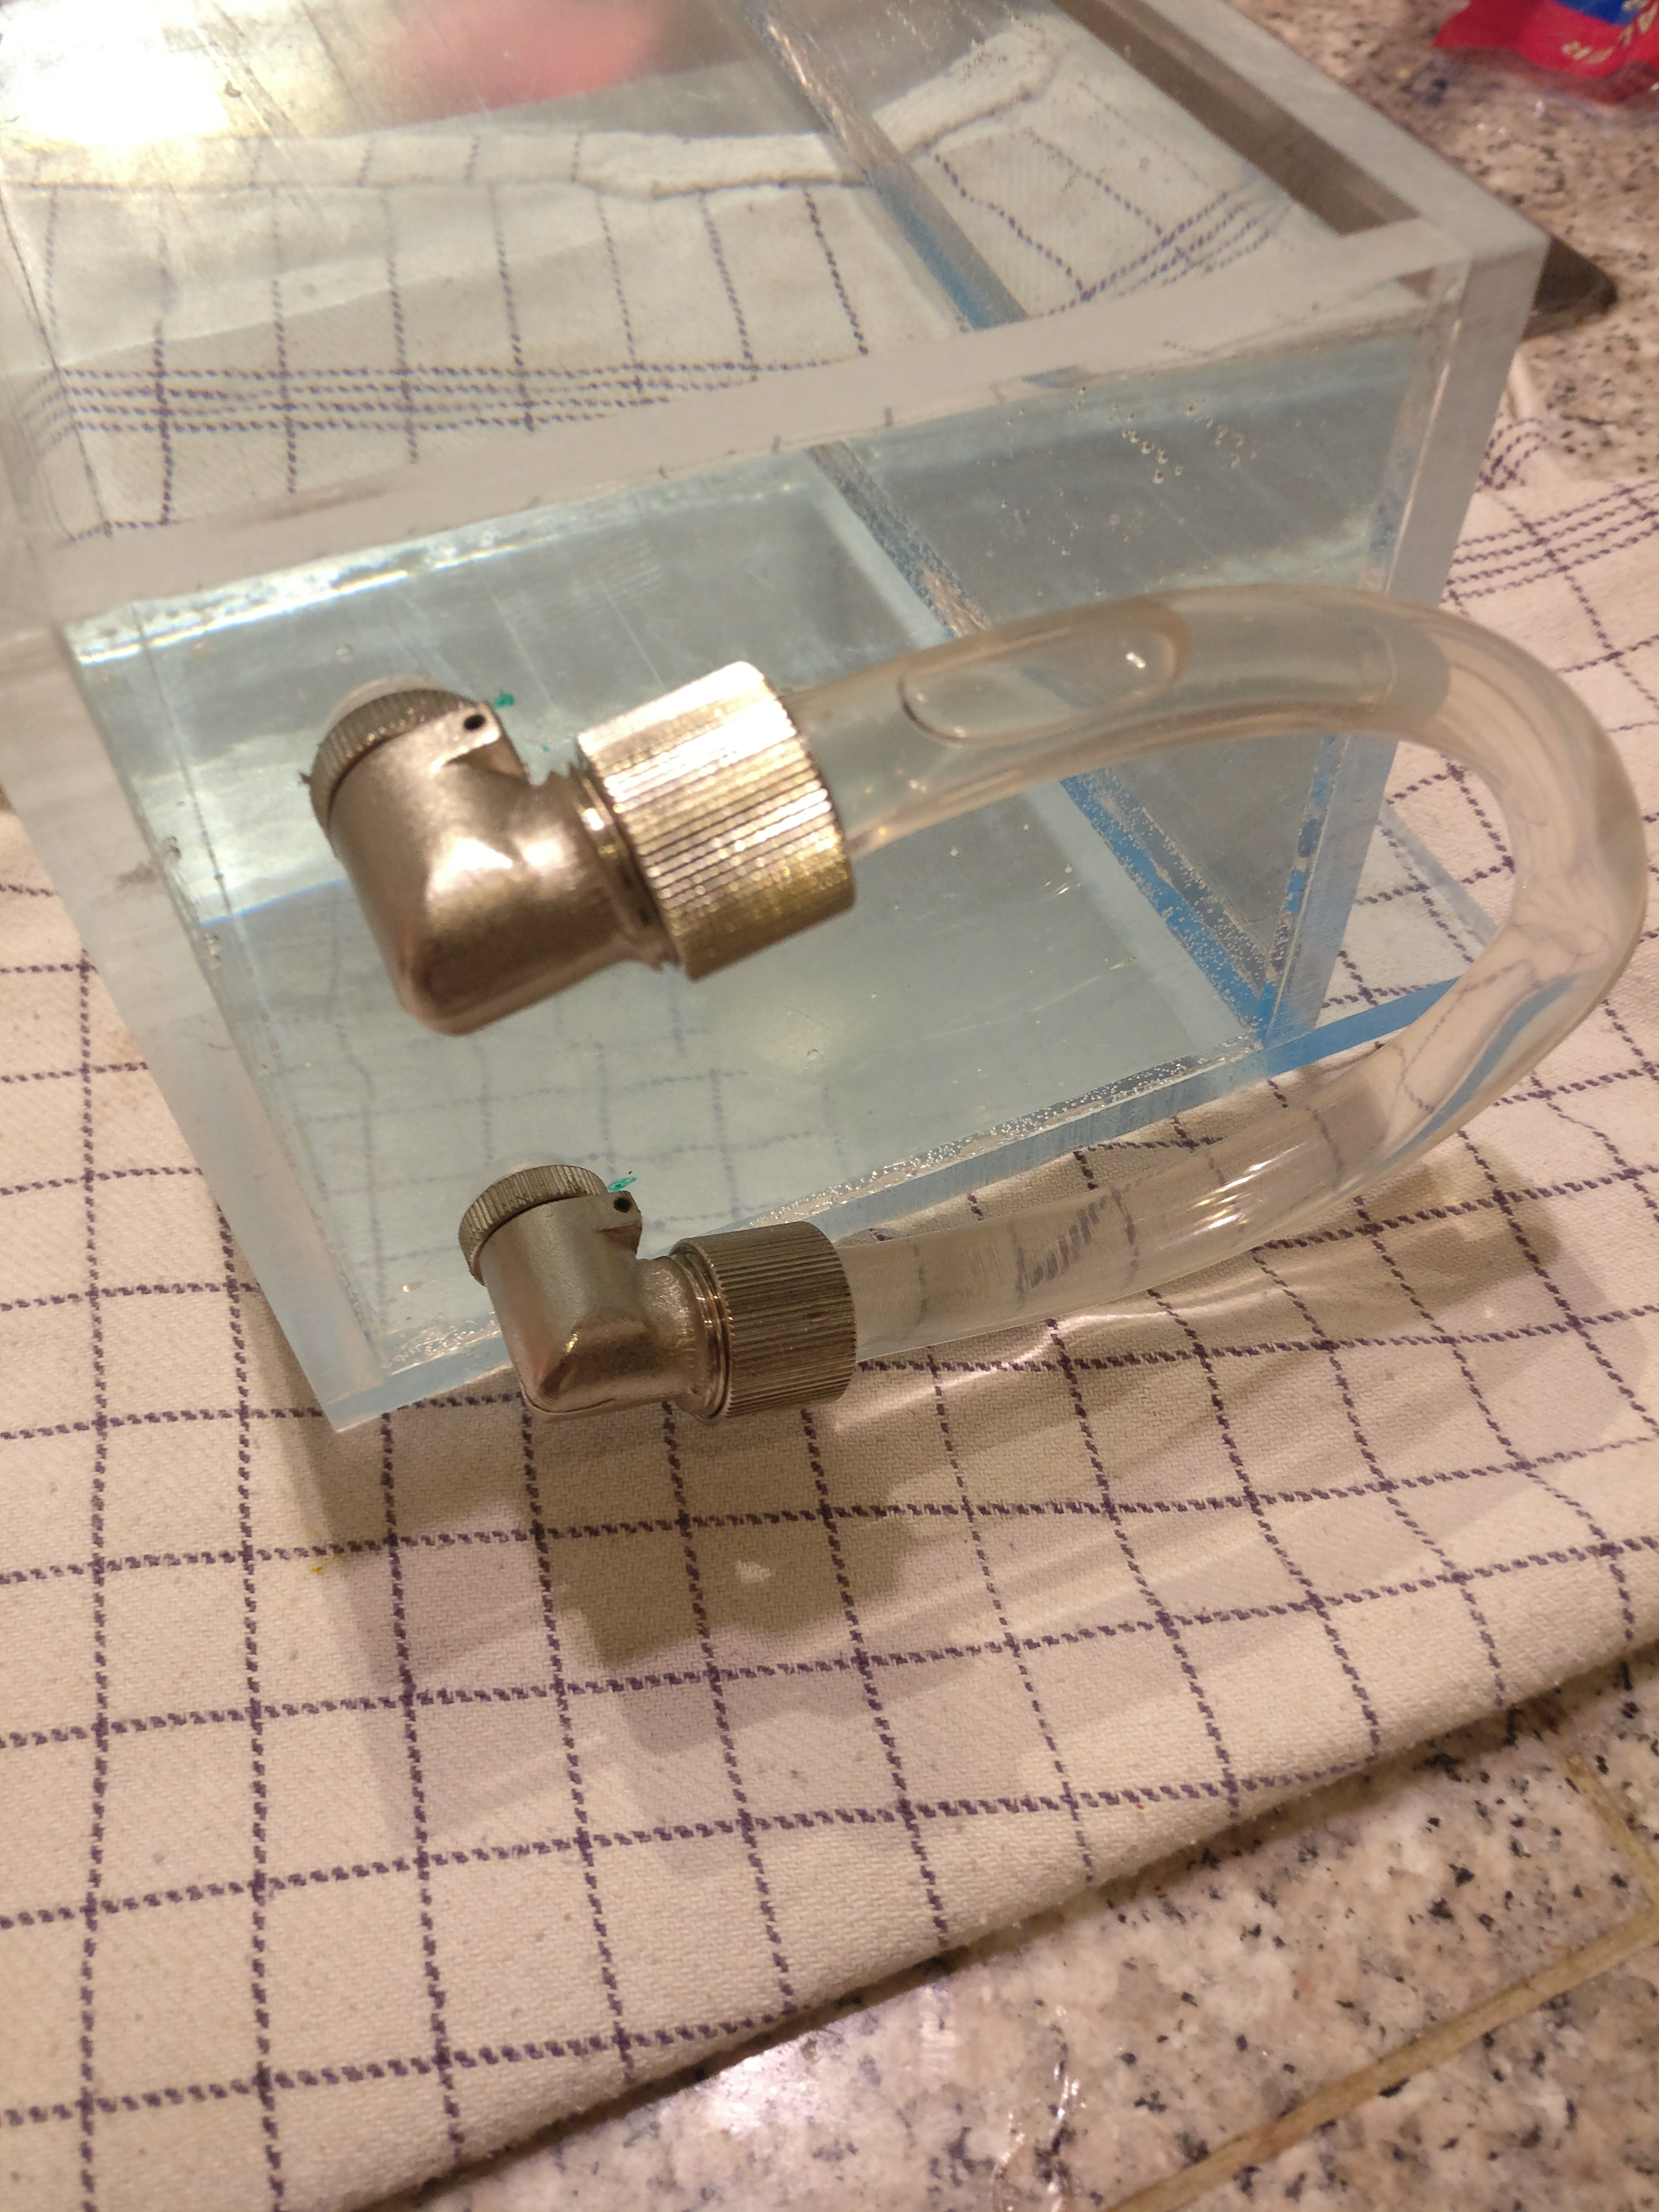
Fittings in the reservoir
Getting the fittings was easy enough. Getting the tap for threading holes in the reservoir – not so much.

This sucker here is special. Very special. It’s a 1/2 inch UNF (20 threads per inch) tap which I found on snittappe.dk (a site selling only threading taps! amazing!)
After asking the workshop where I work for a tap like this, they looked through all the taps they had but none of the matched the threading on the fittings. So you’re telling me that this threading is a standard? Use bloody metric next time.. grrr!.
Anyway, I got the tap and made me some holes. Testing first
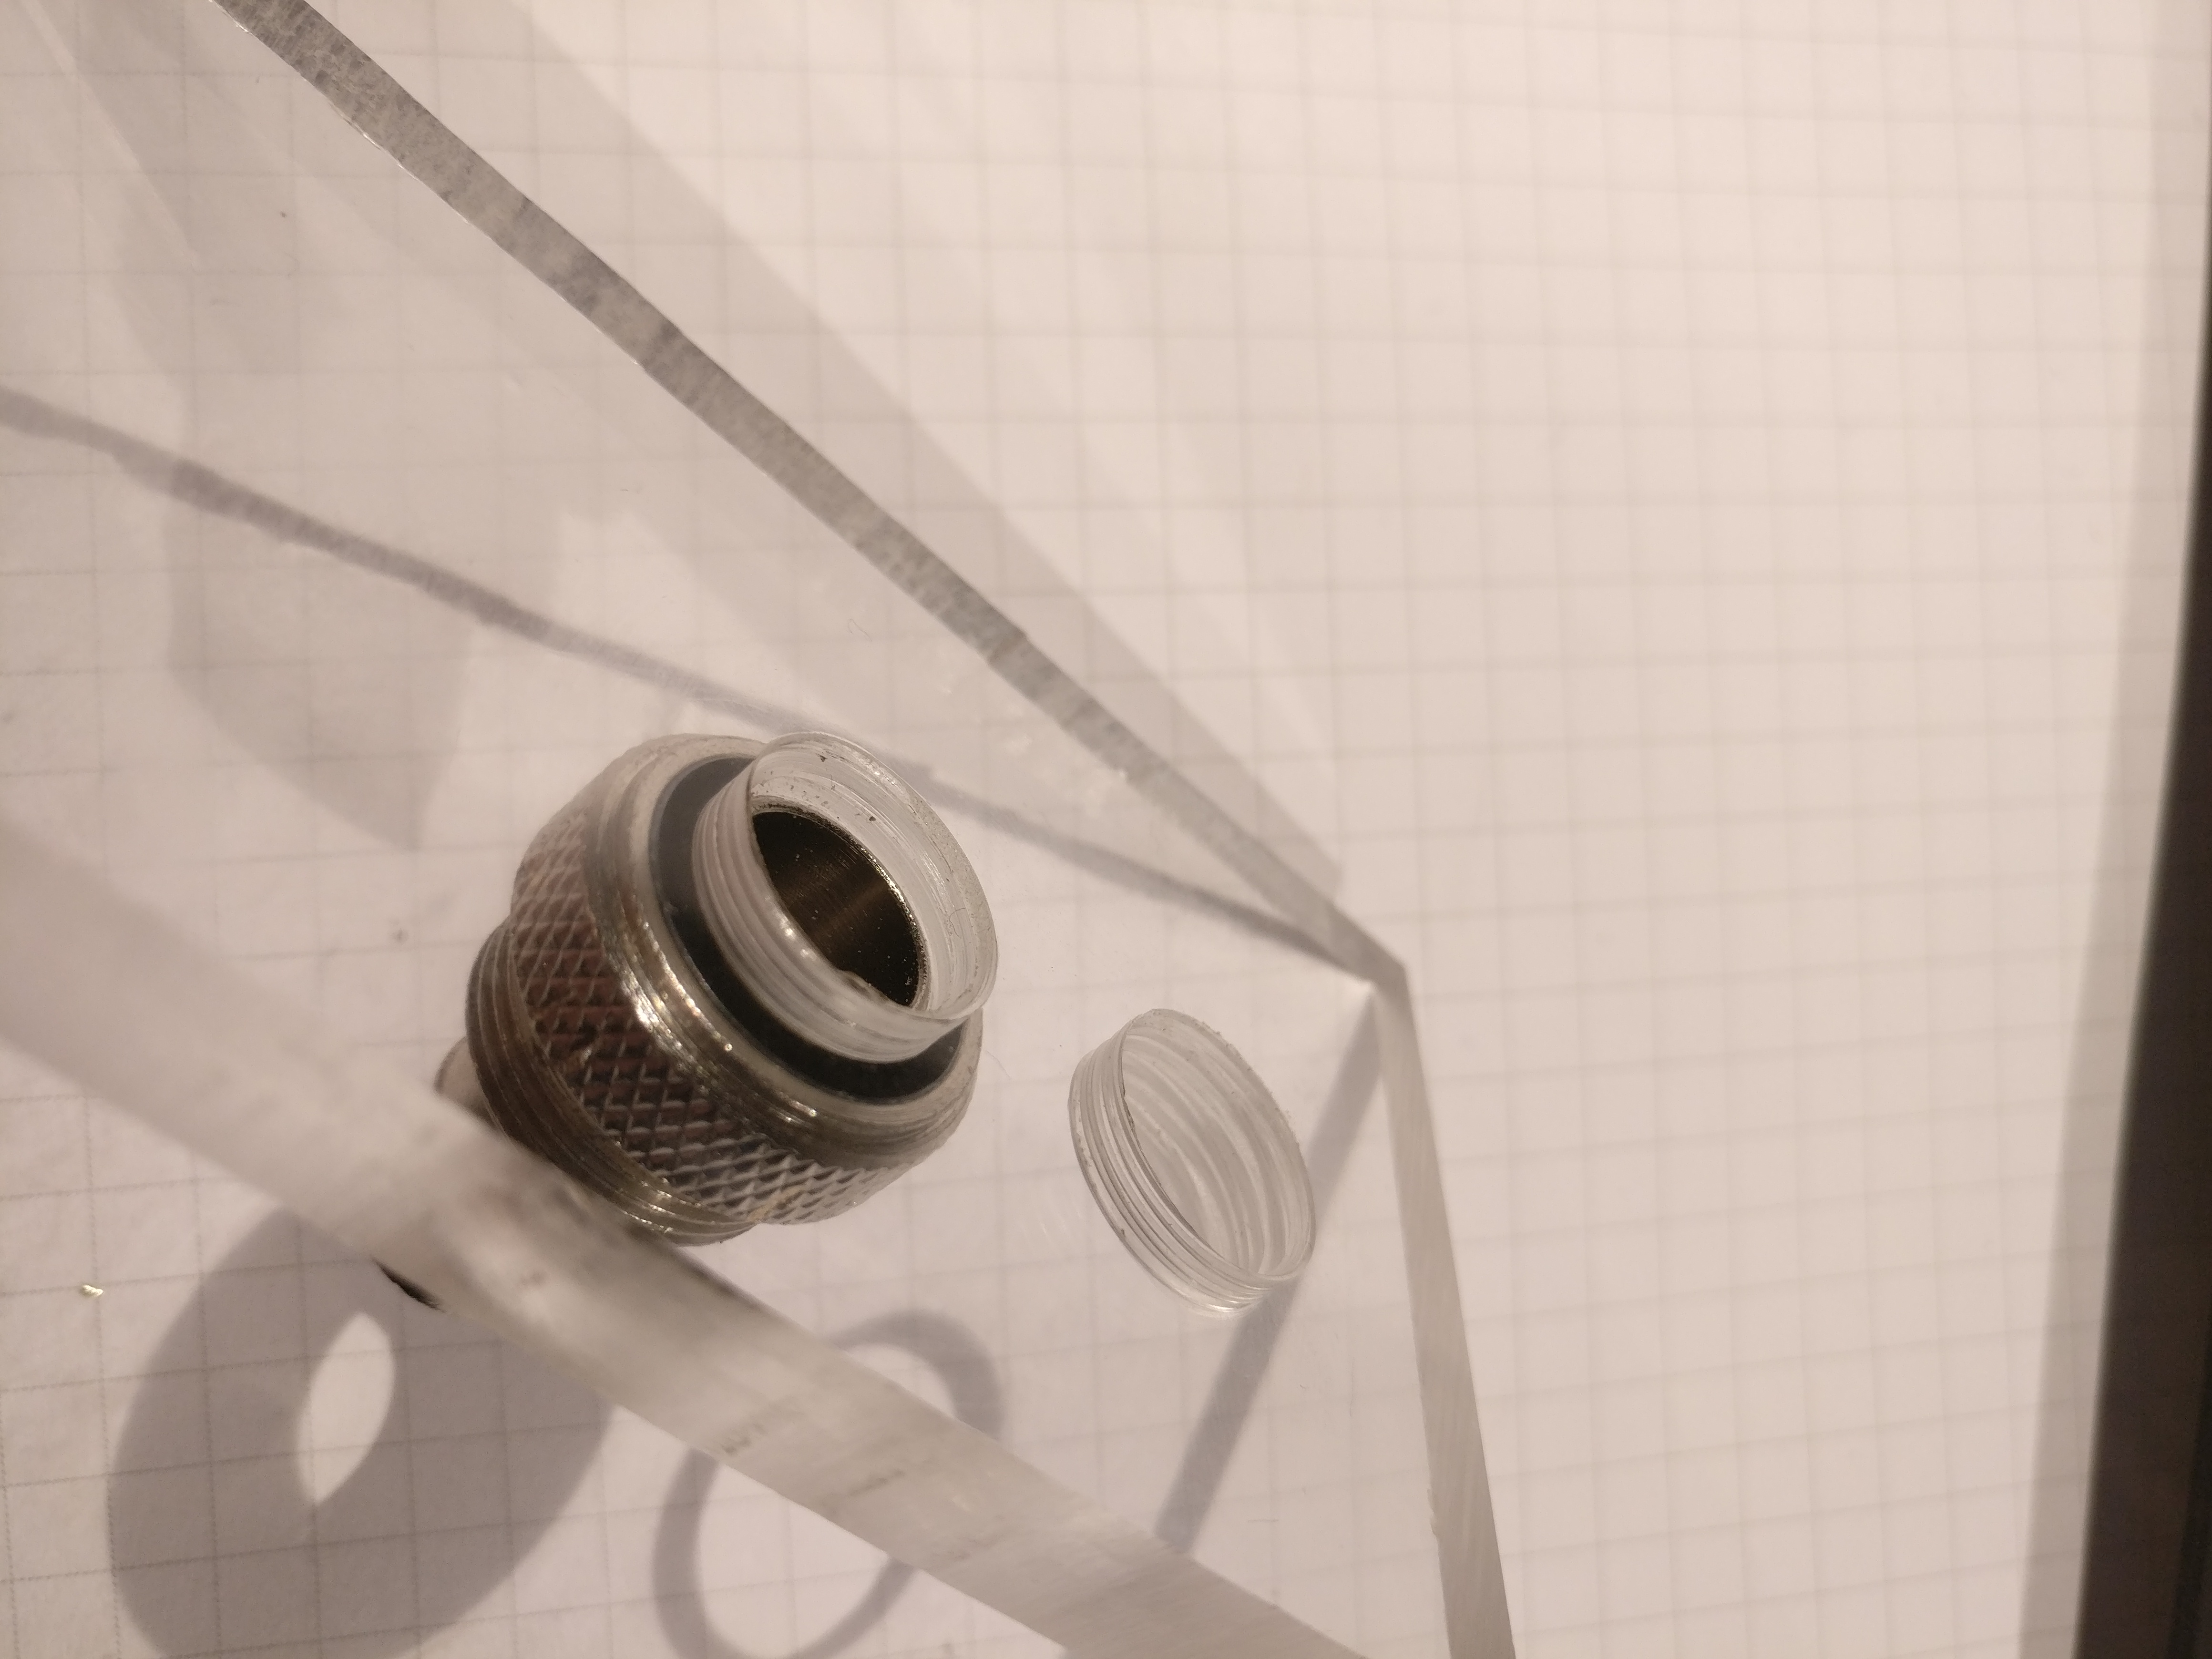
I only had 11mm drill bits so even though I should have used 11.5mm I tried. With a bit of force, I got the fitting to match. yes! Now for the holes in the reservoir!
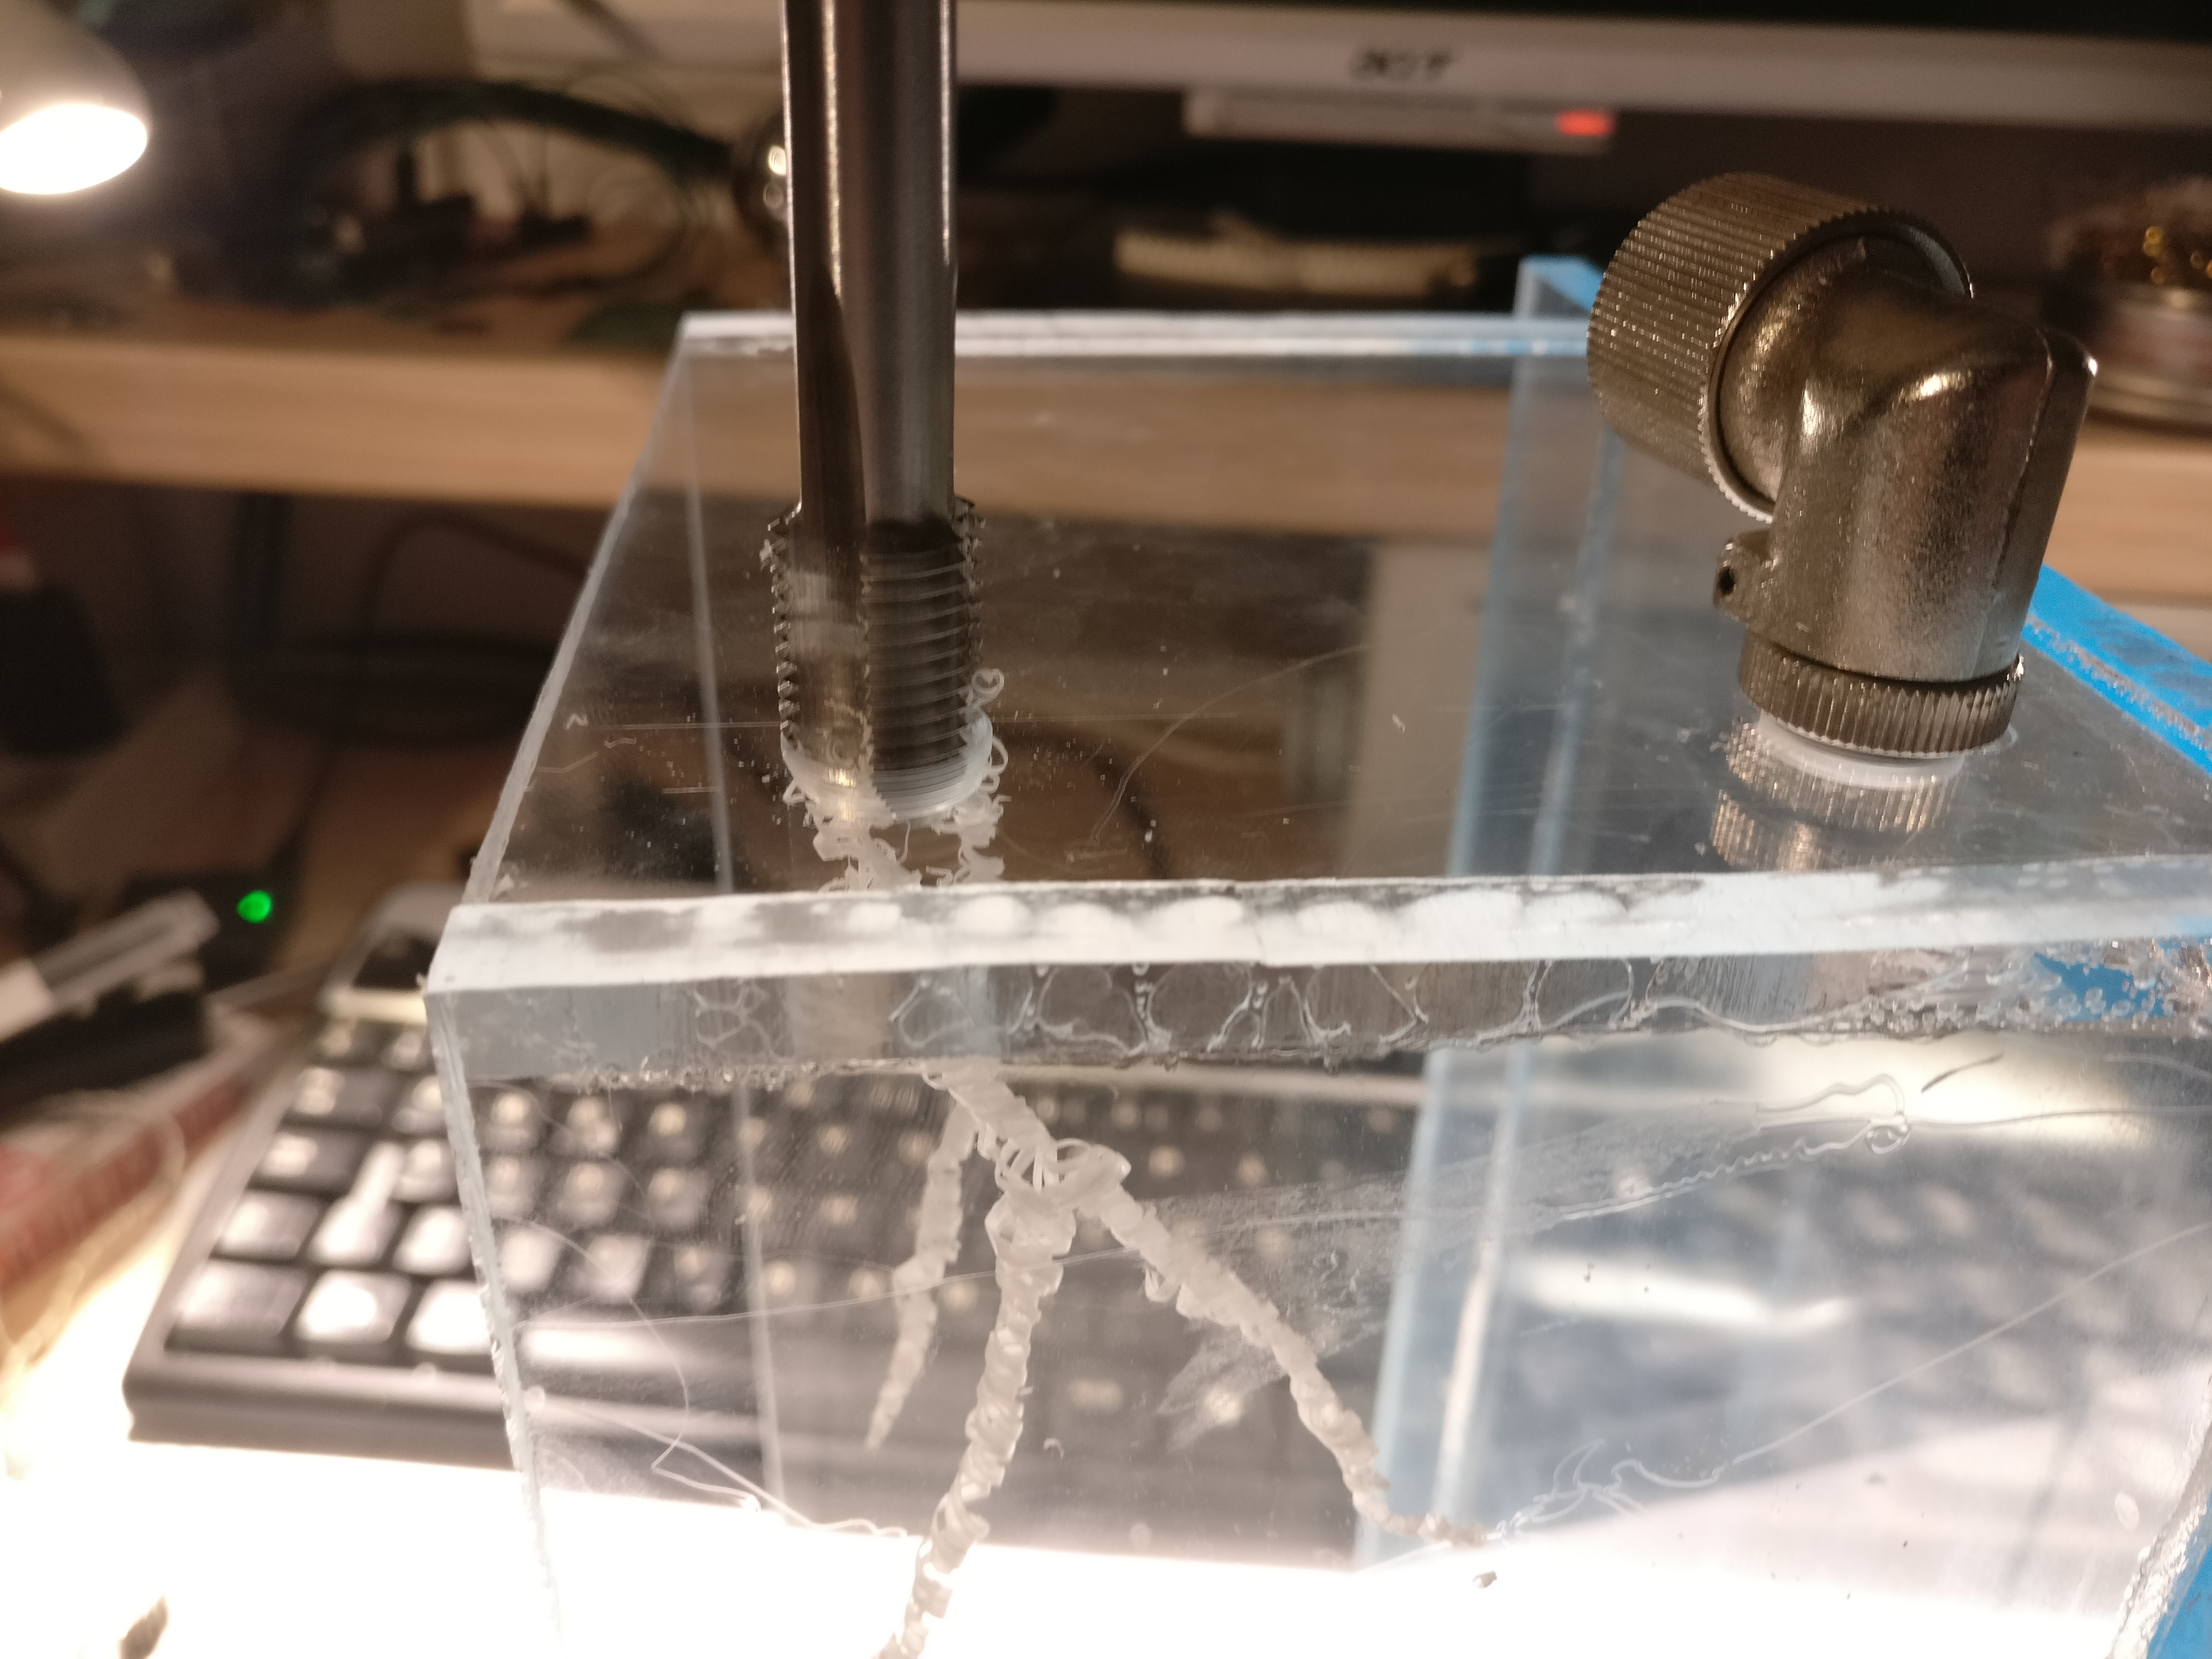
Oh, by the way – drill and tap the holes BEFORE you but the lid on. Loads of scraps to get out after the tapping. Getting the fittings in was a bit tough and I was very careful not to break anything. I think I managed to succeed.
Add a bit of tubing and let’s test!
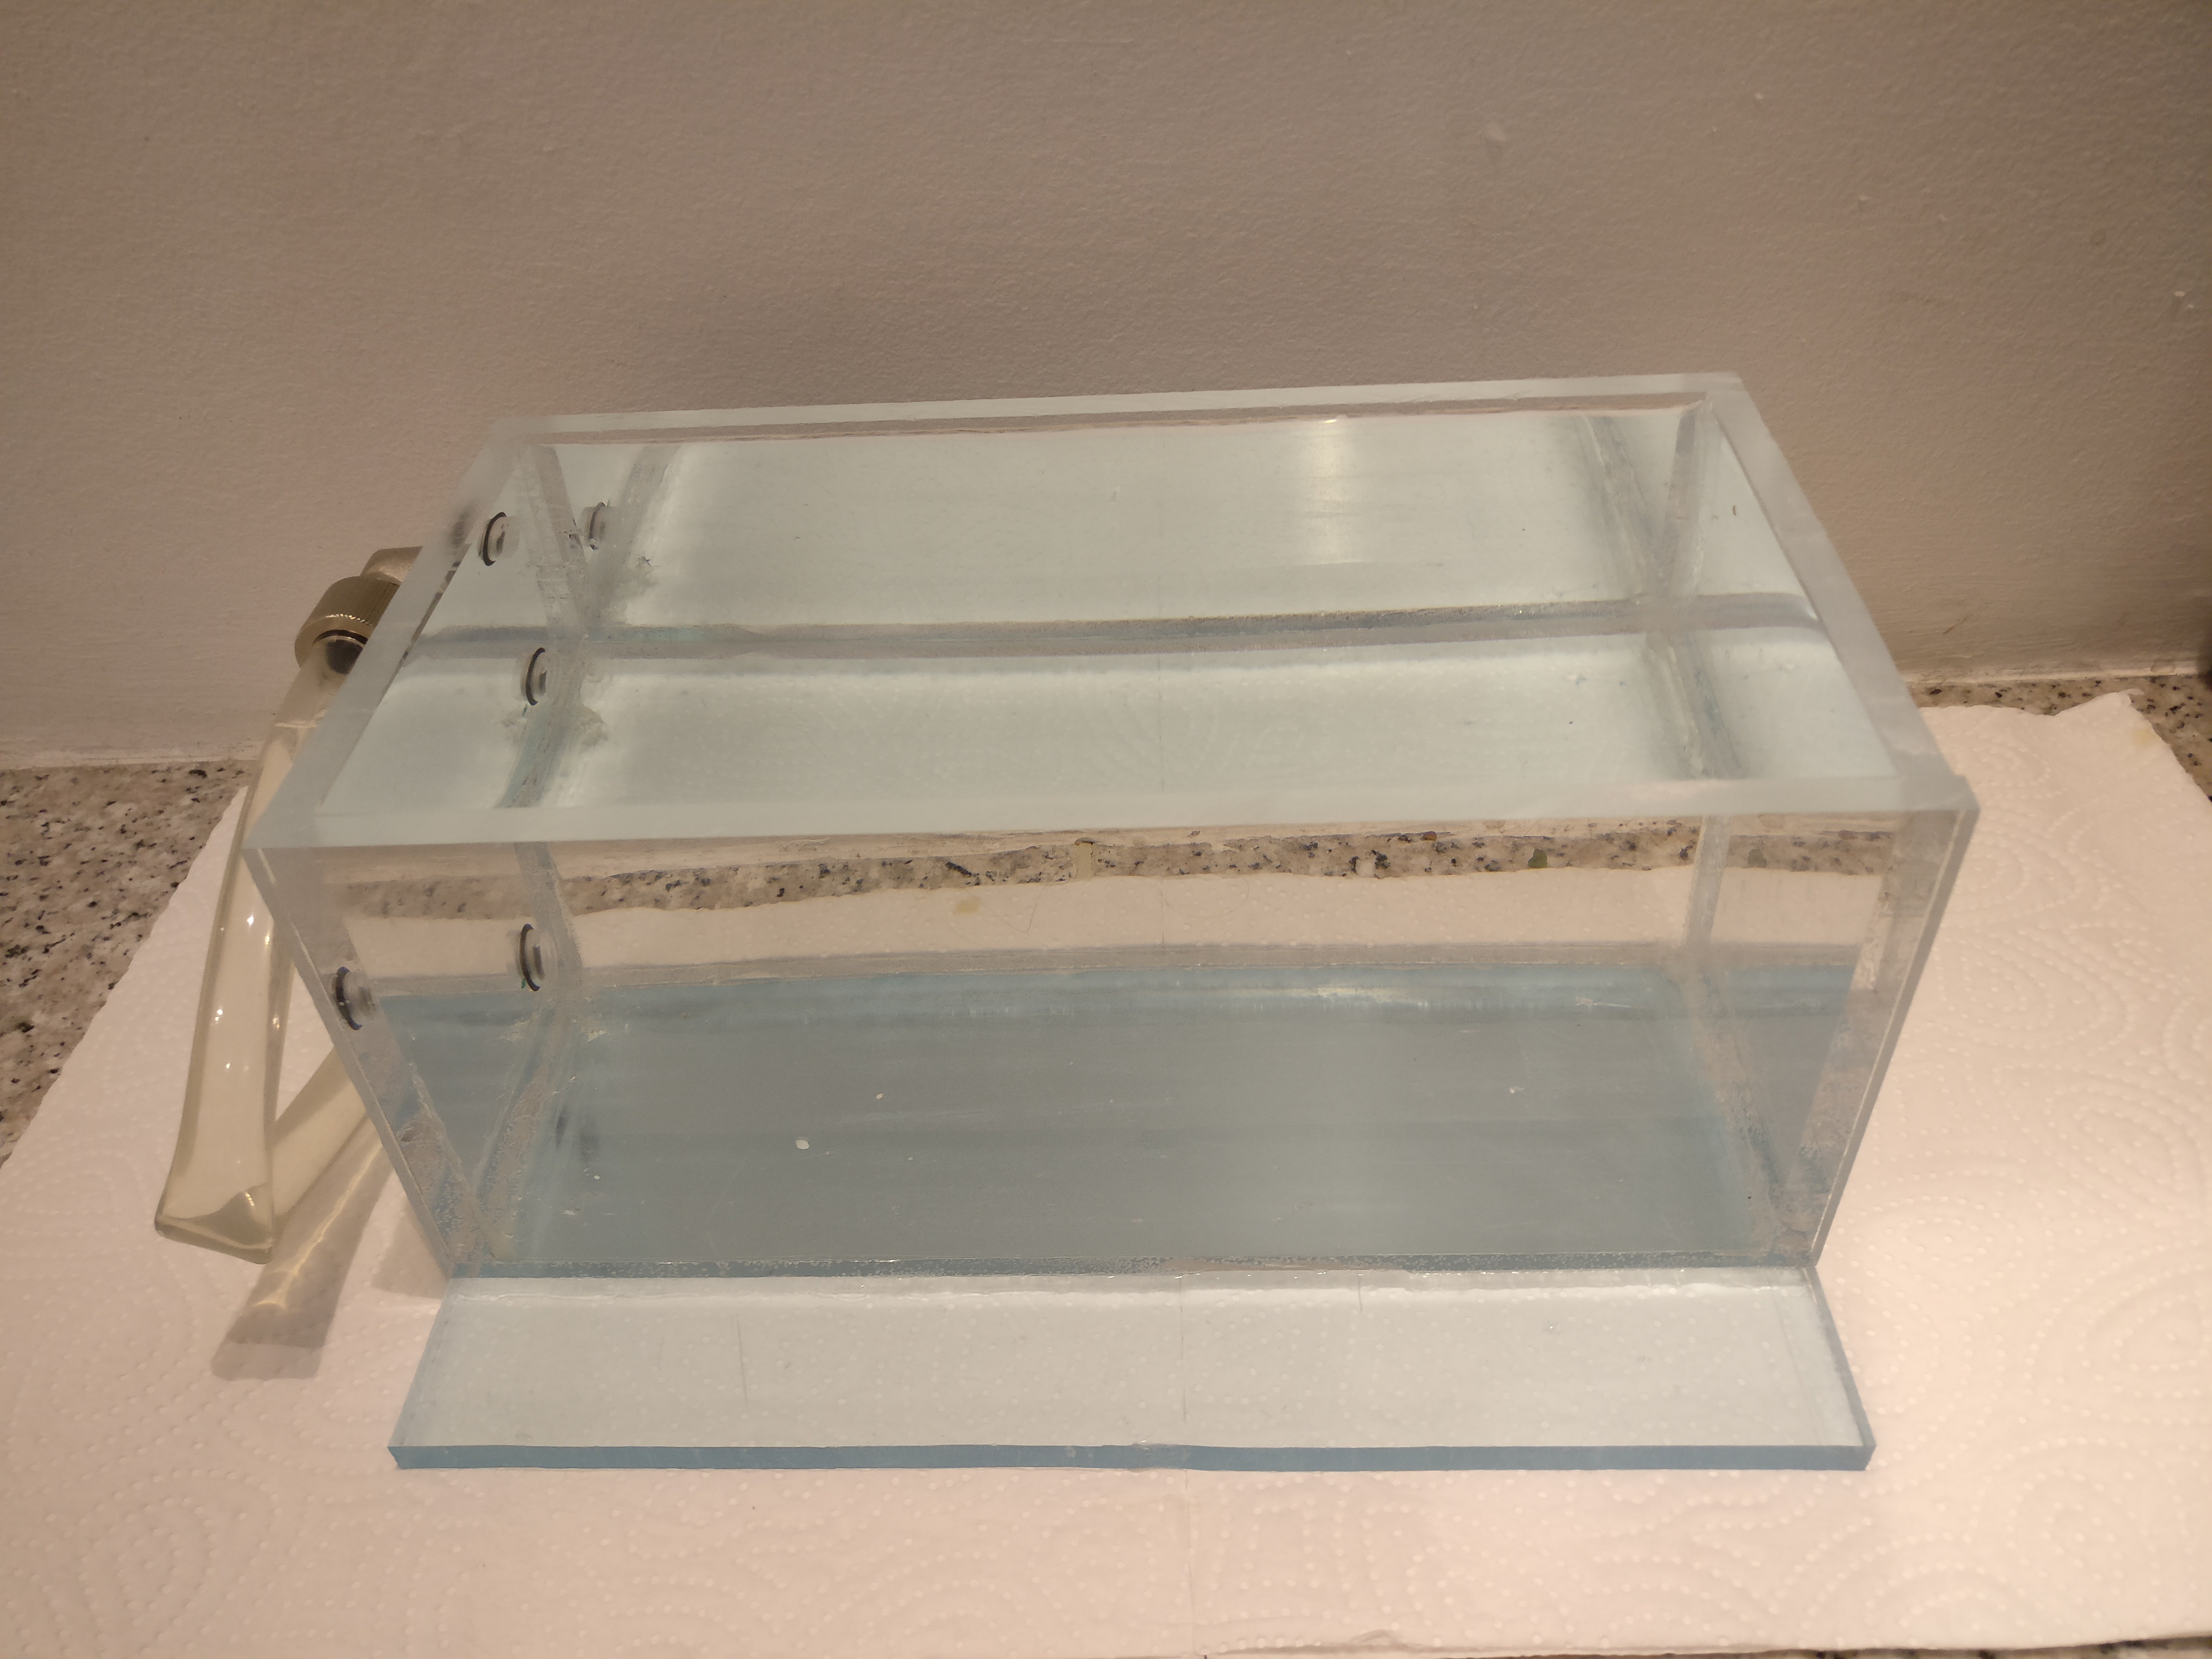
8 hours later. A small, really small wet area had formed beneath one of the corners. The paper towel works as an indicator for wetness. Hot-glue the corners and hey! we’re good!
So now I have a working laser cutter! at least mechanically. Now it’s time for getting the electronics up to speed. LaserWeb3 is in the pipeline now!