

I know it’s been a long time since the last update – problem was that there was nothing to write about. Well, there is now – a lot actually!
Let me start with the first and perhaps most important thing, the makerslide. It has arrived! I realized that the first post about the cutter is from September. I had been looking for the makerslide pieces before that, I know that. So after over half a year of waiting and constantly checking the various shops around europe and thinking about alternative solutions (openbeam, makerbeam, openrail, etc.) I finally got the order placed. A few days later it arrived at my work (a nice thing when the mail can be delivered a place where there’s always someone to receive it!) I ordered 3 pieces, each with a length of 750mm. Two of them was immediately cut down to the required 560mm. They were mounted in the machine without problems.
The last piece was supposed to be cut to 700mm but instead I have chosen to deviate from the original design on the gantry mount. I haven’t found the gantry ends in metal (yet) so I printed them myself. I had a hard time finding the right model, since all I found on thingiverse was modeled in inches. I modified one of the models to accomodate the rail being mounted on top instead of between the other rails. I put in a cradle so I could screw the rail to the gantry ends.
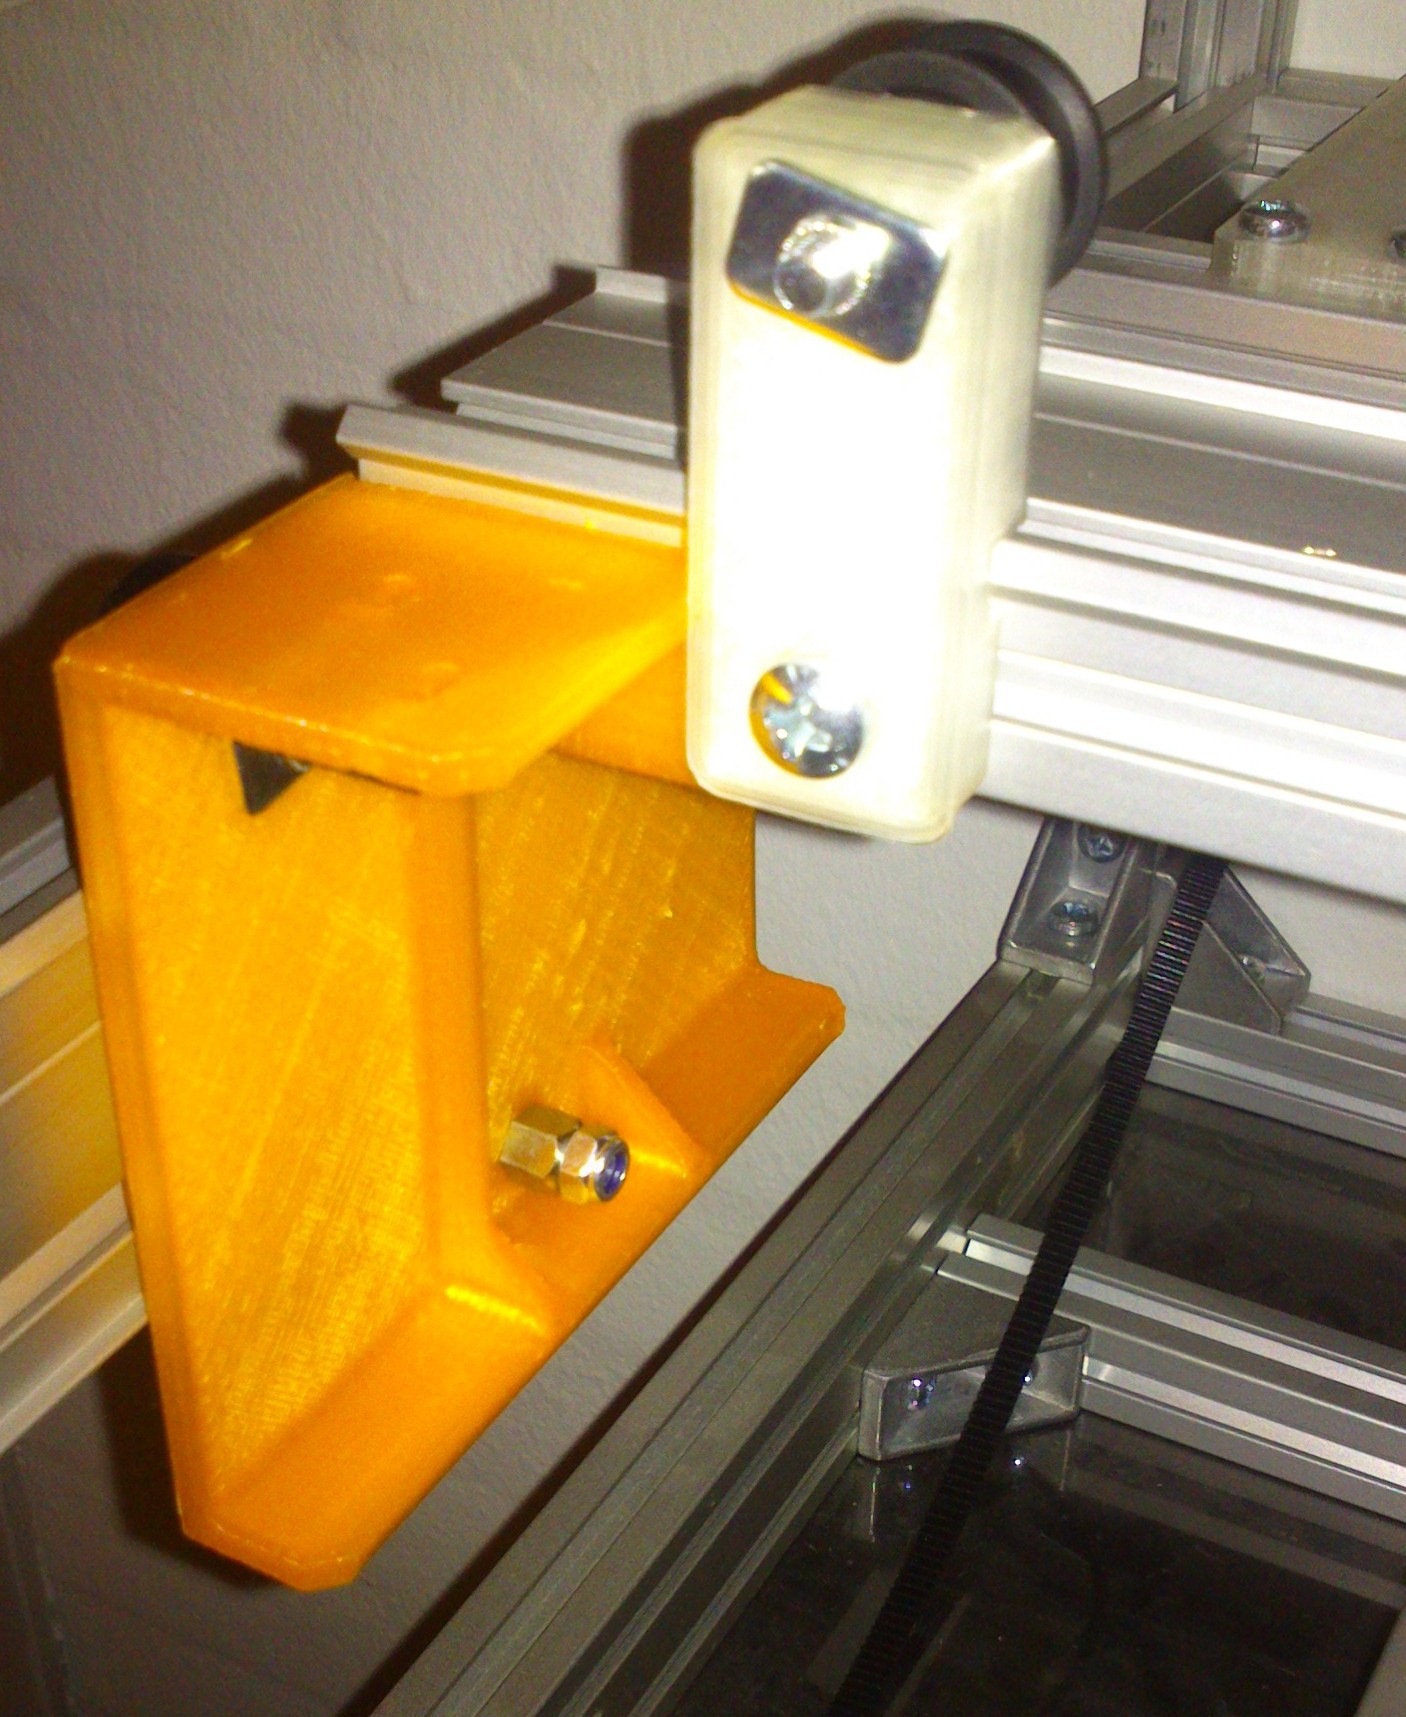
 Here you have the left and right gantry ends with the Makerslide installed.
The printed parts will probably introduce some slack in the system due to the lack of stiffness of the plastic. I’ll look into that when the machine is starting to move a bit more.
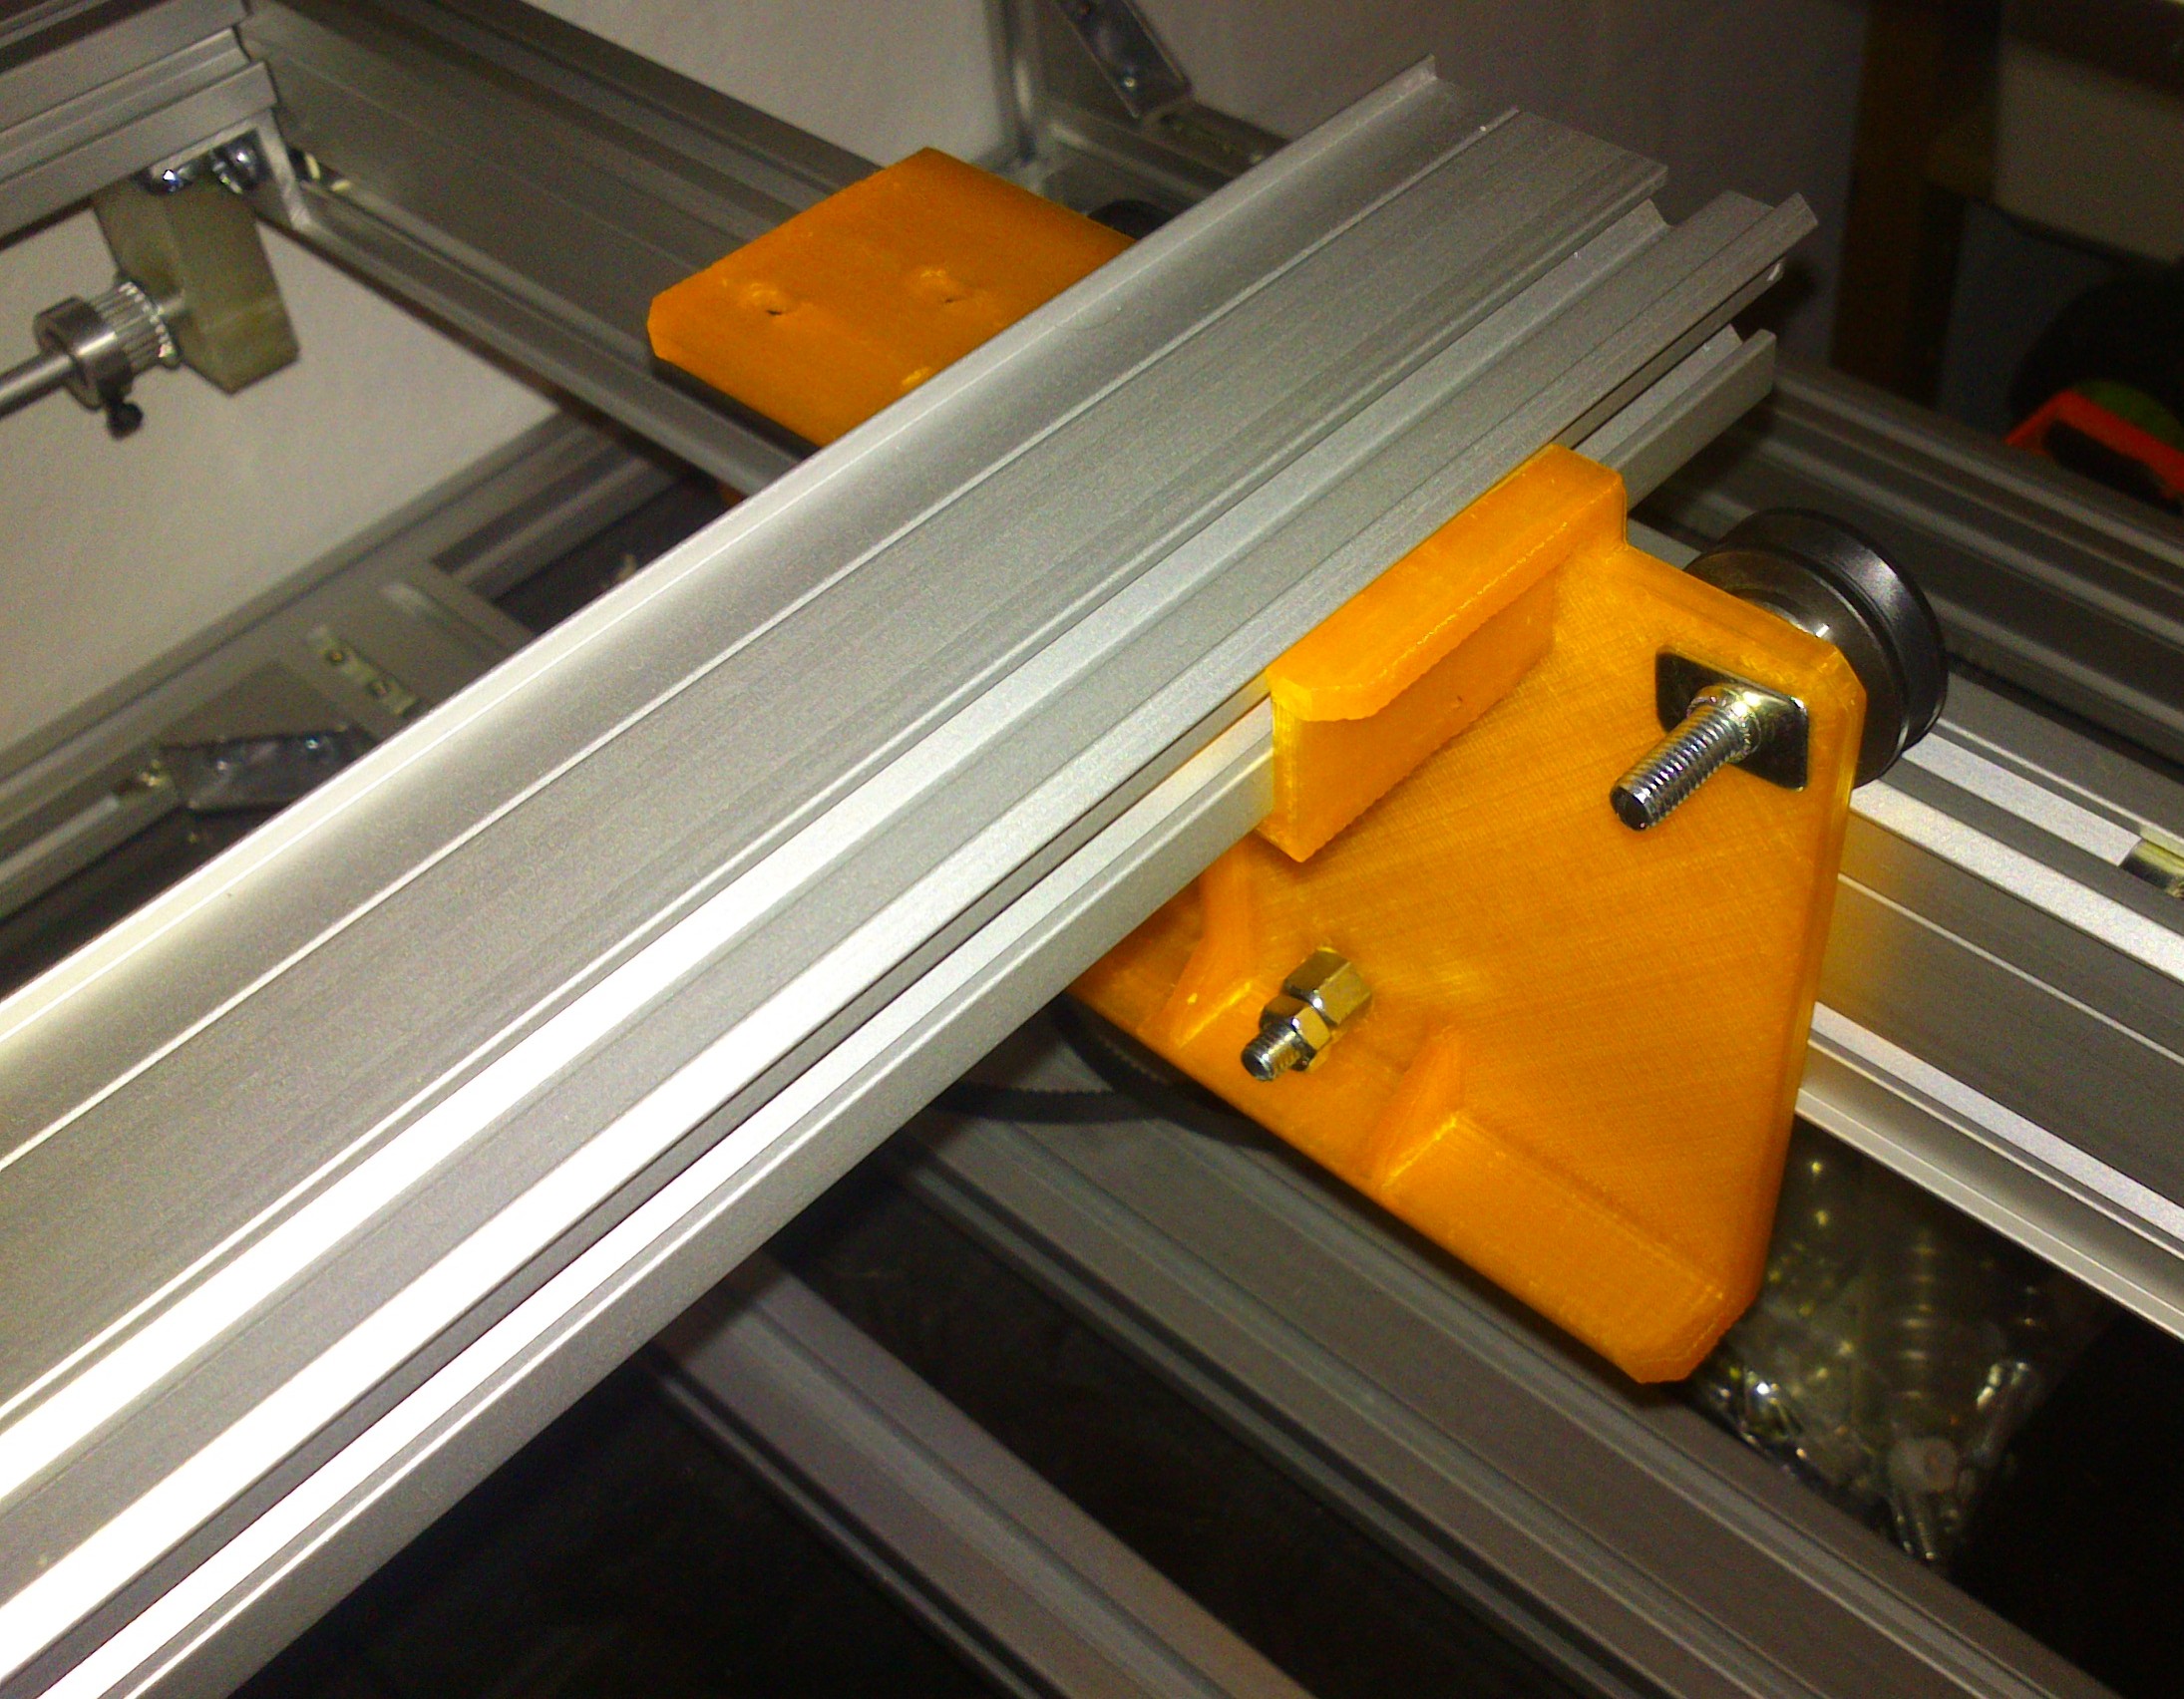
From the point where I had installed the Makerslide profiles there wasn’t long intil I had the belts installed as well.
The lens carriage is also printed and is flexing a bit. I don’t think it will be a big issue yet but we’ll see.
Also I have been contacted be another great guy, Adam, Who is also working on a cutter similar to mine. (check out his progress: http://sfbg.tumblr.com/) He’s a bit further in his build and it seems that he was in such luck that he could buy all the parts in one go – including a proper DSP controller and motor controllers. I’m envious 🙂
I’ll try and continue on my budget and see where I can cut corners.
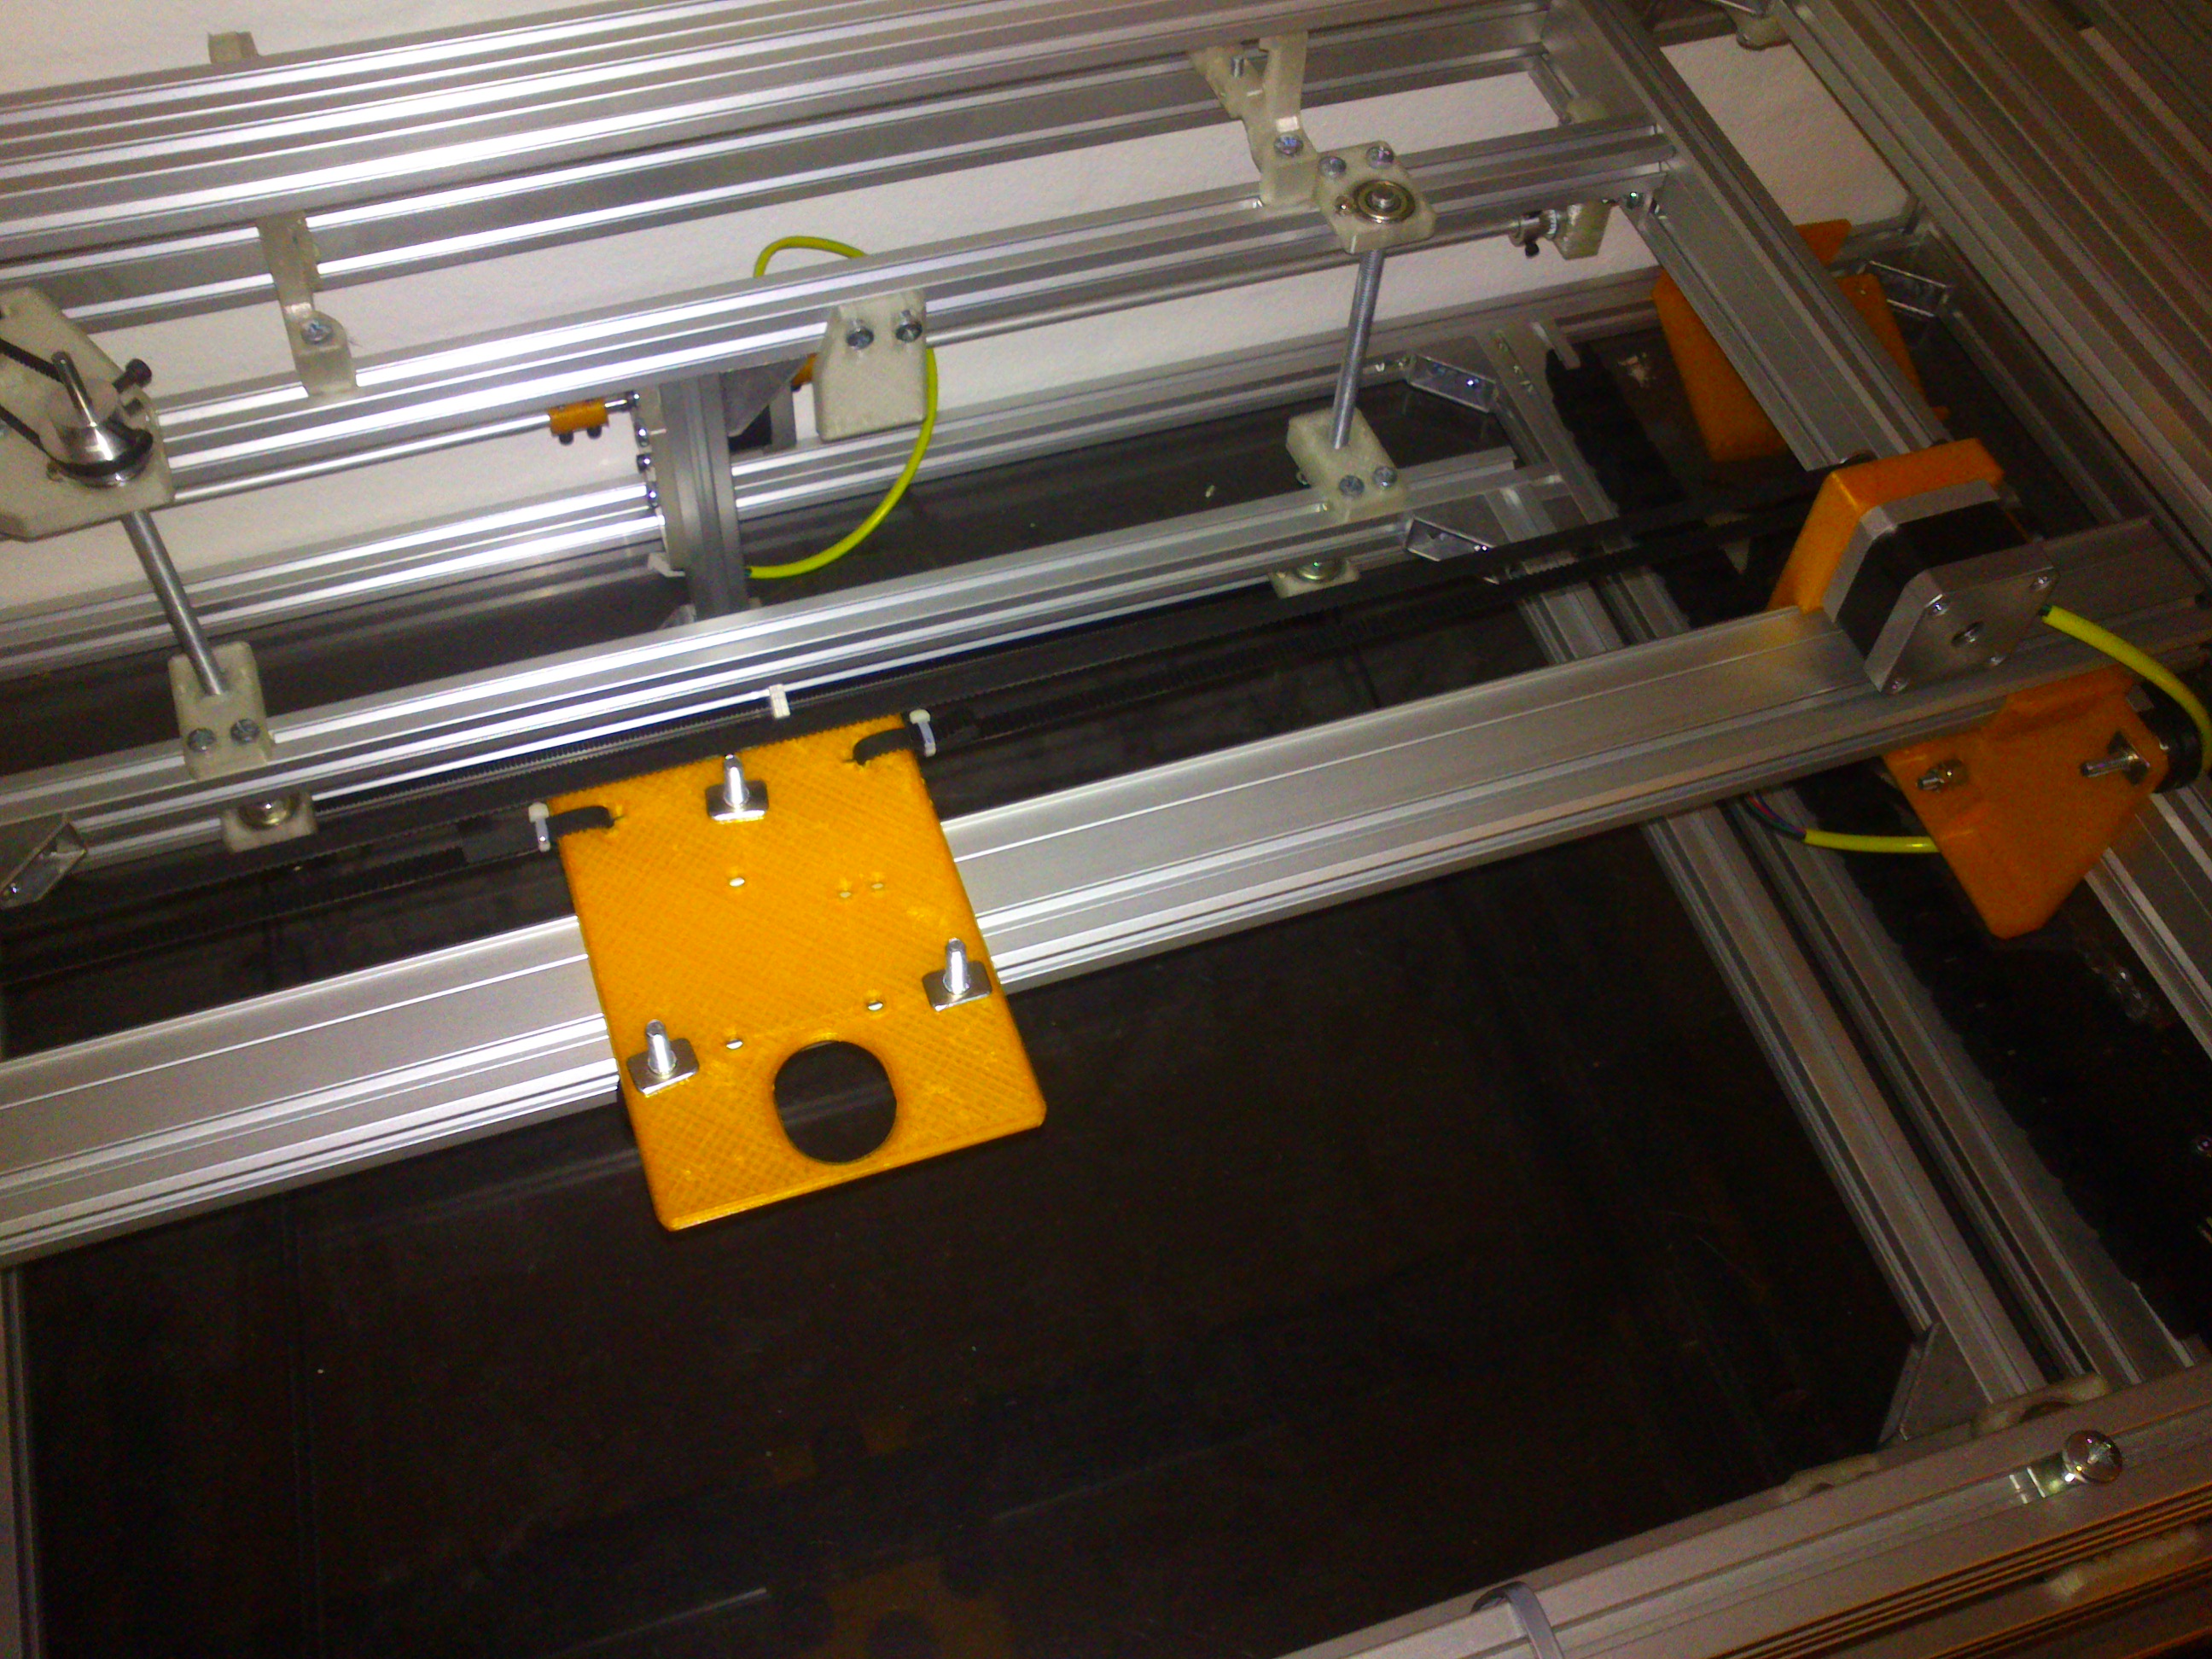
At just a last note on the build – yes I do know that the printed gantry ends might be a serious issue with stability!! I’m just curious to see how far I can get with printed parts 🙂
3D printer and first movements
This was somewhat in the plan all along. Since all axes are motorized I have been thinking about how hard it would be to make the machine work as a 3D-printer along with the laser. After all it is just a different command set that will be used.
I brought the cutter with me to work to brag a bit about the machine and I received a lot of positive response on the project. I had mounted a Sanguinololu with Marlin firmware on the machine and did some test moves controlled from Repetier-host. Motors are humming just fine and the motion seems to be well controlled.
So far so good! I’m getting really close to having a CNC machine that is packing quite a punch! I just need some endstops now! My marlin configuration is currently set up to only move downwards (negative) when endstops are not triggered so I’m very limited without my switches. I have the switches I just need to mount them and wire them up. Easily done in an hour or so 😉
Proper Controller
This should be on its own post but to keep the continuity of the post I’ll add it down here.
I have been looking at the LaOS (Laser Open Source) project for a while now. They’re using an mBed MCU and have a really nice board designed. the code is available on GitHub (or from the mBed ecosystem) but I thought that 15€ for a bare PCB and 14€ for postage from Holland was a bit steep for my taste. I was on the verge of buying an mBed just to try out the code but then I found the Arch Pro from Seeedstudio.com.. Wow, an mBed compatible board with almost the same specs! on top it was in an arduino footprint so I could technically just make my own shield for the thing and then I would be in business! the Arch Pro has onboard ethernet and since the LaOS is operated over ethernet I quickly ordered one. 40$ for the board (and 10$ for some randum stuff to get free shipping 😉
Alas the happiness was short when I got the board. after some initial trials with the mBed system (I haven’t used that one before) I tried the LaOS code and got some strange errors. It seemed that the real mBed has onboard flash storage – a feature that my dear Arch Pro was missing. Hence the errors. After some poking around in the code I found (I think I found the right place) that the flash is only used to load a configuration file. the system relies on an additional SD card so I tried loading the configuration file onto that one instead. It worked! However the controller now stopped due to a missing display addon that I didn’t have either.
The display addon however, is an arduino Uno compatible setup which I also could find the code for on GitHub. an additional keypad library had to be installed but after that I had an uno with a HD44780 display (Hey, LaOS guys – A PDF with schematics included is almost essential for commits!!! I had to find KiCAD and open the whole project just to find the pinout.. grrrrr…)
Okay, tried the mBed code again with the display addon, debug serial port and all the right port definitions (again – a global pin definition file would be nice guys! I’ll go through the code and do this when I have confirmed that everything is working)
The system now loads configuration settings from the file on the SD card and tries to get an IP address and join the network. That’s how far i got with a single night with the Arch Pro.. I think I’ll get there eventually! and I think I can make the finished controller a lot smaller, which is very nice 🙂
That’s all for now – I’ll be back – soon! hopefully with another update on the controller side of things. Stay tuned!