

I’m tring to get this damn cutter finished soon. One of the major issues was cutting the a hole in the shield for the control panel. But then I figured – I don’t even want the control panel on the laser cutter. I want it to be handheld!
The electronics are based on the LAOS control panel so nothing special there. I’ve skipped the PCb altogether to save some moner and some space.
Where it gets really interesting is the case.
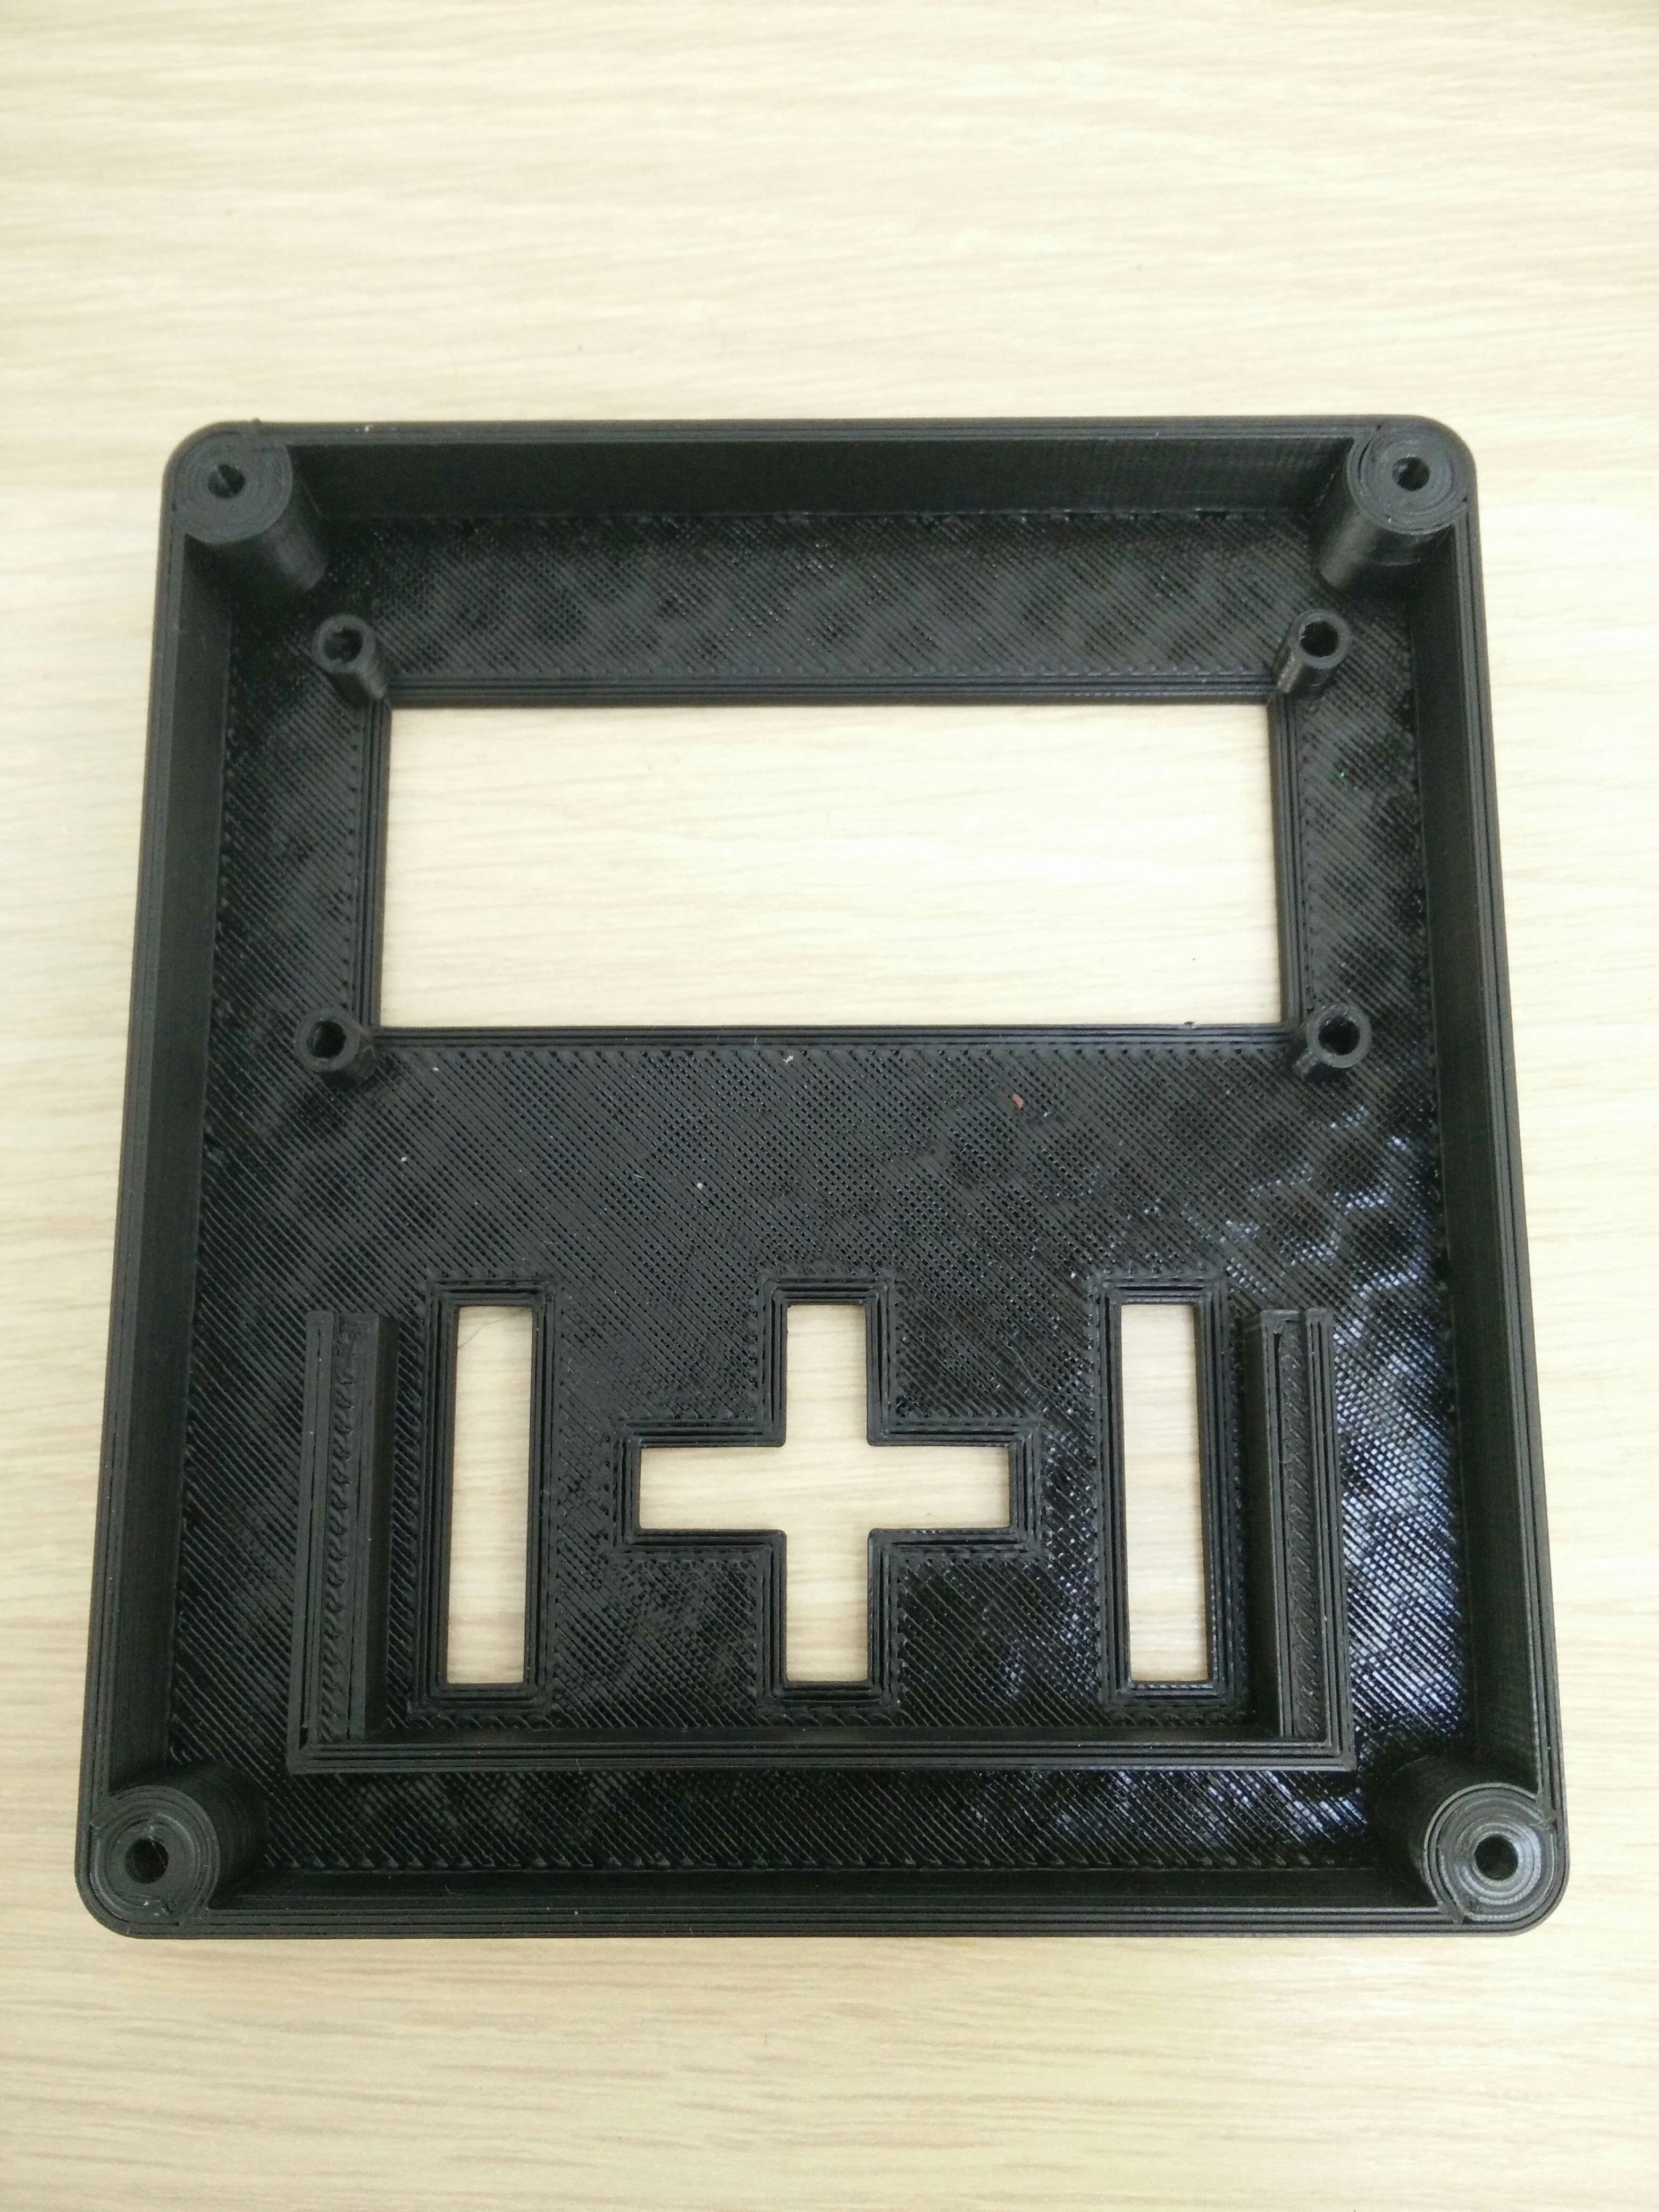 The inside has mouting holes for the display and a grove for the button board. This is just regular perfboard with tactile switches. I’m still following the pattern from the LAOS controller board.
 The front is reasonably clean and flat although there are some lifting in the corners of the print. The holes for the buttons are based on rough measures on the perfboard and should fit fairly closely.
Now, Just add electronics. The display is mounted with 4 m3*8mm screws and the buttons are glued in place. I should have made a proper PCB for the whole thing but I figured that I’m only going to need one of these boxes (at least until I decide to get 3 laser cutters 😉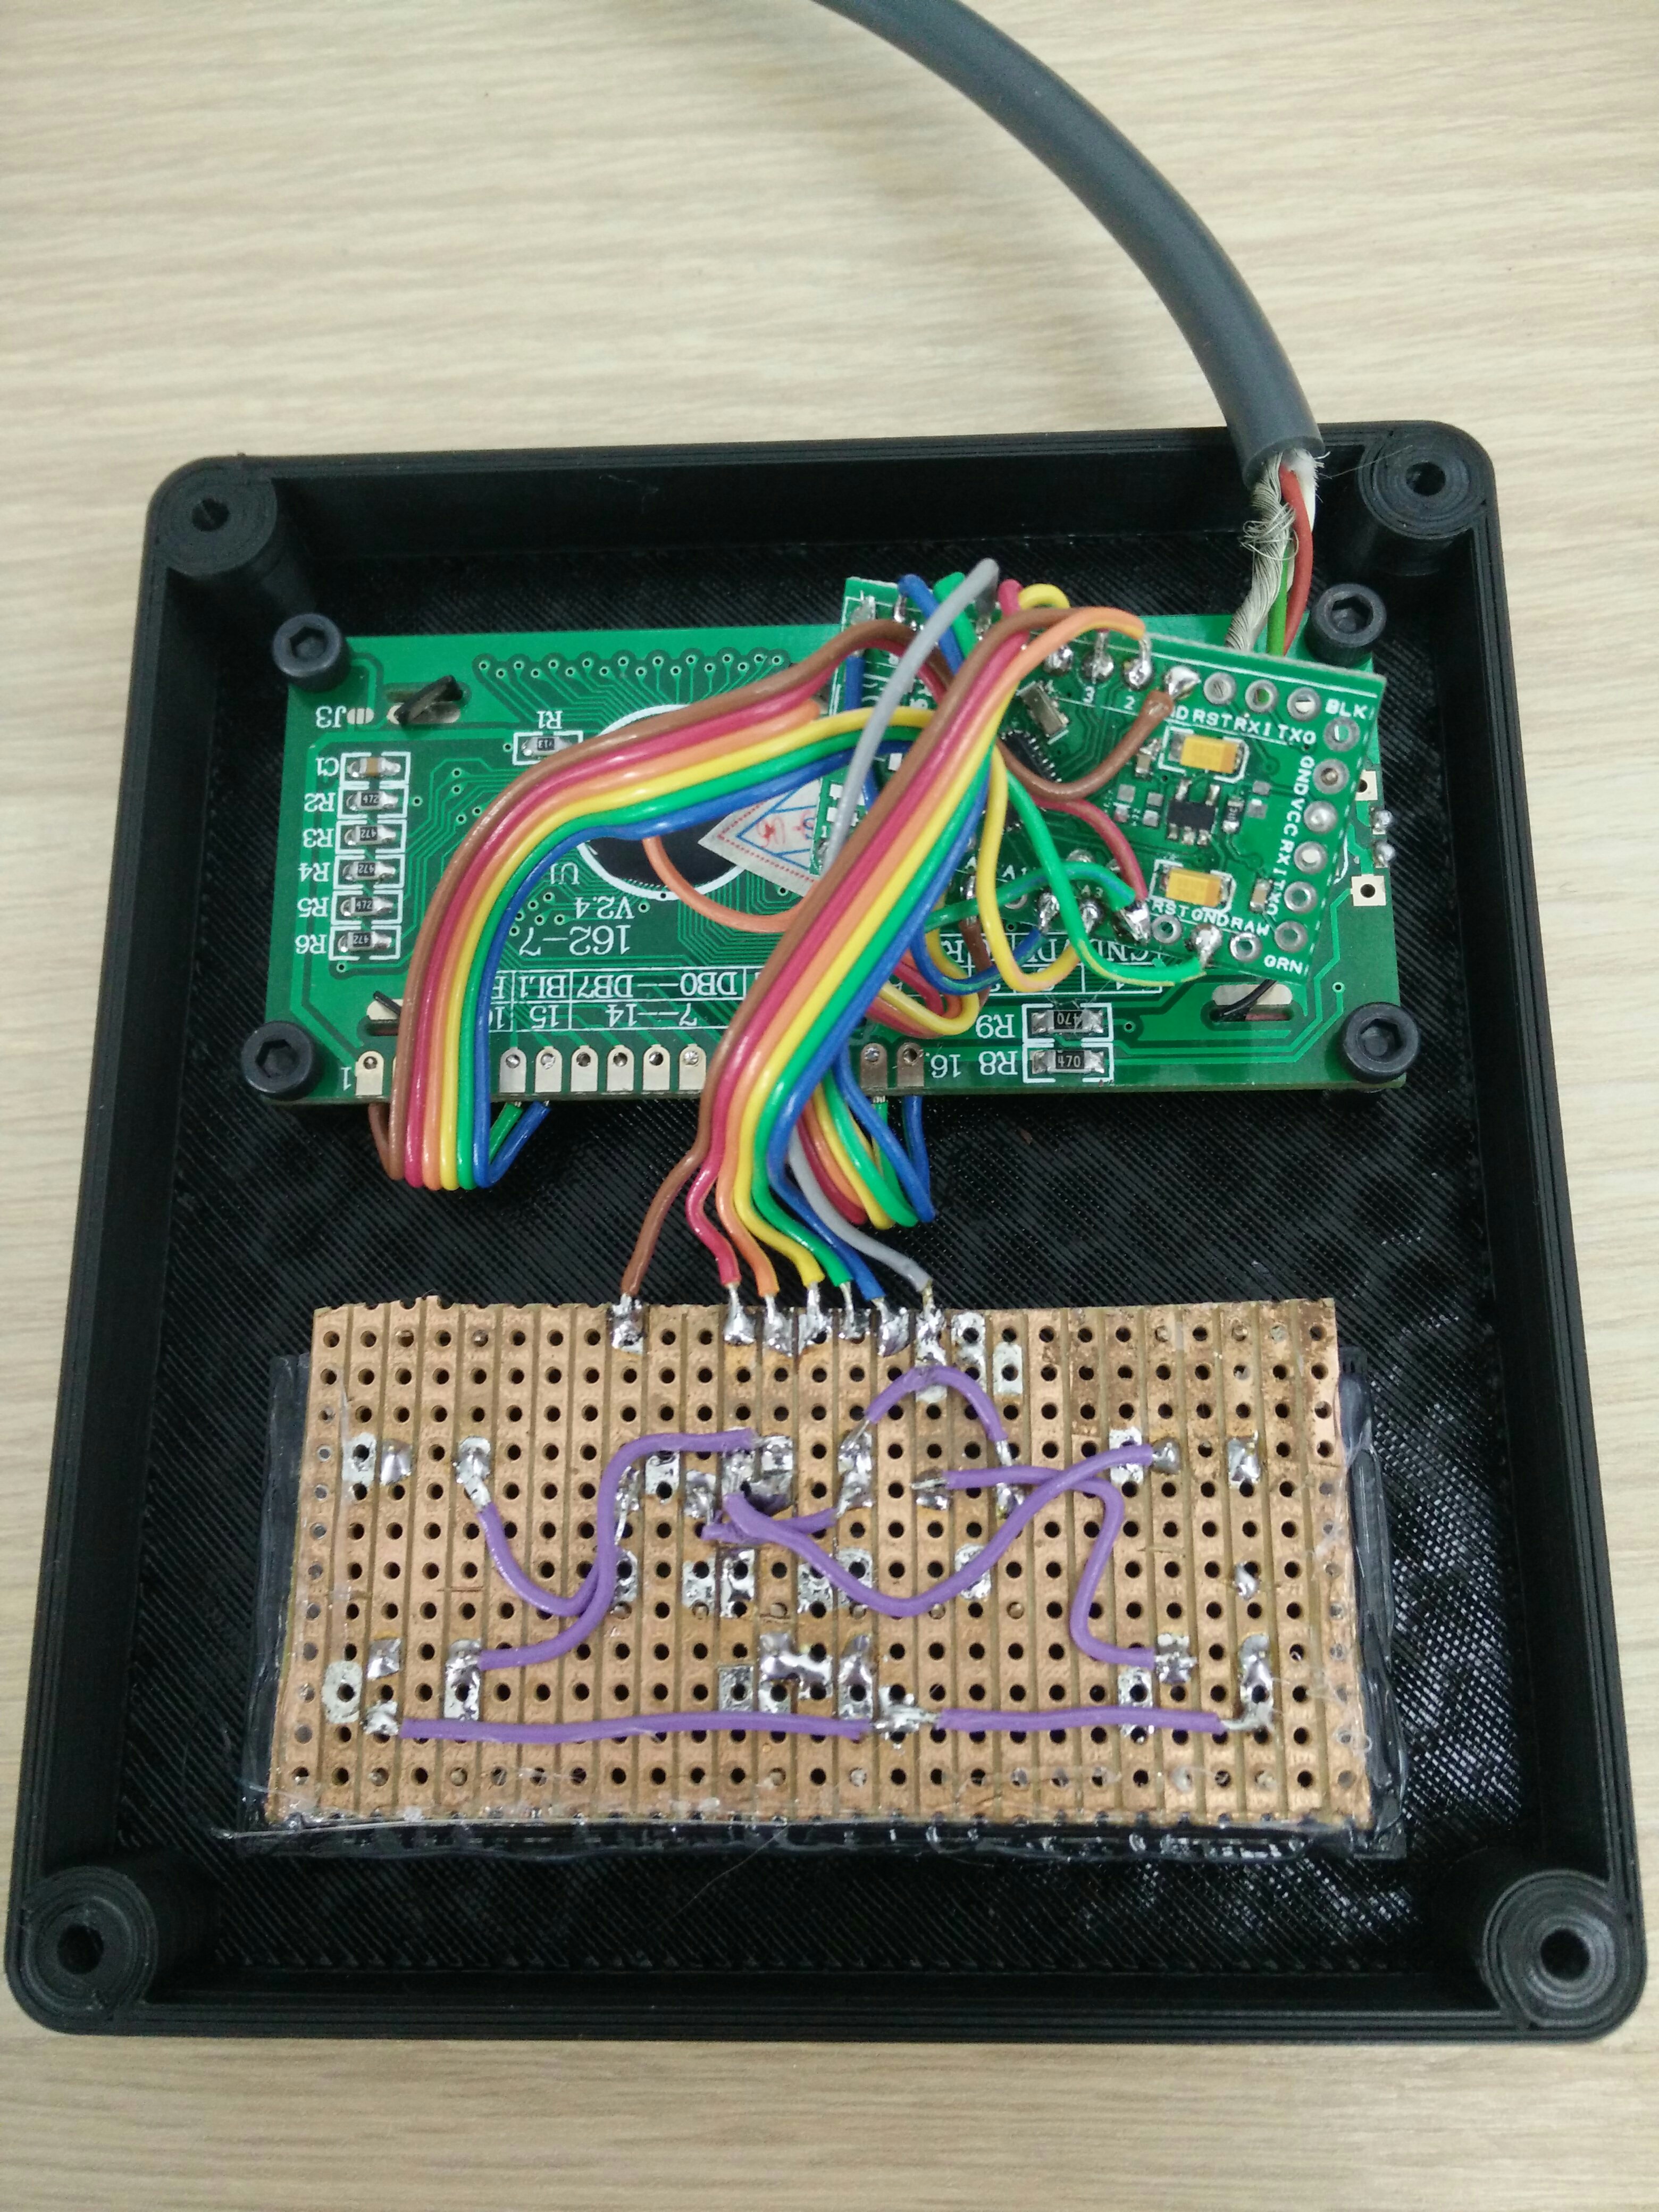 The last part is actually the most interesting part. It’s the button that go on top of the PCB. They’re printed in flexible material, so the center button can be activated without pressin the other buttons. pretty cool if I must say
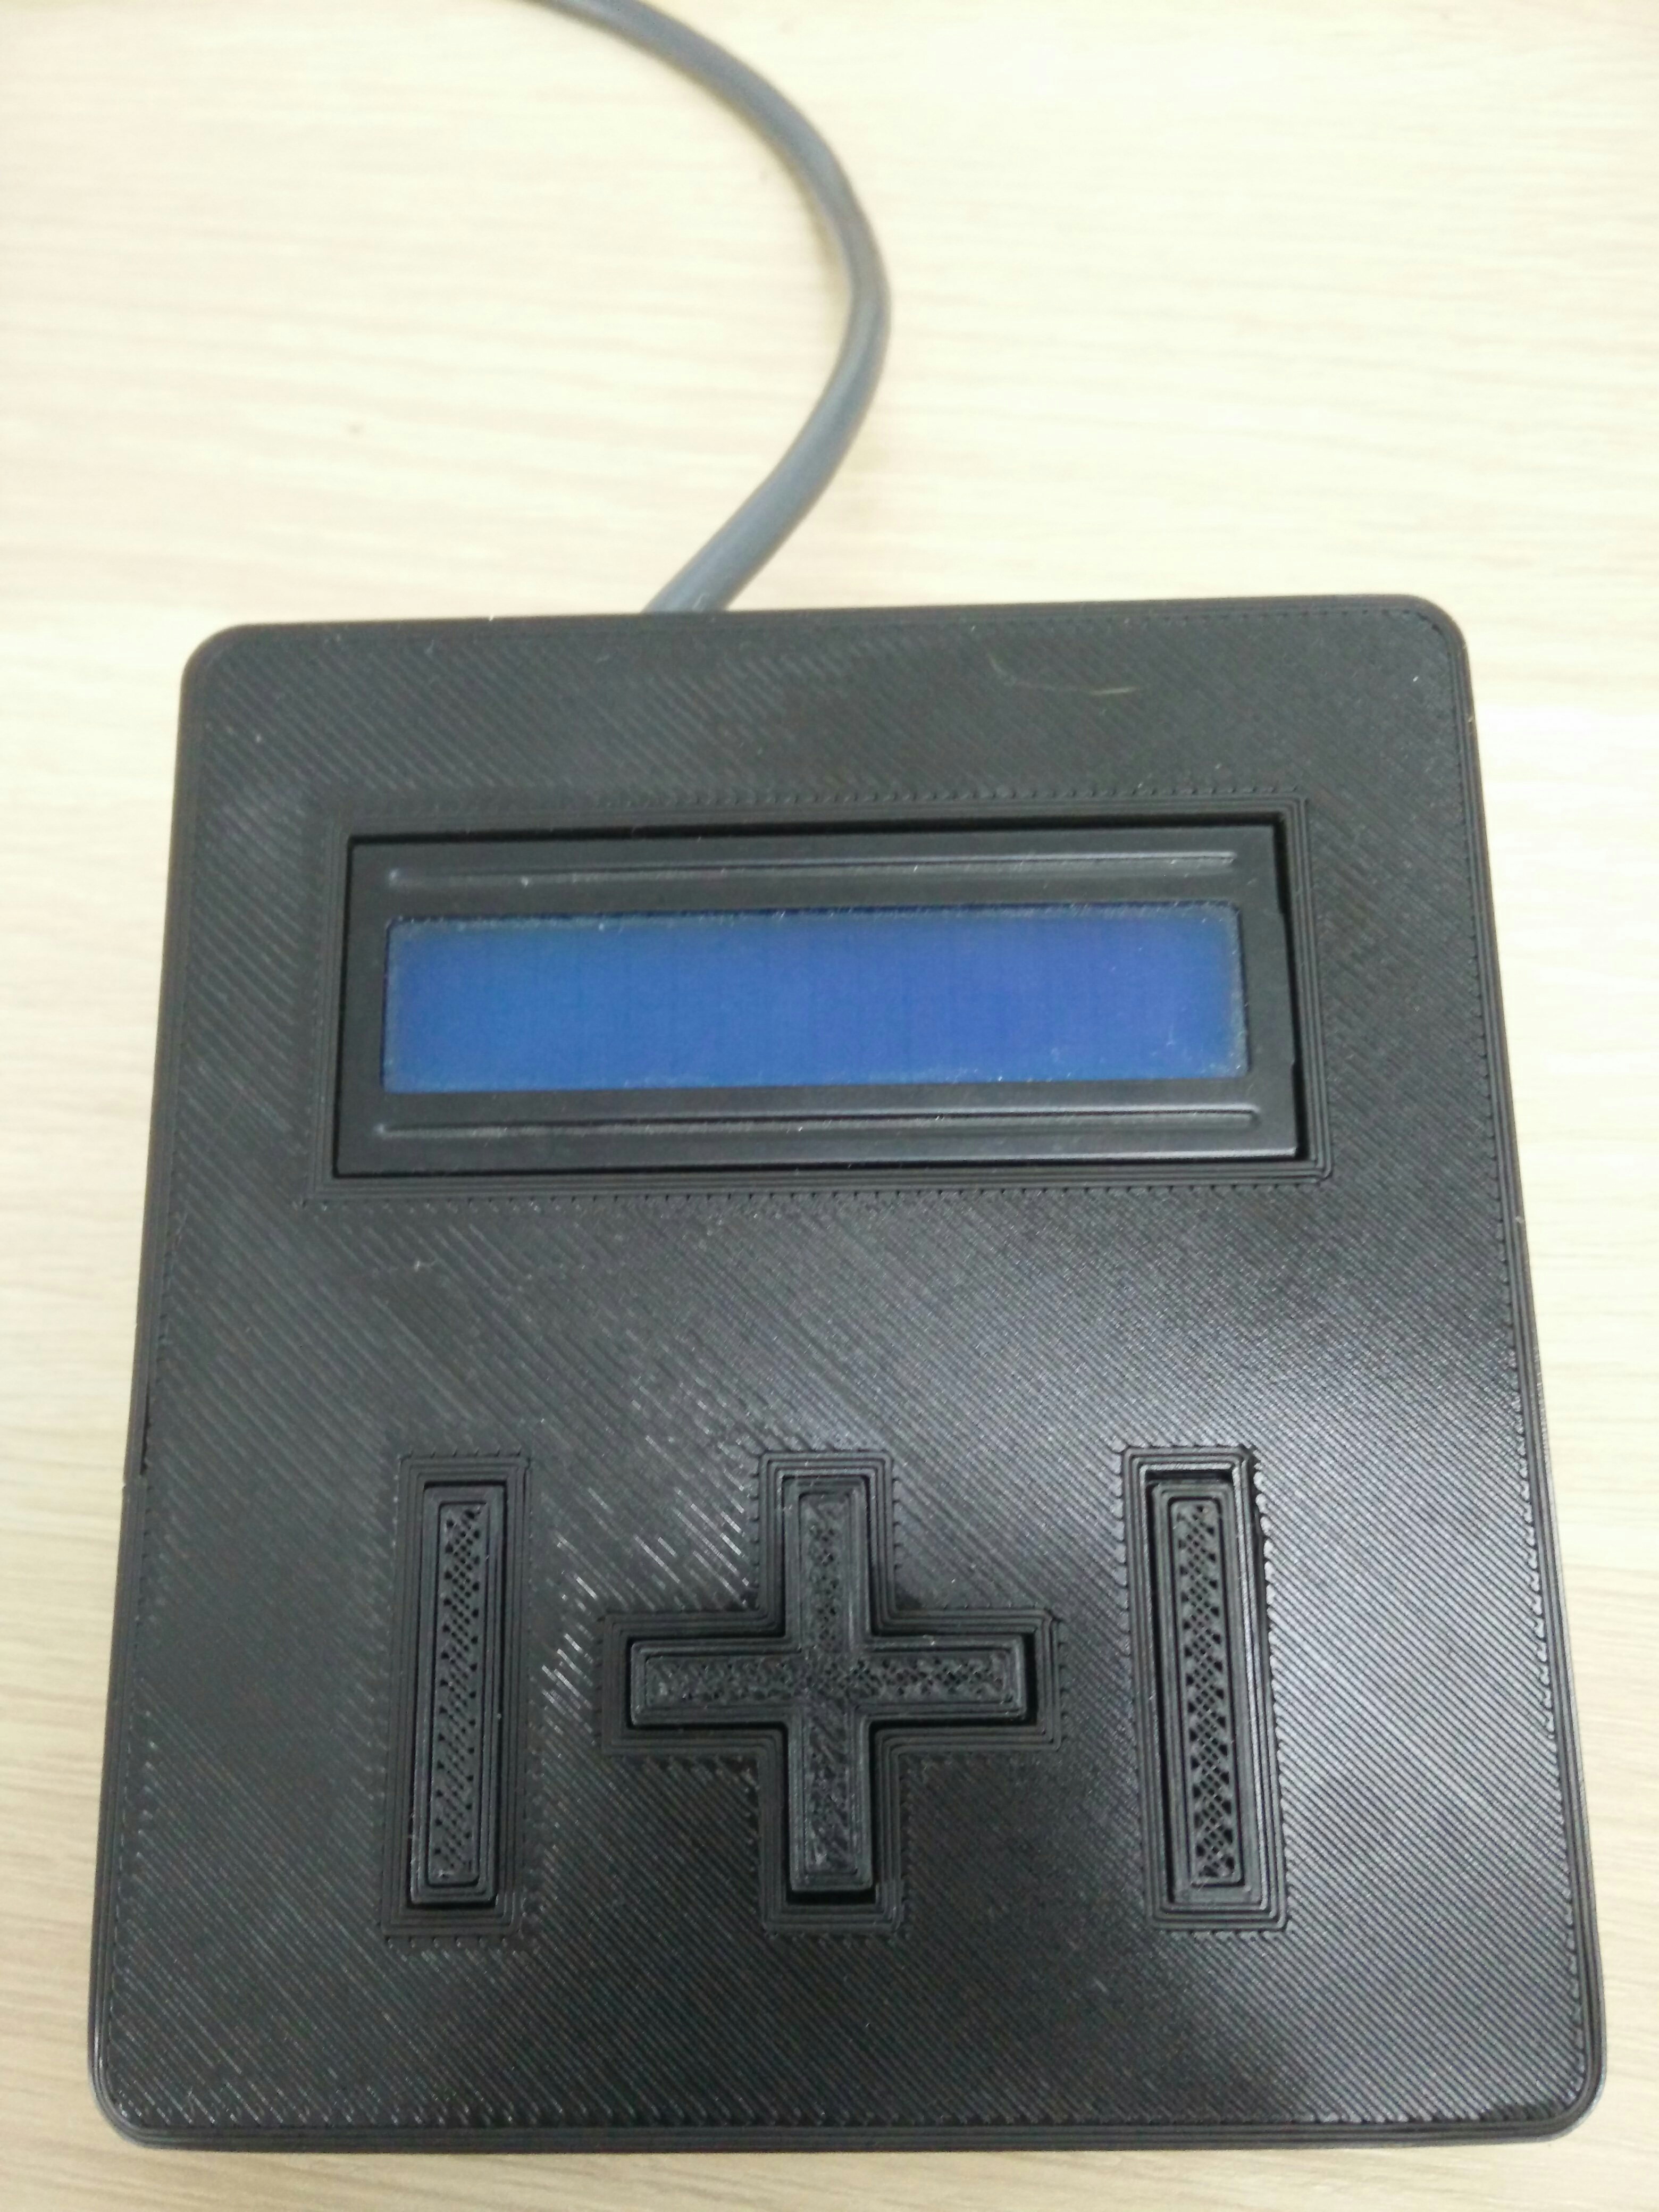
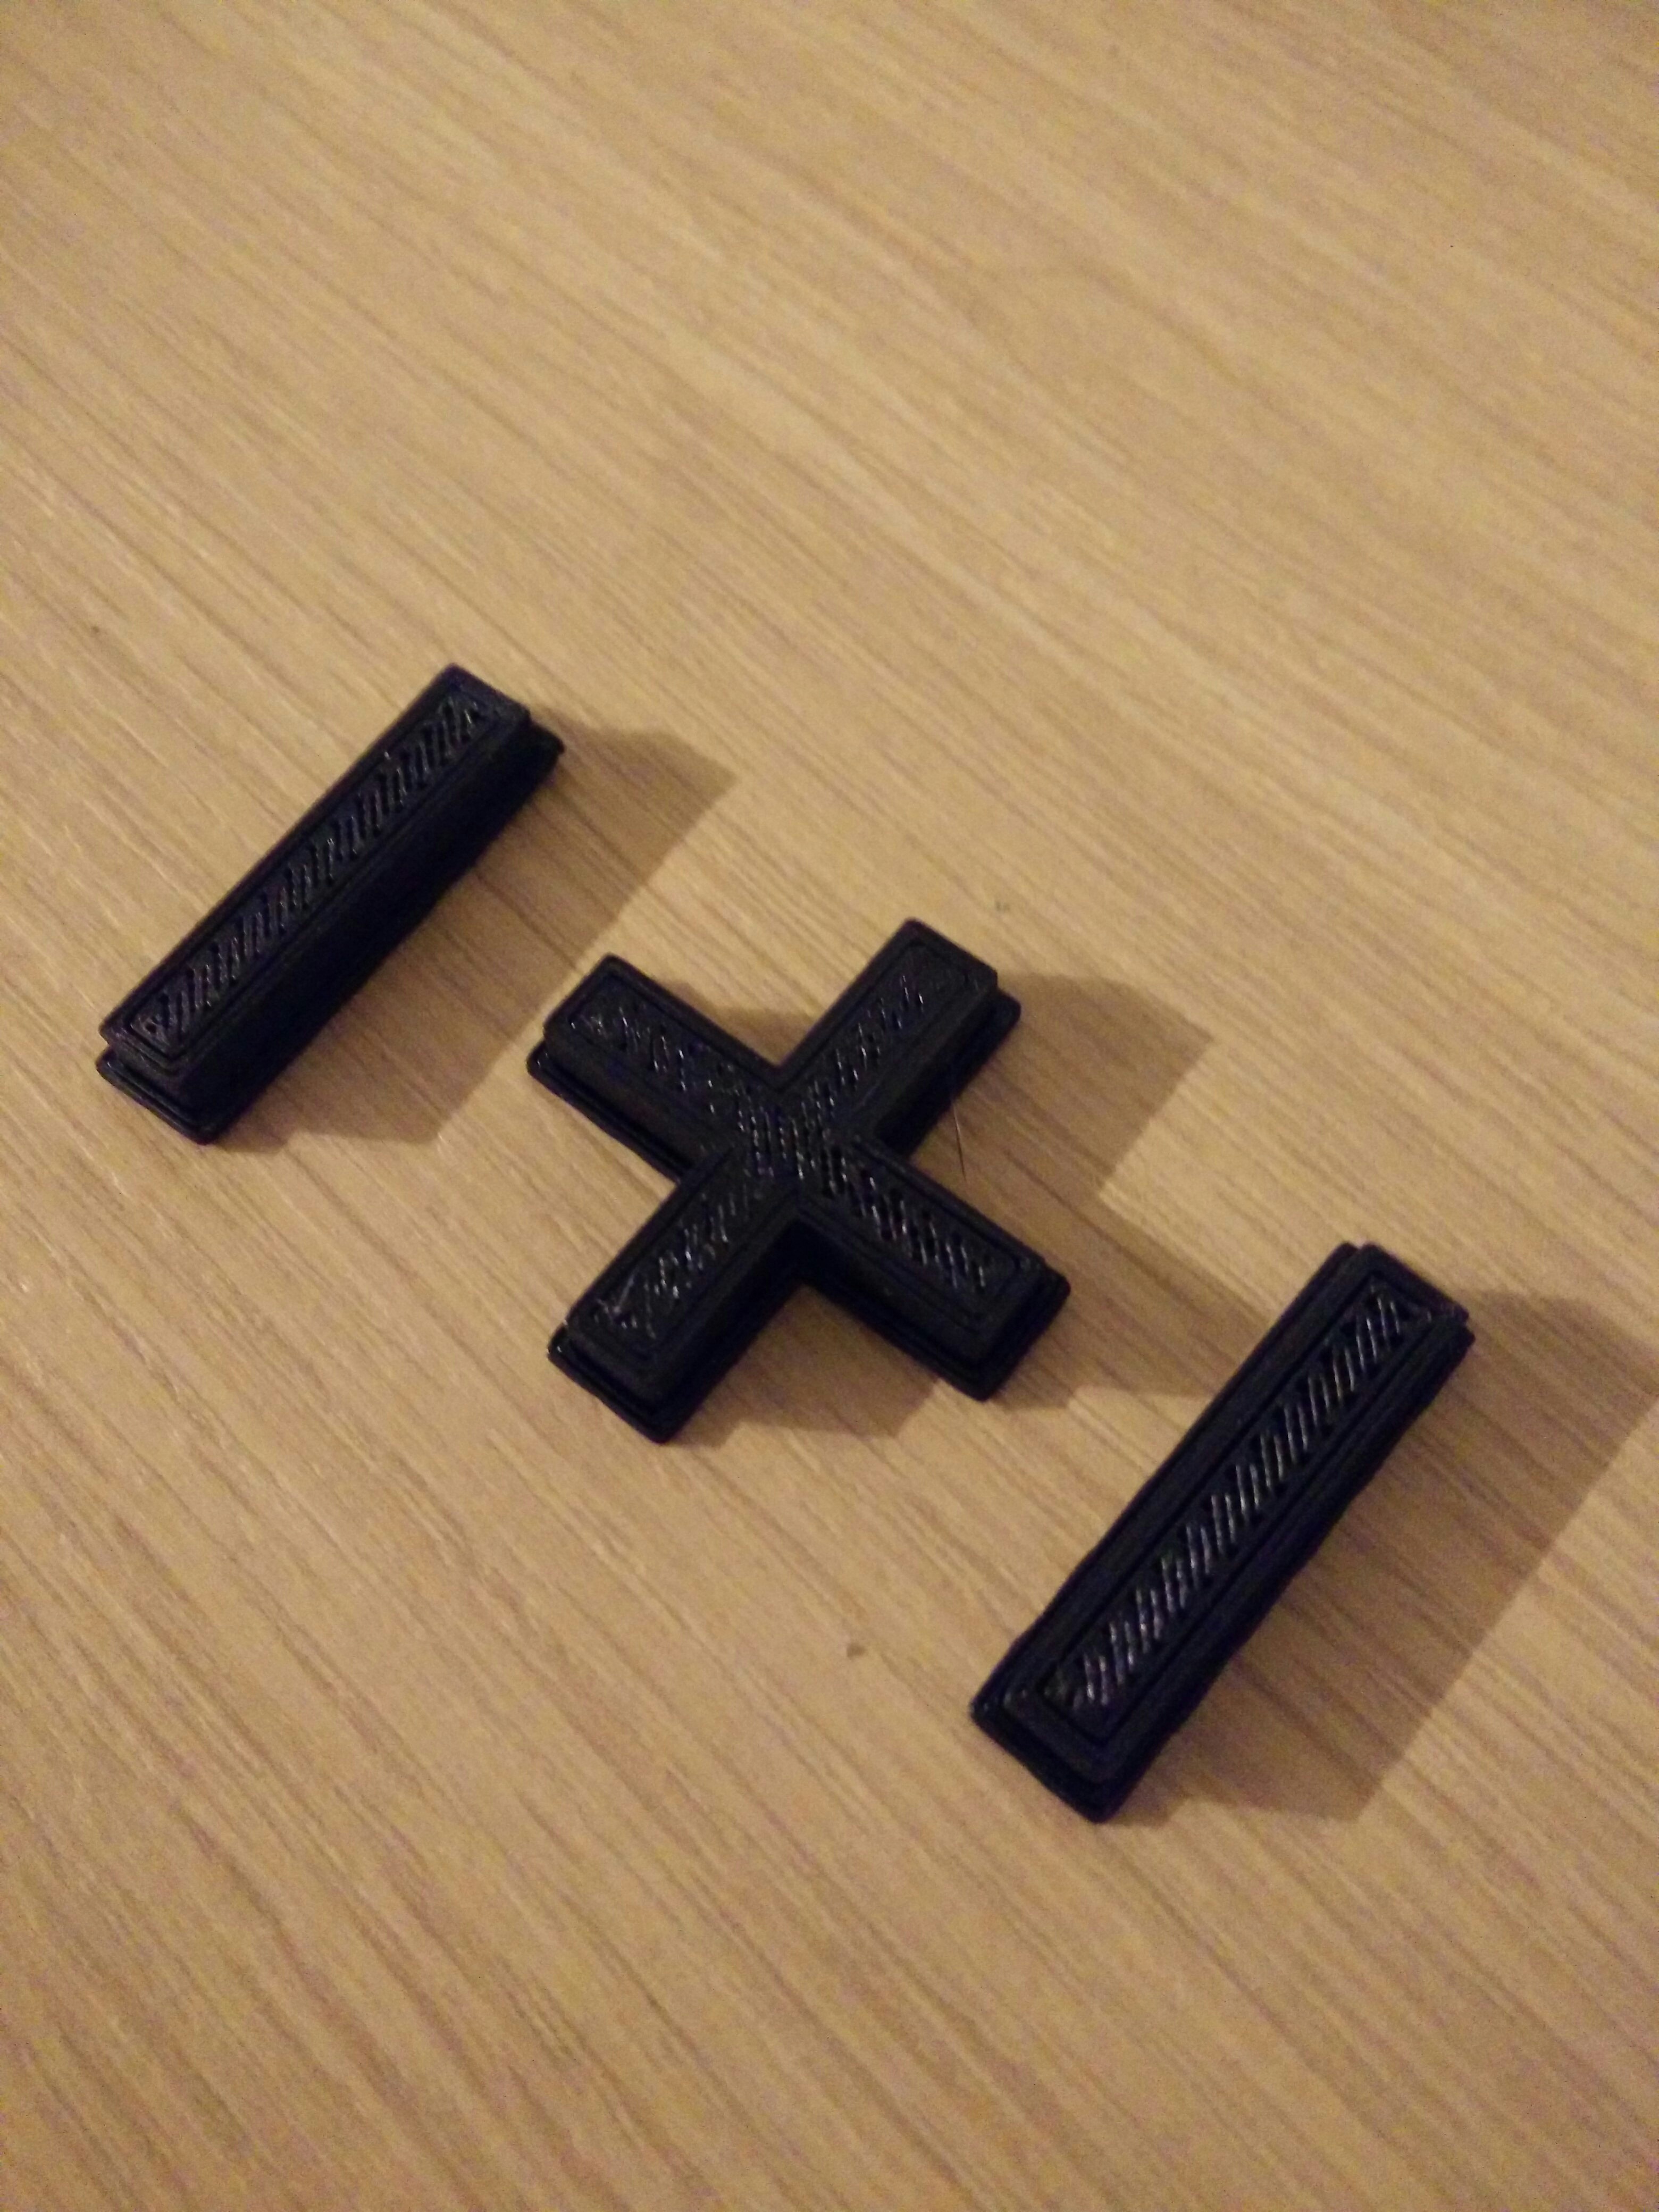 And lastly a picture with the buttons from the front
 In retrospective I should have printed the buttons in white or some other color But I had a piece of flex filament on the printer already and ws dialing printer setting in. The only thing missing now is a backplate which is not really needed.. Right 😉