

Status: Getting close to that pen-look!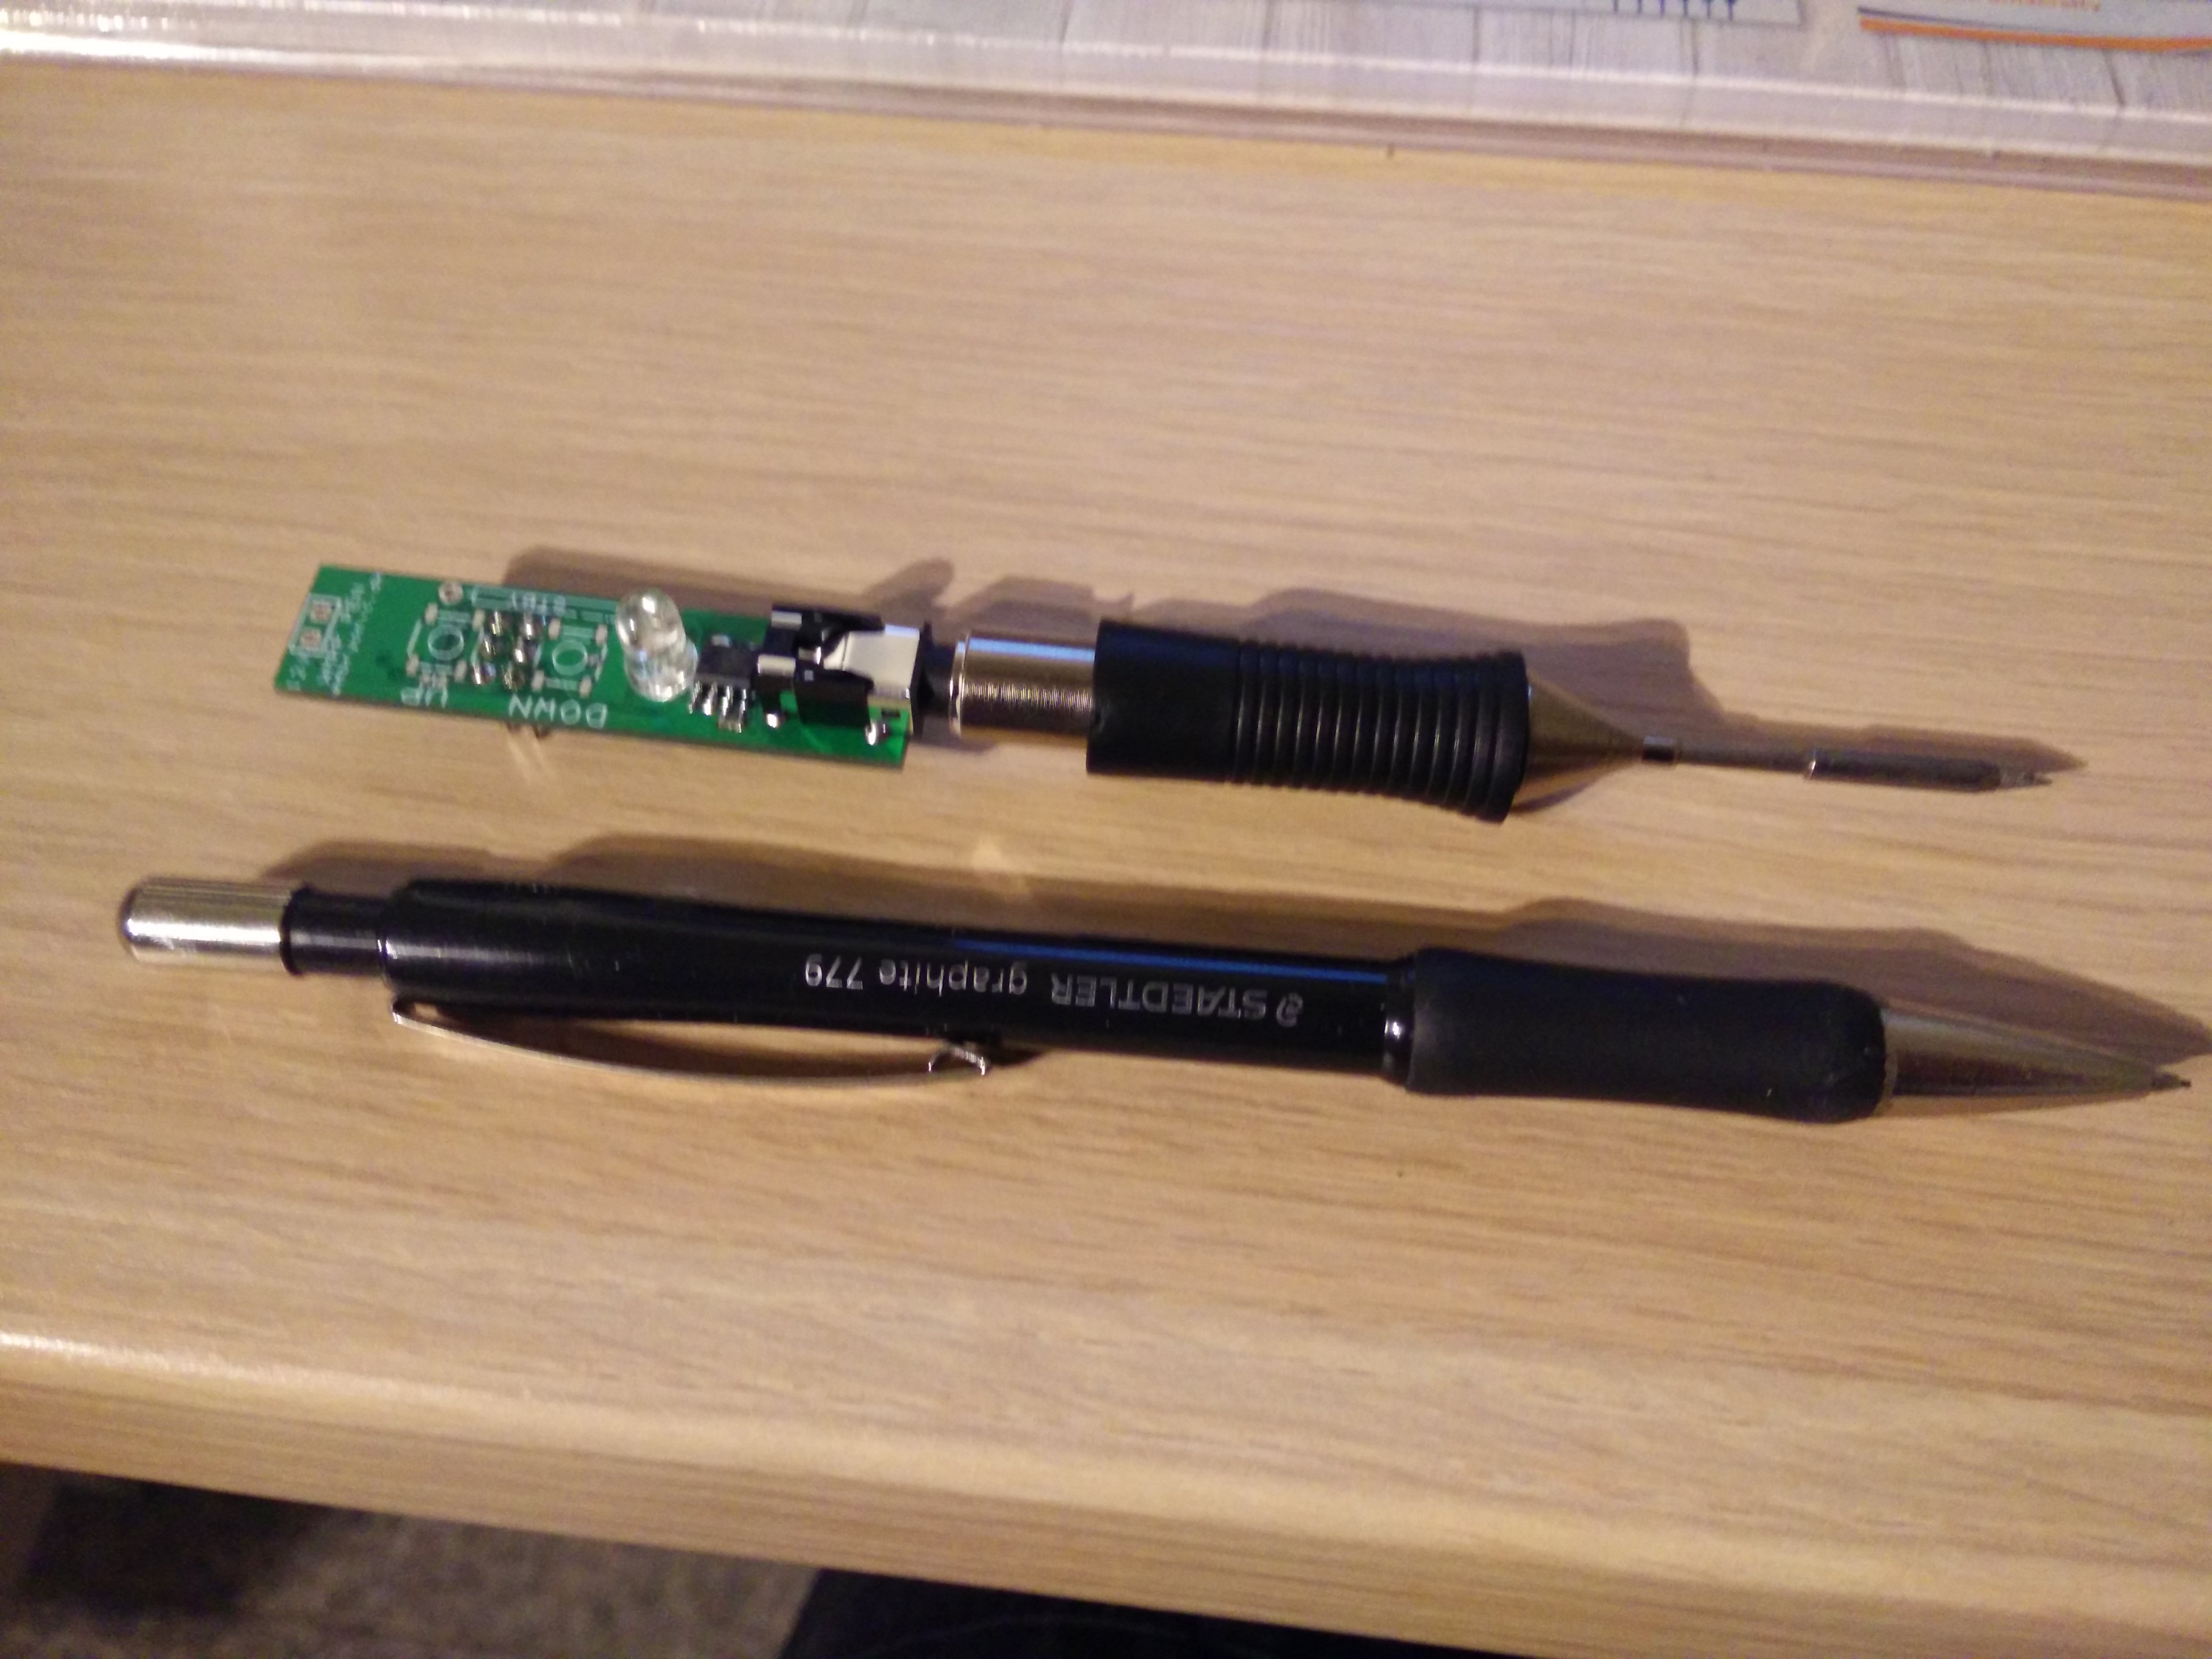 Next: Yes, Finally they’re here! the new PCBs!
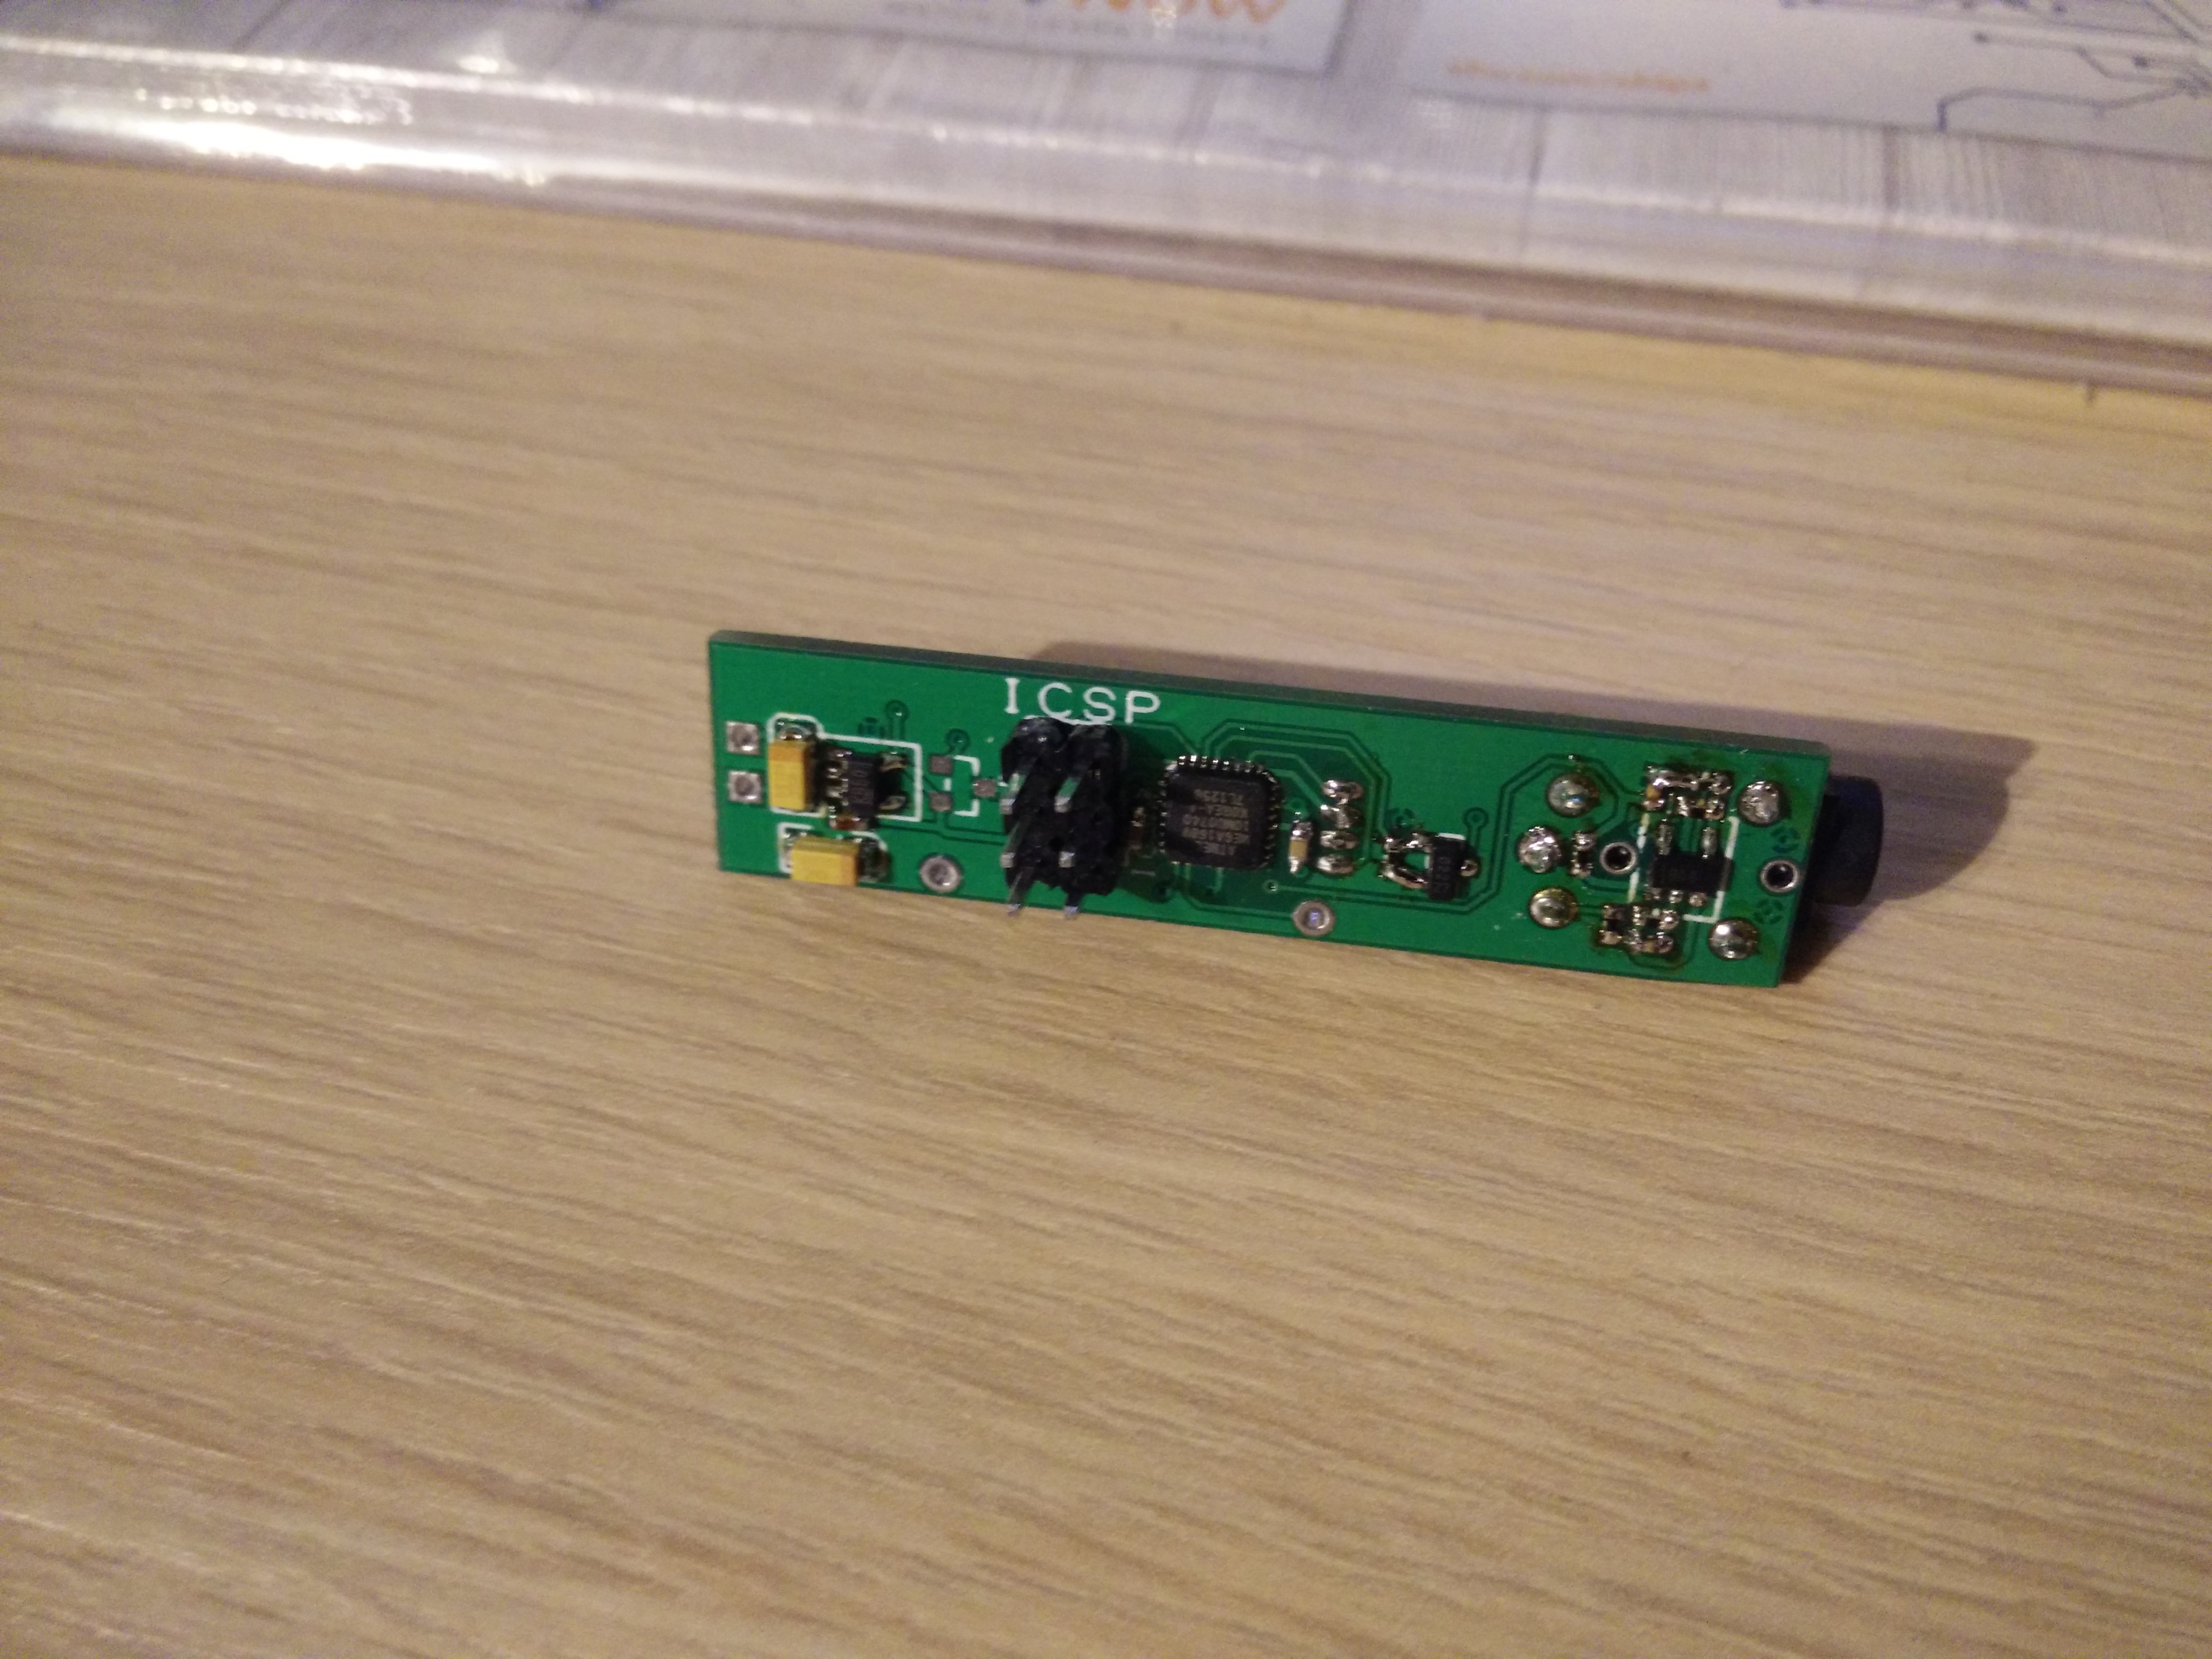
I’ve ordered 10 from Seeedstudio and after a (not so quick) trip around customs I got them today. The last day before easter. I’ve panelized them so each board contains 3 pens. that means that after a small bit of sawing I could get to assembling the pieces. Below is a picture of both sides of the circuit.

The astute reader will notice that something is missing – the buttons. yes, I don’t have any. I’ve ordered them, but Farnell didn’t want to send my package today so that’ll have to wait until after easter. that’s just how things go.
After the initial ritual with getting confused over where to place components (this thing happens when you do double sided mounting and only have the CAD tool to go from) I had the circuit assembled.
After frying a tip on the prototype earlier I decided to go slow and set a temperature of 30 degrees. Without plugging the pen to 12V I heated the tip with my other soldering iron and was looking for the heating indicator (Red on the RGB LED) to go out. after a few very long seconds it went out! yes, it’s working!
I adjusted the power for 50 degrees and put the power on. the real power. the power power. 12V. seconds stretched very long but indeed the heating indicator went off and startet blinking very slowly. the system was now keeping the tip at 50 degrees! yes! double and triple yes!
Last test for now was adjusting the temperature to 350 degrees. power back on and wait.. smoke from the tip – oh no – and then, heating indicator off again. phew! now we’re talking!
The hardware is almost finished with only the hall sensor / reed relay missing from the PCB. it should be quite easy to add later on when the firmware’s ready.