

Hey everyone look what I found in the drawer!
I know that this has been far too long so let me get right at it. This post will be about how to do a self-test of the soldering pen hardware.
The reason why I’m doing this is that if I ever want to get started selling electronics I better make damn sure that the things I’m selling are in great condition when I make them. I want to solder (reflow) boards at home so I need to make sure that everything is working.
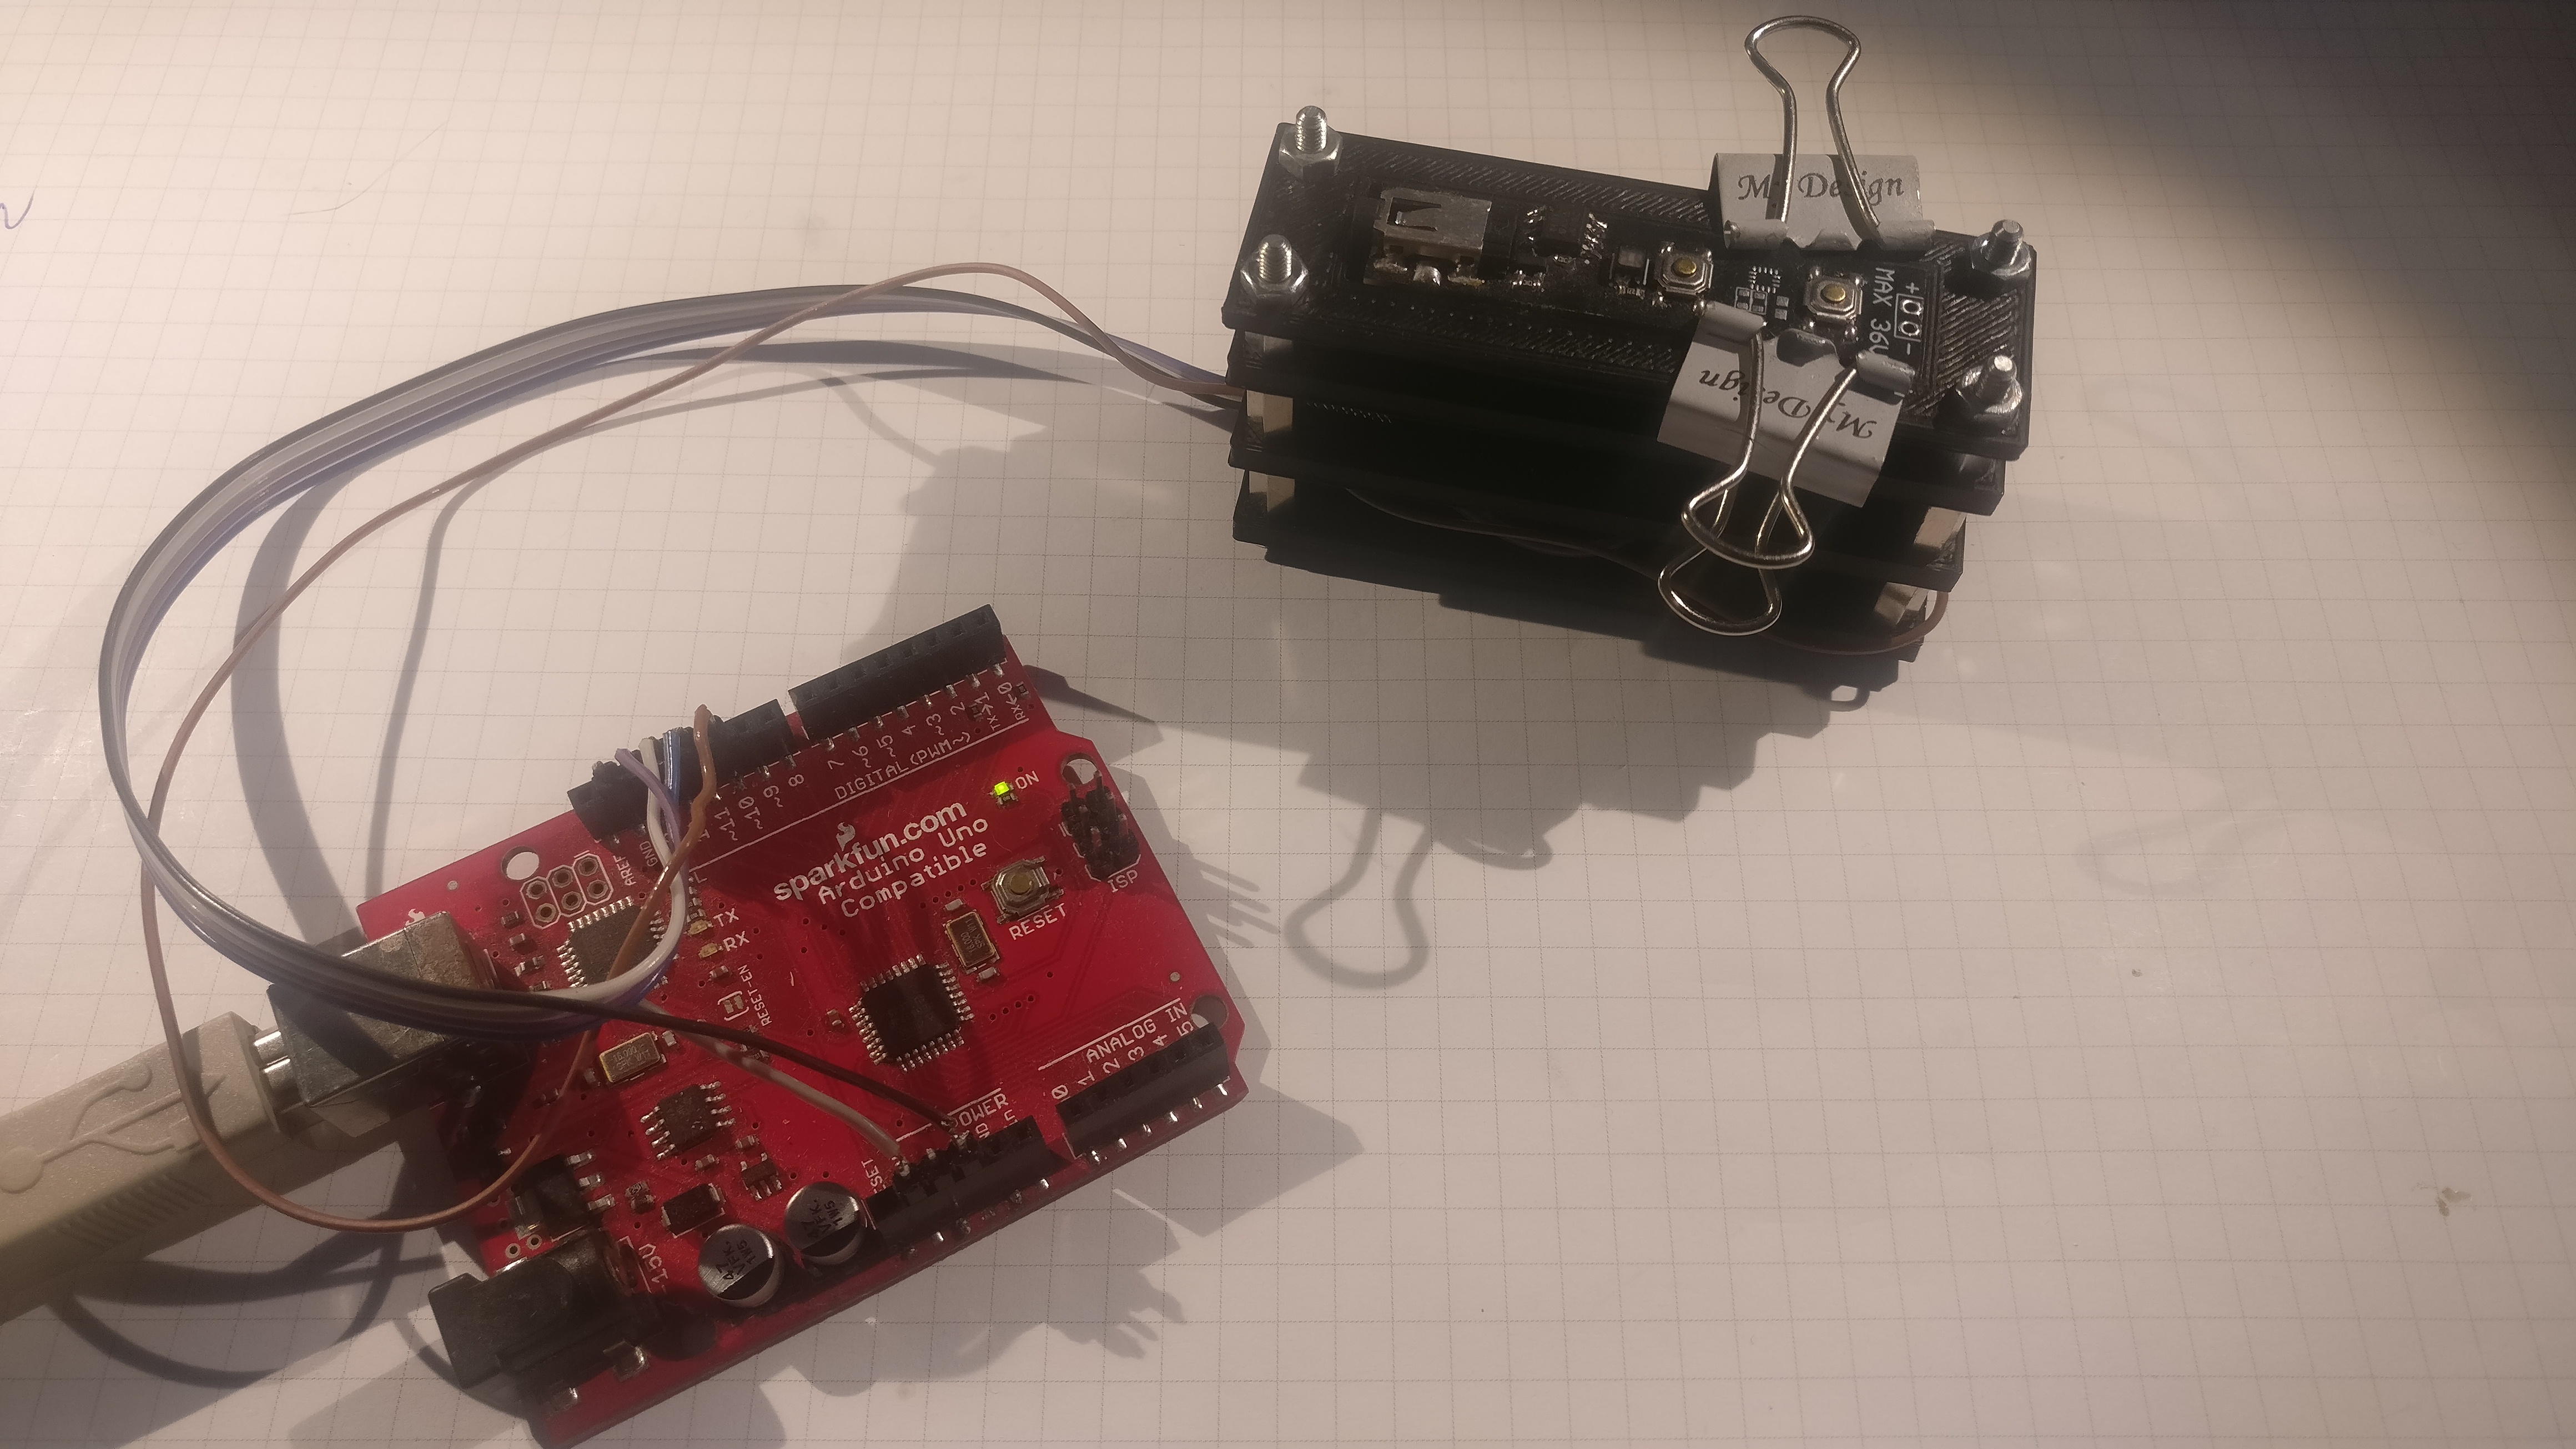
The self-test involves two things. the first is the test firmware which I will go through in a bit. the other part is having a smart way to load the firmware onto the boards. preferably it would be nice with an automated jig for button-pushing but I’m not there yet. In other words the second part is about using AVRDUDE and some of the commandline-fu needed to get it up and running.
First up is the test-code:
|
1 2 3 4 5 6 7 8 9 10 11 12 13 14 15 16 17 18 19 20 21 22 23 24 25 26 27 28 29 30 31 32 33 34 35 36 37 38 39 40 41 42 43 44 45 46 47 48 49 50 51 52 53 54 55 56 57 58 59 60 61 62 63 64 65 66 67 68 69 70 71 72 73 |
#include <avr/wdt.h> //add support for the WDT //Pins definitions #define REDLED 5 #define GREENLED 6 #define BLUELED 9 char LEDS[] = {REDLED,GREENLED,BLUELED}; #define STDBY_IN 7 #define BUTTONUP 11 #define BUTTONDOWN 12 #define SENSOR A2 void setup() { (WDTO_250MS); //set timeout pinMode(REDLED, OUTPUT); //set pinmodes pinMode(GREENLED, OUTPUT); pinMode(BLUELED, OUTPUT); pinMode(STDBY_IN, INPUT); pinMode(BUTTONUP, INPUT); pinMode(BUTTONDOWN, INPUT); digitalWrite(STDBY_IN, HIGH); //enable pullup digitalWrite(BUTTONUP, HIGH); digitalWrite(BUTTONDOWN, HIGH); //cycle through each color of the LED. do a fade in/out to test PWM for(int k=0;k<3;k++) //for each LED { for(int i=0;i<255;i=i+5) //fade-in with 5-step increments { wdt_reset(); //remember the WDT! analogWrite(LEDS[k],i); delay(5); } for(int i=0;i<255;i=i+5) //and the fade-out { wdt_reset(); analogWrite(LEDS[k],255-i); delay(5); } } //make sure everything is off analogWrite(REDLED,0); analogWrite(GREENLED,0); analogWrite(BLUELED,0); } //after LED cycling test inputs. this uses the LED colors to indicate state void loop() { wdt_reset(); //reset WDT on each loop //Hall-sensor test. if(digitalRead(STDBY_IN)==0) analogWrite(BLUELED,255); else analogWrite(BLUELED,0); //Up-button test. if(digitalRead(BUTTONUP)==0) analogWrite(REDLED,255); else analogWrite(REDLED,0); //Down-button test. if(digitalRead(BUTTONDOWN)==0) analogWrite(GREENLED,255); else analogWrite(GREENLED,0); } |
If you follow the comments in the code it’s relatively straight-forward. One of the things I’ve added is the watch-dog timer. This have proven to be necessary to catch code-stalls. This is especially important since a stall quickly leads to thermal runaway of the tip! I think I’ve mentioned it before but I have at least 3 tips which each had a lifespan of about 30 seconds. A lot of swearing ensued each burnout!
The self-test currently doesn’t test the input of the pen. I’m doing the test in the programmring jig which also means that there isn’t any tip attached to the board. I have to address this issue but for now the test is covering as much as (easily) possible.
AVR-DUDE
With the firmware done It’s time to focus on how to get it onto the board. This in itself could easily fill out a few posts but I will go through it and try to make it interesting.
First we need to figure out the fuse settings. Fuses are the simplest configuration parameters of a microcontroller and they are used to tell how the controller should behave – Which clock source to expect, lock down memory for protection and a host of other things. For Atmel parts there is a great site for figuring out the fuse values: http://www.engbedded.com/fusecalc/
I’m using the AtMega168 part which is found in the drop-down menu. unlike a normal Arduino board I’m not using an external oscillator so I need to use the built-in. This is fine since I’m not doing anything timing critical so a bit of skew doesn’t matter. However some of the other settings are important. For example I don’t want a clock division by 8. the pen is not super-low power (it’s go a 12W/24W heater element after all) so but the pedal to the metal! Also I want to always have the watch-dog on. I end up with the following fuse settings:
|
1 |
-U lfuse:w:0xE2:m -U hfuse:w:0xC7:m -U efuse:w:0x01:m |
Alright Now we need to put them on the board.
First, you might want to install WinAVR (which adds AVRDUDE to your path so you can easily access it on your computer). I have been following this guide: http://www.ladyada.net/learn/avr/setup-win.html Which seems to work just fine. Secondly there is a nice guide to all the parameters here: http://www.ladyada.net/learn/avr/avrdude.html. Also I have been using the SparkFun guide extensively: https://learn.sparkfun.com/tutorials/pocket-avr-programmer-hookup-guide/using-avrdude. It is part of a multi-page guide to programmers but this is where the good stuff is.
Using the above guides and the fuse settings found ealier a line can be put together:
|
1 |
avrdude -c avrisp -p m168 -P COM4 -b 19200 -U lfuse:w:0xE2:m -U hfuse:w:0xC7:m -U efuse:w:0x01:m |
This makes AVRDUDE selct the AVRISP (arduino as ISP) as the programmer, select the AtMega168 as the target part, sets the serial port and the baud rate which is the speed to communicate over. The fuse settings are simply added as parameters to the line and the result is this:
|
1 2 3 4 5 6 7 8 9 10 11 12 13 14 15 16 17 18 19 20 21 22 23 24 25 26 27 28 29 30 31 32 33 34 35 36 37 38 39 40 41 42 43 44 45 46 47 48 49 50 51 52 53 54 55 56 |
C:\Users\HP\Dropbox\Projekter\Soldering pen\Code>avrdude -c avrisp -p m168 -P COM4 -b 19200 -U lfuse:w:0xE2:m -U hfuse:w:0xC7:m -U efuse:w:0x01:m avrdude: AVR device initialized and ready to accept instructions Reading | ################################################## | 100% 0.05s avrdude: Device signature = 0x1e9406 avrdude: reading input file "0xE2" avrdude: writing lfuse (1 bytes): Writing | ################################################## | 100% 0.01s avrdude: 1 bytes of lfuse written avrdude: verifying lfuse memory against 0xE2: avrdude: load data lfuse data from input file 0xE2: avrdude: input file 0xE2 contains 1 bytes avrdude: reading on-chip lfuse data: Reading | ################################################## | 100% 0.01s avrdude: verifying ... avrdude: 1 bytes of lfuse verified avrdude: reading input file "0xC7" avrdude: writing hfuse (1 bytes): Writing | ################################################## | 100% 0.01s avrdude: 1 bytes of hfuse written avrdude: verifying hfuse memory against 0xC7: avrdude: load data hfuse data from input file 0xC7: avrdude: input file 0xC7 contains 1 bytes avrdude: reading on-chip hfuse data: Reading | ################################################## | 100% 0.01s avrdude: verifying ... avrdude: 1 bytes of hfuse verified avrdude: reading input file "0x01" avrdude: writing efuse (1 bytes): Writing | ################################################## | 100% 0.01s avrdude: 1 bytes of efuse written avrdude: verifying efuse memory against 0x01: avrdude: load data efuse data from input file 0x01: avrdude: input file 0x01 contains 1 bytes avrdude: reading on-chip efuse data: Reading | ################################################## | 100% 0.01s avrdude: verifying ... avrdude: 1 bytes of efuse verified avrdude: safemode: Fuses OK avrdude done. Thank you. |
AVRDUDE also verifies that the fuses have been set correctly which is really nice. This is easy to do at any time using the tool again. Instead of writing fuses we can just read them:
|
1 |
avrdude -c avrisp -p m168 -P COM3 -b 19200 -U lfuse:r:-:h -U hfuse:r:-:h -U efuse:r:-:h |
Similarly we can also use AVRDUDE to either read or write the firmware to the board.
Reading:
|
1 |
avrdude -c avrisp -p m168 -P COM4 -b 19200 -U flash:r:fromDevice.hex:r |
And writing:
|
1 |
avrdude -c avrisp -p m168 -P COM4 -b 19200 -U flash:w:testWithWDT.hex -v |
I have found that this is the easiest way to get a (working) snapshot of the firmware on the board. Since I’m going to use AVRDUDE for programming in the long run this seems the smart way to do it.
All the commands I have sent to the system can easily be combined in a batch script which will first set the fuses and then write the firmware file.
This is all for now. the project is back from the drawer and ON the table! Yay!
Until next time!
Finally 🙂 Yeayyy !
Yeah I Know 😀
I’m terribly sorry for the looooong delay. One of the beta testers reported a thermal runaway problem which means that there have to be at least one problem with the code. So while being sooo close I’m convinced that I need a new FW revision. Which I’m working on now 🙂 with the Watch-dog timer..