I have always been annoyed by the fact that when an arduino project is done nearly all of the projects just put a complete board inside a case and use that. What about the USB converter? It is just a waste of money to have that one sitting inside the project if it is not used! (okay, in projects that does not need to communicate with a computer that is)
This project was made after I started making my own arduino Pro minis. Those does not include USB to serial converter, so either you got to have another one at hand or you need to use a real programmer. Having both available I could lean back and relax but during a SMD-soldering craze I found that the FT230x can be used as a cheap and simple programmer for those unfortunate arduinos that are born without the USB interface.
The main difference between the full-featured FT232RL (28-pin package) and the FT230x is that the latter does not include the full UART port. by this I mean that some of the hardware handshaking signals are missing. Fortunately AvrDude (the tool that the arduino IDE is using for programming) toggles both RTS and DTR pin, so by connecting the available RTS pin to the DTR pin on the programming header I was good to go.
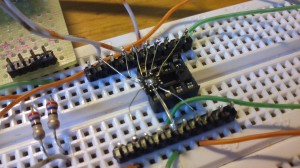
 Above picture shows the first version of the programmer. soldering a 16-pin QFN package is actually quite fun! (when you’re done)
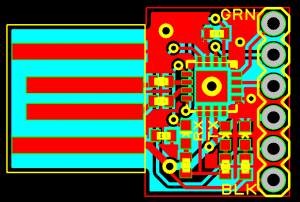
Showing that the principe was working I set out to make a PCB for the programmer. For a long time I have been wanting to make a programmer with an on-board USB connector so finally I could give it a go. I fired up the DesignSpark PCB and made this nice little board
Everything fits on one side of the board, complete with power, RX and TX LEDs. I sent the production files to the seeedstudio PCB service and waited.
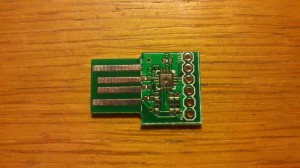
When I got the boards from the production I noticed that there was a screw-up with the silkscreen. I forgot to set the proper size on the letters so the indicators were either missing or really really faint and thin.
Well, aestethics aside The first board got soldered together and put into an USB port. It didn’t work. It was simply just a tiny bit to loose. too bad. I but a bit of tape on the backside and some solder on the connections in top and hey! It worked! A nice little programmer, that is dirt-cheap.
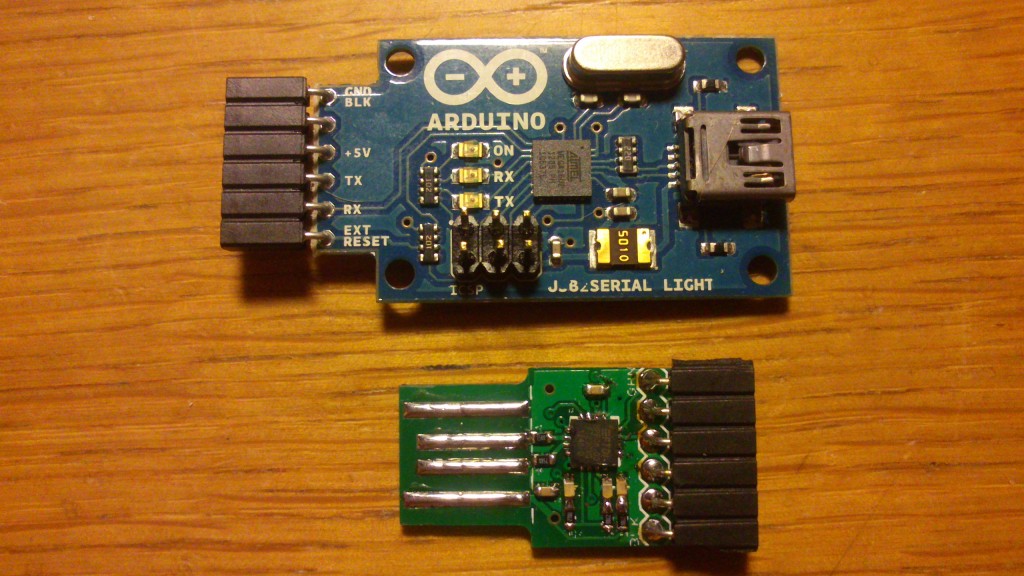
Just for measure I have a photo next to the ‘official’ USB to serial converter from Arduino. Also, That one needs an additional cable.. Allright, You loose the flexibility of the cable but instead you get the extra table space
As Always the Schematics is available here. The file format is for DesignSpark PCB.


Pingback: Rolling your own minimal USB to serial Arduino programmer
Good job, were did you order your PCB?
I use the pcb service at seeedstudio.com The specs are fine for my applications and the pricing is very good! I usually do 2 or 3 projects on each order and cut the boards when I get them.
Wanted to take a peak into your arduino pro mini Project, but the article seems to be missing. I Would still like to read about it, maybe this is something for me.
Greetings from Germany
Jan
You’re correct – the category is empty at the moment. I have not written about the project yet. However, I have done the first few prototypes and so far the boards are performing just fine. Is there any detail in particular that you are looking for?
Pingback: A Minimalistic programming interface for arduinos without USB | embryonic.dk | Arduino|Raspberry Pi|DIY | Scoop.it
Pingback: A Minimalistic programming interface for arduinos without USB | embryonic.dk | Arduino, Netduino, Rasperry Pi! | Scoop.it
Pingback: A Minimalistic programming interface for arduin...